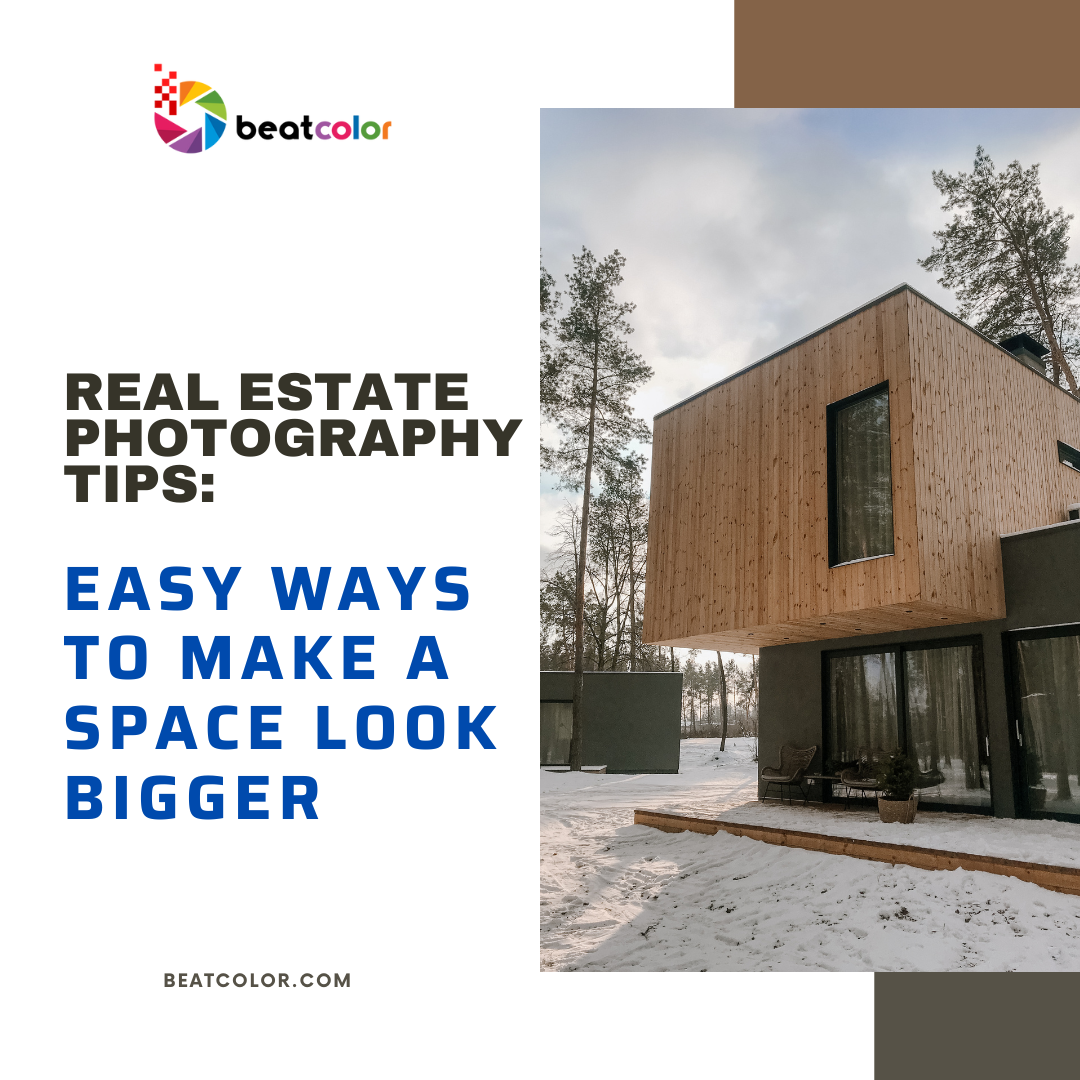
REAL ESTATE PHOTOGRAPHY TIPS: EASY WAYS TO MAKE A SPACE LOOK BIGGER
Creating the illusion of space is a key strategy in real estate photography. Buyers want roomy interiors, even in compact homes. Clever photography techniques can instantly make any room appear bigger, brighter, and more inviting. In today’s competitive market, size matters—at least visually.
Why Bigger-Looking Spaces Matter in Real Estate Photography
A 2025 Zillow report confirms that 83% of buyers rank spaciousness among their top five priorities. Visual space helps buyers imagine life inside the home. Online listings that feature airy, open rooms attract more attention and generate faster inquiries.
Real estate photography is more than snapping pictures. It’s about visual storytelling. Each image should communicate openness, warmth, and potential. Even a studio space may feel roomy with the correct setup.
1. Use a Wide-Angle Lens
Start with the right gear. A wide-angle lens, ideally 10-24mm for crop sensors or 16-35mm for full-frame, is essential. This type of lens captures more of the room in a single frame. It stretches corners and opens up the field of view, giving small spaces a broader appearance.
Be cautious, though. Overusing wide angles can distort reality. Slight stretching is acceptable, but warping walls will mislead buyers. Balance enhancement with honesty.

2. Let Natural Light Flood In
Natural light is your best friend. Open curtains and blinds to maximize daylight. Shoot during early morning or late afternoon for soft, balanced lighting.
The National Association of Realtors (NAR) claims that houses with lots of natural light in the photos sell 32% more quickly.
Avoid harsh shadows or strong backlighting. If natural light is limited, consider using daylight-balanced LED lights. They provide consistent lighting without overpowering the room’s tone.
3. Declutter and Depersonalize
Visual clutter makes spaces feel cramped. Remove excess furniture, personal items, and decor before shooting. Keep only essential furnishings to define function without overwhelming the viewer.
A 2024 study by Realtor.com found that listings with minimal clutter increased online engagement by 42%. Clean, open spaces are easier for buyers to imagine as their own.
Keep surfaces clean and storage items hidden. Even clearing small items from countertops can make a room look significantly larger.
4. Shoot From the Corners
Positioning is critical. Shooting from the corner of the room offers the widest perspective. It captures both the length and depth of the space.
Shooting straight-on flattens the image and limits perceived size. Angles, on the other hand, reveal depth and volume. Lower camera height—around chest level—can further enhance space perception.
Tripods help maintain stability and consistency. They also allow for slower shutter speeds without motion blur.

5. Stage with Scale in Mind
Furniture should match the room’s proportions. Oversized pieces shrink small rooms, while appropriately sized furniture increases the sense of space.
Use leggy furniture to allow light to pass through. Glass tables and open-back chairs also create a more breathable layout.
Virtual staging is another option. In 2025, virtual staging software has become more affordable and accessible. It helps demonstrate scale without physical rearrangement.


6. Mirrors and Reflections Expand Rooms
Mirrors bounce light and double visual space. Strategically placed, they can make rooms appear twice as large.
Hang a mirror opposite a window to reflect natural light. Use mirrored furniture to subtly reflect surroundings without overpowering the scene.
However, avoid placing mirrors where they reflect the camera or create visual noise. Balance is key.
7. Use Consistent Color Palettes
Color plays a silent but powerful role. Light, neutral tones help walls recede, creating an open, airy feel. White, beige, light gray, and soft pastels work best.
A 2024 Redfin report highlights that homes with light color schemes sold 18% faster than darker ones.
Avoid visual clutter caused by clashing colors or heavy prints. If the space features strong accent walls or bold decor, neutralize the area before photographing.
8. Edit With a Gentle Touch
Photo editing should enhance, not deceive. Adjust exposure, contrast, white balance, and sharpness to improve clarity. Avoid over-editing that creates unnatural tones or exaggerated brightness.
Use lens correction tools to remove distortion from wide-angle lenses. Straighten lines and crop for balance.
New AI-powered software like Adobe Lightroom 2025 and Luminar Neo offer smart adjustments while preserving realism.


9. Highlight Vertical Space
Don’t ignore height. Rooms with tall ceilings should be framed to emphasize vertical lines. This trick makes the space feel even larger.
Include elements like curtains hung close to the ceiling or vertical wall art. Tilt your camera slightly upward—but not excessively—to capture ceiling height.
A sense of vertical openness gives buyers the impression of more air and flexibility.
10. Keep the Flow Open
Doors and walkways should be visible and unobstructed. Show how one room connects to another. This creates a natural flow in your photos.
Rooms that feel boxed in appear smaller. Shooting through open doors or archways adds depth and narrative.
Highlight transitions between spaces, such as an open kitchen leading into a bright living area. Flow equals spaciousness.
Final Thoughts
In today’s market, real estate photography is the first showing. If your photos don’t impress, buyers may scroll past.
Every inch matters—especially in small spaces. These easy, proven tips can help you showcase more space without renovation.
Selling a lifestyle rather than just a piece of real estate is the aim. Bigger-looking rooms lead to bigger opportunities.
Read more:
Twilight Shots in Real Estate: The Hidden Power of the Golden Hour
Why High Quality Real Estate Photos are Crucial
How to Choose a Photo Editing Service: A 2025 Guide
