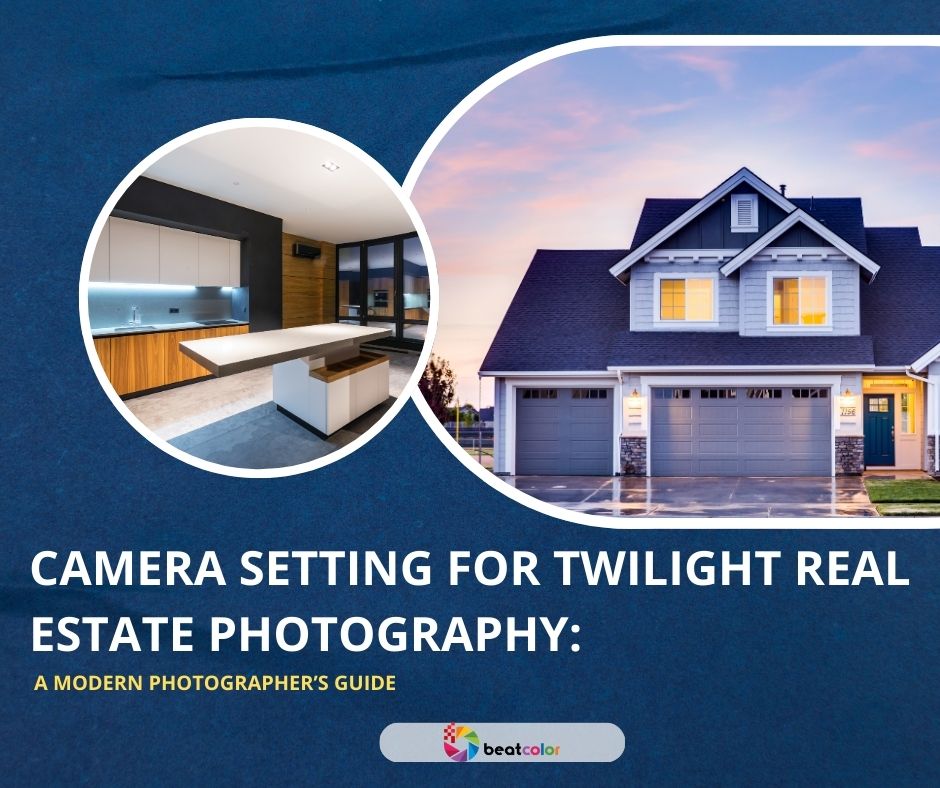
Camera Setting for Twilight Real Estate Photography: A Modern Photographer’s Guide
Twilight is a magical time for real estate photography. The mix of fading sunlight and artificial light is captivating. Buyers often fall in love with properties shown in this soft glow. However, nailing the perfect twilight shot takes more than timing. You also need the right camera settings, equipment, and preparation.
In this guide, we’ll explore everything you need to know. You’ll learn current best practices and how to adapt to changing light. We’ll keep it simple, practical, and based on 2025 standards.
Why Twilight Photos Work So Well
Twilight real estate photography sells homes faster – yes, that’s still true in 2025. Because they make properties feel warm, cozy, and lived-in. Artificial lights inside the home start to shine through windows. Meanwhile, the sky provides a colorful, cinematic backdrop. But that glow doesn’t last long—just about 20 minutes. So preparation and camera precision are everything.
1. Set Aperture for Clarity and Depth
Twilight shots often include both house and sky. Use an aperture between f/8 and f/11 to get sharp images. This range gives enough depth to keep all details crisp. It also helps avoid blurriness when shooting foregrounds and backdrops.
Avoid going too wide with f/2.8 or f/4. Those settings are better for portraits, not properties. Instead, prioritize clarity over creative blur in real estate.
2. Keep ISO Low to Prevent Grain
Twilight creates lower light, but don’t rush to raise ISO. Stick with ISO 100 to 400 for best results. This ensures smooth, noise-free images that look polished and professional.
If your photo appears dark, don’t just increase ISO. Instead, slow down the shutter or increase exposure time. Digital noise is harder to fix in editing than darkness. For mirrorless cameras in 2025, base ISO is often 125. Know your camera’s sweet spot and start from there.
3. Use a Slow, Steady Shutter Speed
Light fades quickly during twilight, so let your shutter breathe. Set your shutter speed to 1 to 10 seconds, depending on brightness. Use bulb mode if you need full control beyond 30 seconds.
However, remember this: the slower the shutter, the steadier the shot. Even the slightest hand shake will blur your image. That’s why a tripod is non-negotiable during twilight shoots.
You can also use a 2-second timer or wireless remote. It ensures your camera stays perfectly still while shooting.
4. Customize White Balance
White balance during twilight can get tricky fast. Auto-white balance often guesses wrong in this unique lighting. Instead, set it manually between 3200K and 4500K, depending on conditions.
This color temperature range keeps the warm tones intact. It also prevents the house lights from looking too yellow. If your image looks too blue, try warming it slightly. For mirrorless systems in 2025, custom white balance settings are easier than ever. Many let you save presets—set one for twilight!
5. Always Shoot in RAW Format
Shooting in RAW is your post-processing safety net. It gives you full control over exposure, highlights, and shadows. In twilight, lighting varies from moment to moment. RAW helps you recover details from those fast-changing conditions. Even if your shot is a bit underexposed, RAW can fix it. JPEG compression simply doesn’t allow that same flexibility.
6. Bracket Your Exposures for Perfection
Exposure bracketing means taking the same photo at different exposures. This helps capture detail in shadows and highlights together. Use +2, 0, and -2 EV exposures for a standard bracket.
Then combine them later using HDR software. This method balances the house lights with the twilight sky. Most modern cameras support auto-bracketing. If yours doesn’t, manually adjust settings between shots.
7. The Right Lens and Gear for Twilight
A wide-angle lens is your best friend for real estate. Look for something between 14mm to 24mm on full-frame cameras. This lets you capture the whole property and its surroundings.
Also, never leave your tripod at home for twilight. Add a wireless shutter release to eliminate touch-based movement. Some pros also use polarizers to reduce window reflections. Just make sure to remove them if light gets too low.
8. Plan Your Timing Like a Pro
Twilight timing changes daily, even by a few minutes. Use a sunrise/sunset app to plan your shoot time. Aim to shoot 15 to 25 minutes after sunset, no later. Be set up and ready 10 minutes before the magic starts. This gives you time to frame, test, and adjust settings. If you’re in a northern region, twilight may last longer. In tropical areas, it fades within minutes—so work fast.
9. Post-Processing for Twilight Magic
Even with great camera settings, editing adds that final touch. Use Lightroom or Capture One to fine-tune shadows and warmth. Increase contrast slightly to make details pop. Boost vibrance to highlight the twilight sky’s colors. Sharpen gently—especially the windows and roof lines.
For HDR brackets, use software like Photomatix or Aurora HDR. Merge, tone map, and balance until the photo looks natural—not cartoonish.
Final Tips Before You Shoot
Practice your workflow before showing up at the location. Know your settings, test your gear, and scout the property. Keep backup batteries charged—twilight drains power fast. And shoot multiple compositions to offer more variety.
Twilight real estate photography rewards patience and planning. With the right settings, your images can help sell homes faster.
Read more:
2025 Real Estate Photo Editing Trends: What’s New in Property Marketing?
How Professional Editing Services for Photographers Transform Your Work
The Art of High-End Real Estate Photo Editing: Elevating Luxury Property Listings


