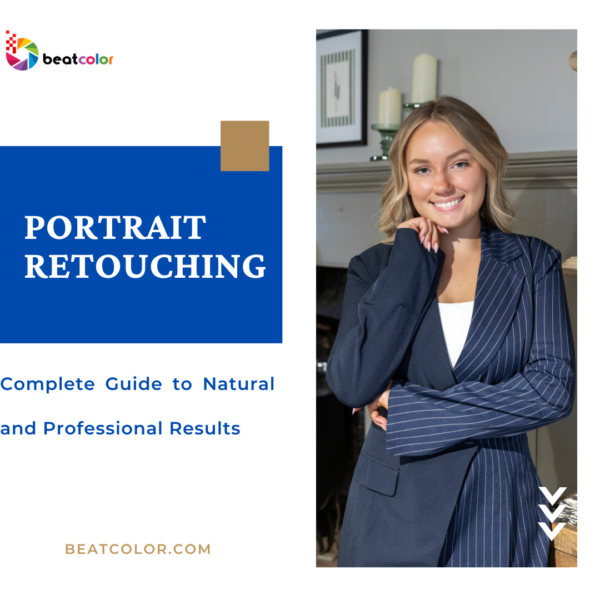
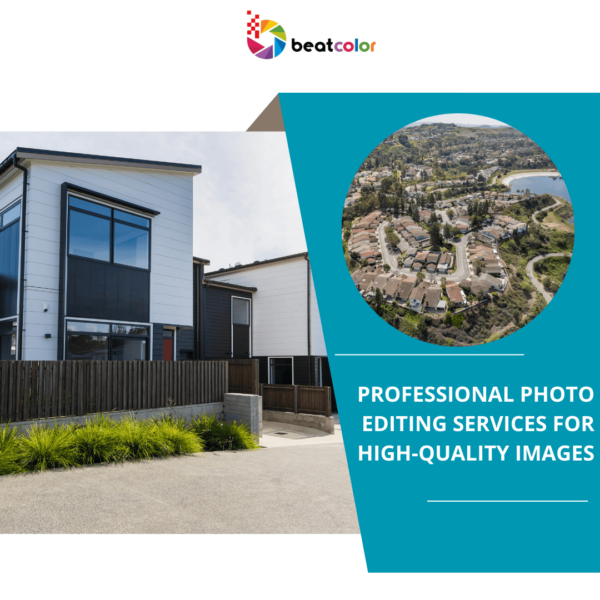
Essential Tips and Tricks for Real Estate Photo Editing

High-quality images play a crucial role in real estate marketing. Even well-shot photos often need adjustments to highlight a property’s best features. Real estate photo editing helps transform ordinary shots into visually appealing images that attract buyers. To achieve professional results, editors must master various techniques that enhance clarity, color, and composition.
This guide covers essential techniques to enhance real estate photos effectively, ensuring your images stand out in a competitive market.
1. Adjust Exposure for Well-Lit Images in Real Estate Photo Editing
Proper exposure ensures that real estate images appear bright and inviting. If a photo is too dark, increasing brightness and exposure enhances its appeal. On the other hand, for overly bright images, reducing highlights preserves important details. Achieving the right balance makes a significant difference in real estate photography.
Using the HDR (High Dynamic Range) technique balances light and dark areas, creating a more natural look. Additionally, adjusting contrast ensures that details remain sharp and well-defined, helping properties appear more visually appealing.
2. Correct White Balance for Accurate Colors
White balance adjustments prevent unwanted color casts that may misrepresent a property’s interior. A warm or cool tint can significantly alter the true appearance of a room, making proper adjustments essential. By tweaking the temperature and tint sliders in Lightroom or Photoshop, editors can correct these issues effectively.
One useful technique is using a gray card during the shoot to simplify white balance corrections in post-processing. Additionally, selecting the correct white balance preset based on lighting conditions—such as daylight, tungsten, or fluorescent—ensures more accurate color representation. Maintaining a natural color tone enhances the overall realism of real estate images, making properties look more appealing to potential buyers.
3. Enhance Colors Without Overdoing It
Saturation and vibrance adjustments make properties look more inviting. Over-saturated images appear unnatural, so subtle enhancements are best. Increasing vibrance works well for interiors, as it preserves skin tones and natural hues while enhancing color depth. Meanwhile, adjusting saturation benefits outdoor shots, bringing out the blue sky and green landscapes without making them look artificial.
Finding the right balance is key. Applying HSL (Hue, Saturation, and Luminance) adjustments helps target specific colors, allowing for precise refinements. When editing, always compare the original and adjusted versions to maintain a natural yet visually appealing effect.
4. Fix Perspective for Straight Lines in Editing Real Estate Photos
Wide-angle lenses can cause distortion, making vertical and horizontal lines appear warped. This distortion is common in real estate photography, particularly when capturing interiors. To fix this, the Transform tool in Photoshop or Lightroom helps correct these distortions efficiently. By manually adjusting the alignment, editors ensure walls, doors, and windows appear straight and proportional.
Furthermore, using the Guided Upright tool allows for precise perspective adjustments. Properly aligned images make rooms look more natural and professional. Keeping lines straight creates a more polished and attractive visual representation of a property.
5. Remove Unwanted Objects for a Clean Look
Distractions like wires, shadows, or reflections take away from a property’s appeal. When editing, using the Clone Stamp Tool or Spot Healing Brush in Photoshop helps remove these seamlessly. Additionally, AI-powered tools in Luminar AI speed up the process by automatically detecting and eliminating unwanted elements.
A clutter-free image enhances the property’s aesthetics and allows buyers to focus on key features. Removing small but distracting objects can significantly improve the overall composition and professionalism of the final image.
6. Replace Skies for a More Attractive Exterior
Weather conditions aren’t always ideal for real estate photography. A cloudy sky can make a property look dull, reducing its overall appeal. Thankfully, modern editing software provides tools like Photoshop’s Sky Replacement or Luminar’s AI Sky Enhancer to swap dull skies for bright, blue ones effortlessly.
A vibrant sky enhances curb appeal and makes listings more eye-catching. In addition, adjusting the lighting of the house to match the new sky creates a seamless effect. Making these improvements ensures that exterior shots remain engaging, helping properties stand out in competitive markets.


7. Balance Shadows and Highlights
Uneven lighting can create excessive shadows or highlights that obscure important details. Adjusting shadow and highlight sliders in editing software restores lost details and balances lighting. For example, reducing highlights helps recover bright window details, while lifting shadows brightens darker areas, improving visibility.
Balancing shadows and highlights enhances depth and dimension, making rooms look more inviting. Ensuring that both bright and dark areas are well-exposed creates a polished, high-quality image that showcases the property effectively.
8. Use Virtual Staging for Empty Spaces
Vacant properties often appear cold and uninviting in real estate listings. Virtual staging solves this issue by adding 3D-rendered furniture, creating a warm and appealing atmosphere. Instead of showcasing an empty room, virtual furniture helps buyers visualize its potential, making it easier for them to imagine living in the space.
Tools like ApplyDesign Virtual Staging offer various furniture styles tailored to different aesthetics. Using virtual staging enhances a property’s marketability without the cost of traditional staging. Learn more at ApplyDesign Virtual Staging.


9. Sharpen and Enhance Details
Applying sharpening enhances textures and details, making real estate photos appear crisp and professional. However, excessive sharpening introduces noise and artifacts, reducing image quality. A subtle Unsharp Mask in Photoshop or the Clarity slider in Lightroom enhances clarity without over-processing.
Detail enhancement ensures that architectural elements, textures, and decor stand out. Editors should focus on enhancing important details while maintaining a natural appearance to achieve the best results.
10. Save in the Right Format for Quality Output
Saving images in the correct format ensures high quality and compatibility with listing platforms. JPEG is the preferred format for online real estate listings due to its balance between file size and image clarity. Meanwhile, TIFF or PNG preserves quality for further edits or high-end print materials.
Exporting at the optimal resolution—300 DPI for print and 72 DPI for web—keeps images clear and sharp. Using proper compression settings prevents pixelation while maintaining high image quality, ensuring that real estate photos remain visually appealing across different platforms.
Final thoughts
Real estate photo editing combines technical skills with creativity. Adjusting exposure, correcting white balance, enhancing colors, and using tools like virtual staging create compelling property images. Each step contributes to making listings more attractive and engaging.
Mastering these techniques improves your editing skills and helps your photos stand out in a competitive market. Start applying these strategies today and transform real estate images into eye-catching visuals that captivate potential buyers.
Read more:
Best Way to Edit Photos on iPhone: A Complete Guide
Professional Photo Editing Services: Transforming Real Estate Photography
The Art of High-End Real Estate Photo Editing: Elevating Luxury Property Listings


