The Basic Steps for Photo Enhancement in Real Estate Photo Editing
Real estate photo editing plays a vital role in attracting potential buyers and tenants by showcasing properties in their best light. Whether it’s improving brightness, correcting color tones, or removing distractions, photo enhancement transforms raw images into professional-quality visuals.
This article outlines the basic steps involved in photo enhancement for real estate photography, helping you create captivating images that sell.
I. Why Is Photo Enhancement Crucial in Real Estate?
In today’s digital-first real estate market, high-quality images can make or break a listing. According to a study by the National Association of Realtors, 90% of homebuyers start their property search online, and listings with visually appealing photos are twice as likely to capture attention. Enhanced photos emphasize the property’s unique features, connect with potential buyers emotionally, and leave a memorable impression.
III. The Basic Steps for Photo Enhancement
1. Import and Organize Your Photos
Start by importing your photos into editing software. Organize them into folders based on room types or exterior shots. This helps streamline the editing process and ensures consistency across images.
Let’s create an account at BeatColorClient System for the Free Trial

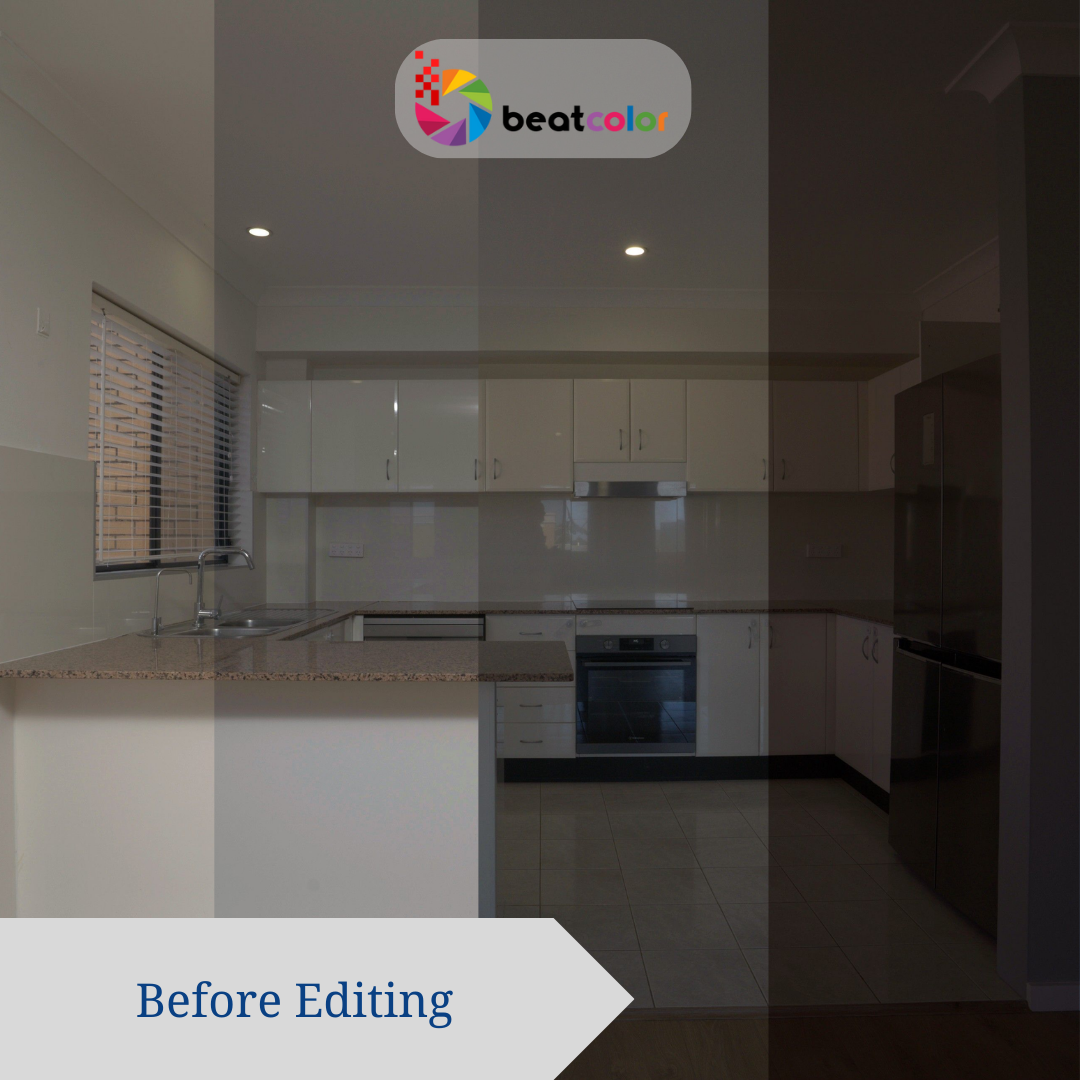
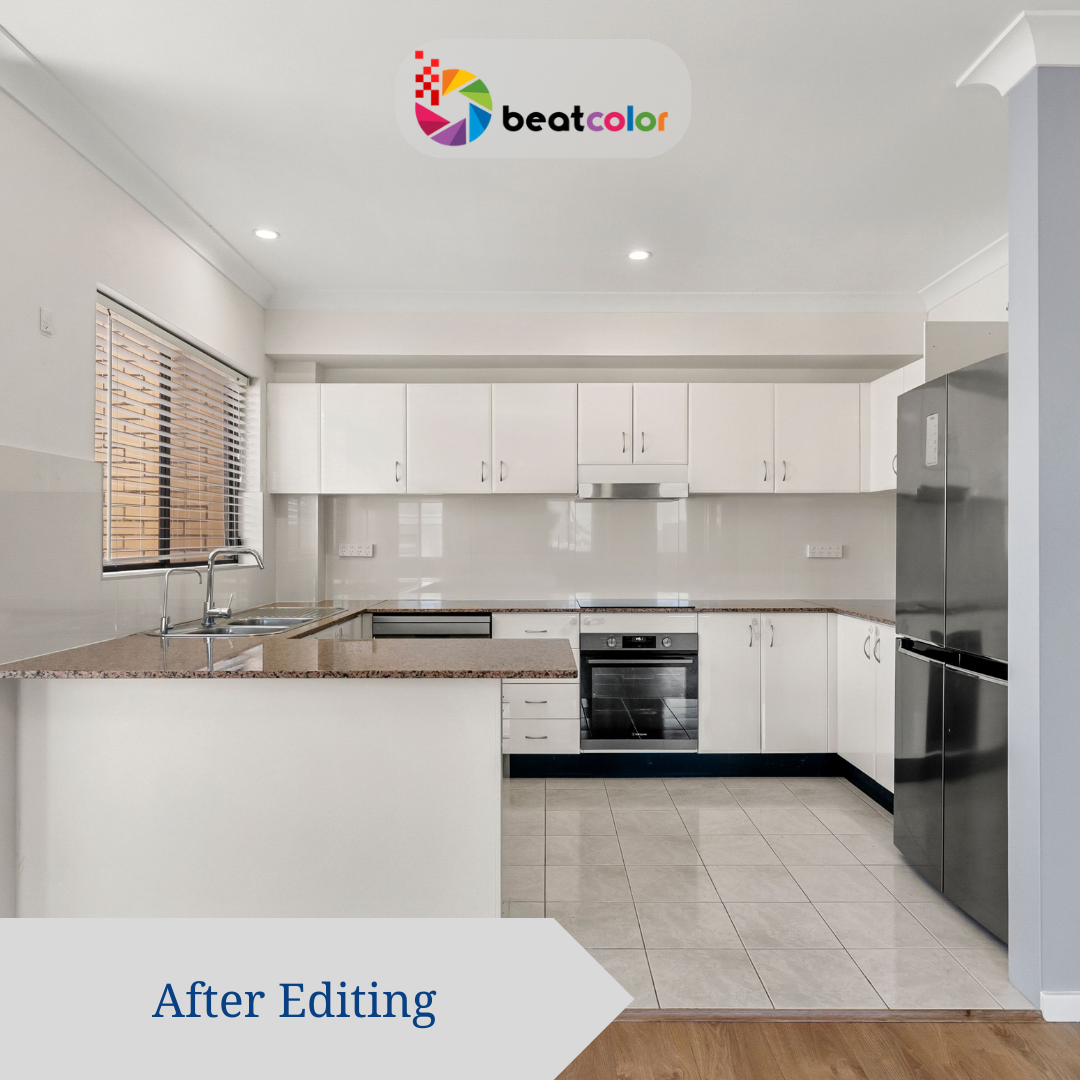
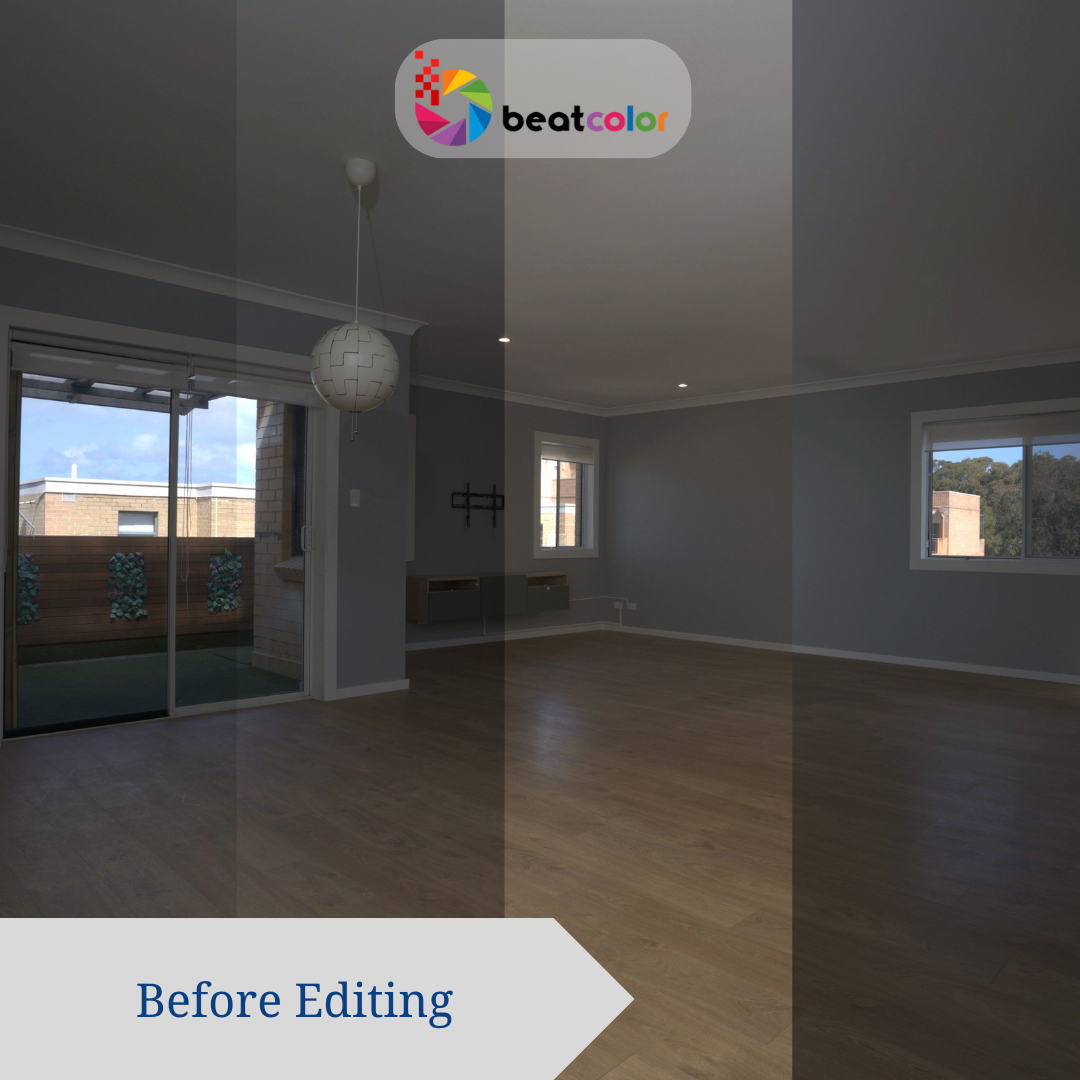
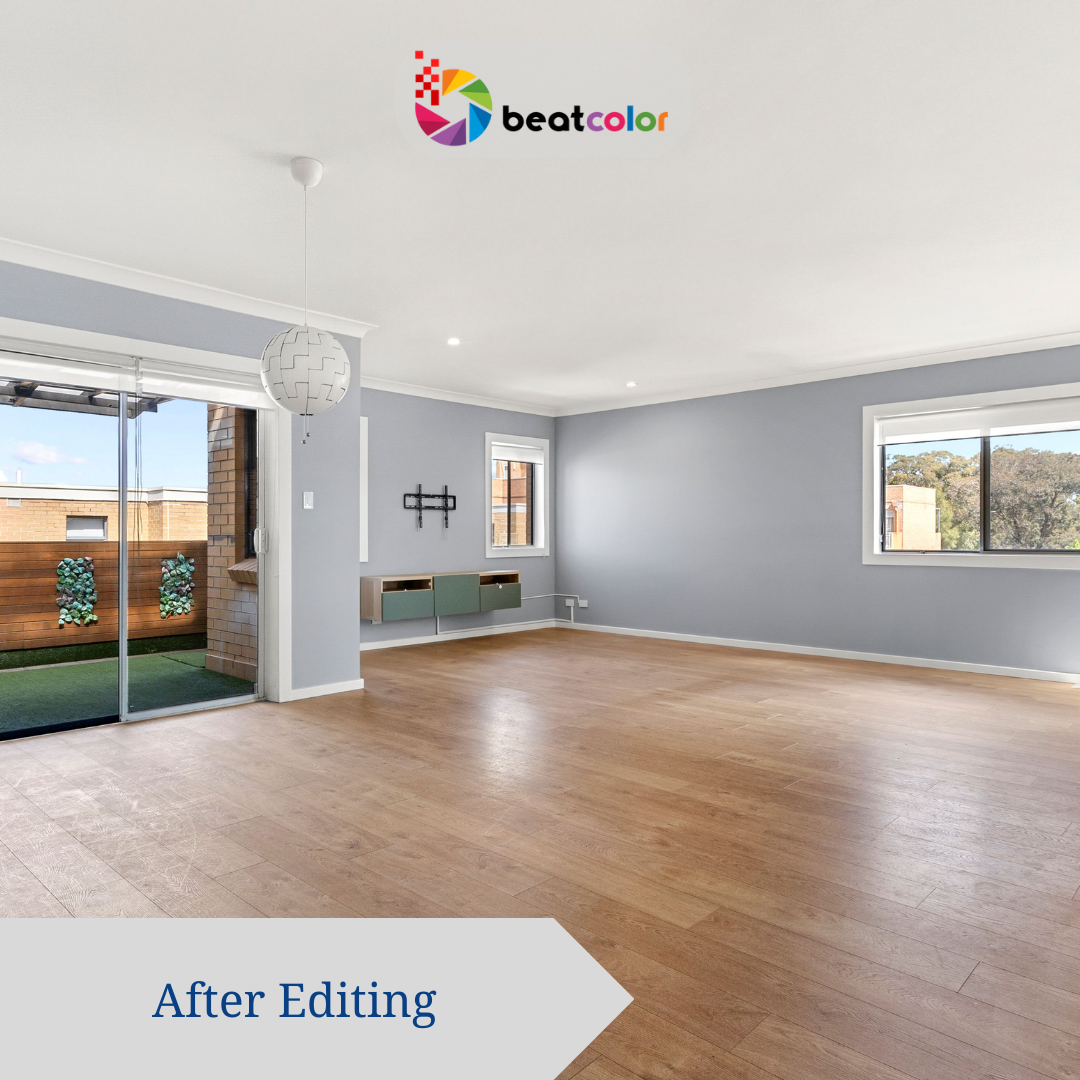
2. Correct Exposure and Brightness
Poor lighting can make a property look dull and uninviting. Adjust the exposure and brightness to ensure that all details are visible while maintaining a natural look.
- Increase brightness to lighten dark areas.
- Adjust shadows and highlights to balance the overall image tone.
Example: Brightening a dimly lit living room can make it appear more spacious and welcoming.
3. Color Correction and White Balance
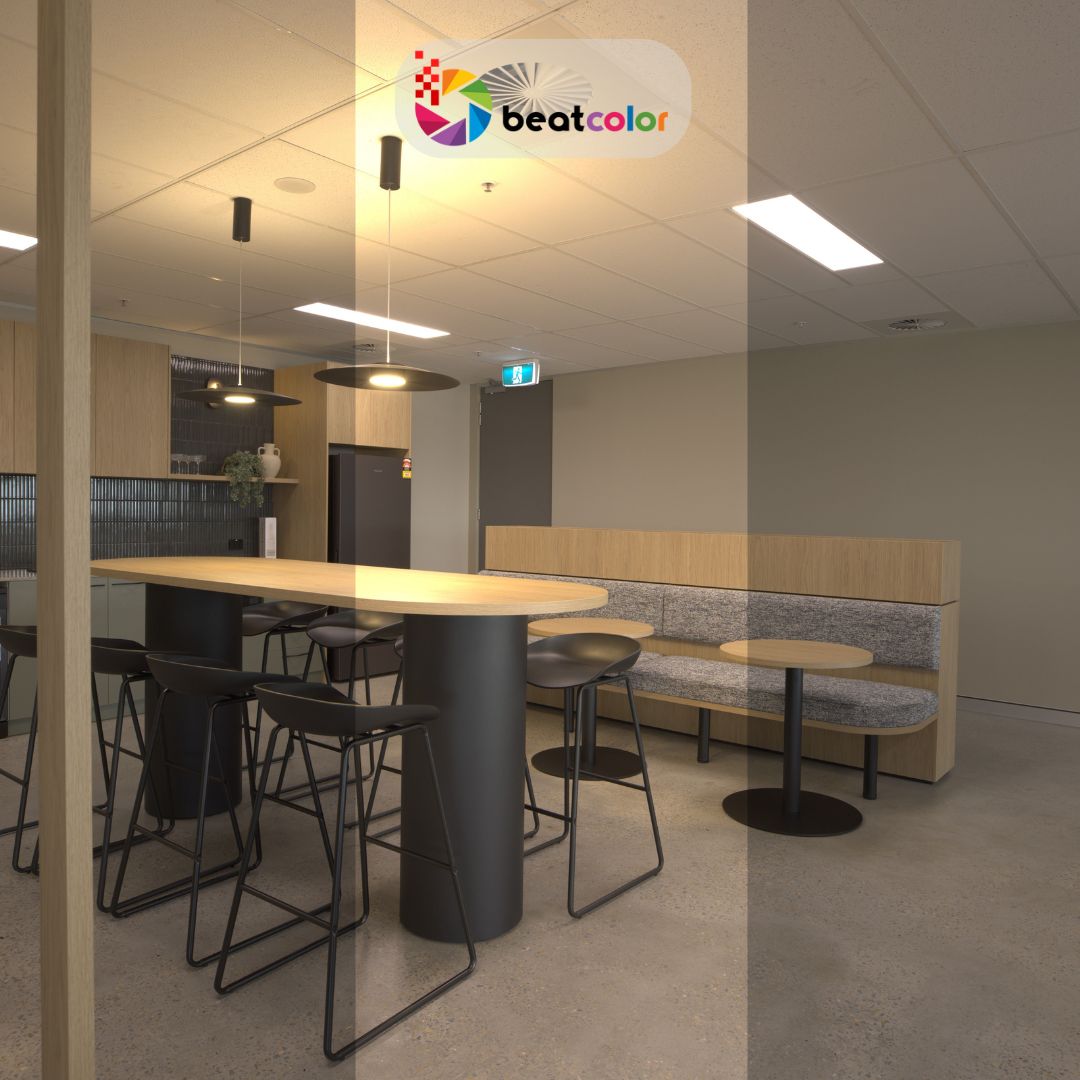
Accurate colors are essential in real estate photography. A warm, yellowish tint or cold, bluish tones can misrepresent the property.
- Adjust white balance to ensure neutral colors.
- Enhance vibrancy for a lively yet realistic look.
Key Tip: Use a white wall or furniture as a reference point for accurate white balance.

4. Straighten and Crop the Image
Ensure that the property’s architecture appears straight and proportional. Use the crop and straighten tools to correct lens distortion and framing issues.
- Horizon correction: Make sure the horizontal lines are parallel.
- Crop to remove unnecessary elements and focus on key features.
Example: A crooked photo of the kitchen can make it look smaller or less appealing.
5. Enhance Details and Textures
Highlighting intricate details like wood flooring, countertops, or textured walls can elevate the photo’s quality.
- Sharpen the image to enhance textures.
- Use clarity tools to make the image more defined.
Tip: Avoid over-sharpening, which can create an unnatural look.




6. Sky Replacement and Virtual Enhancements
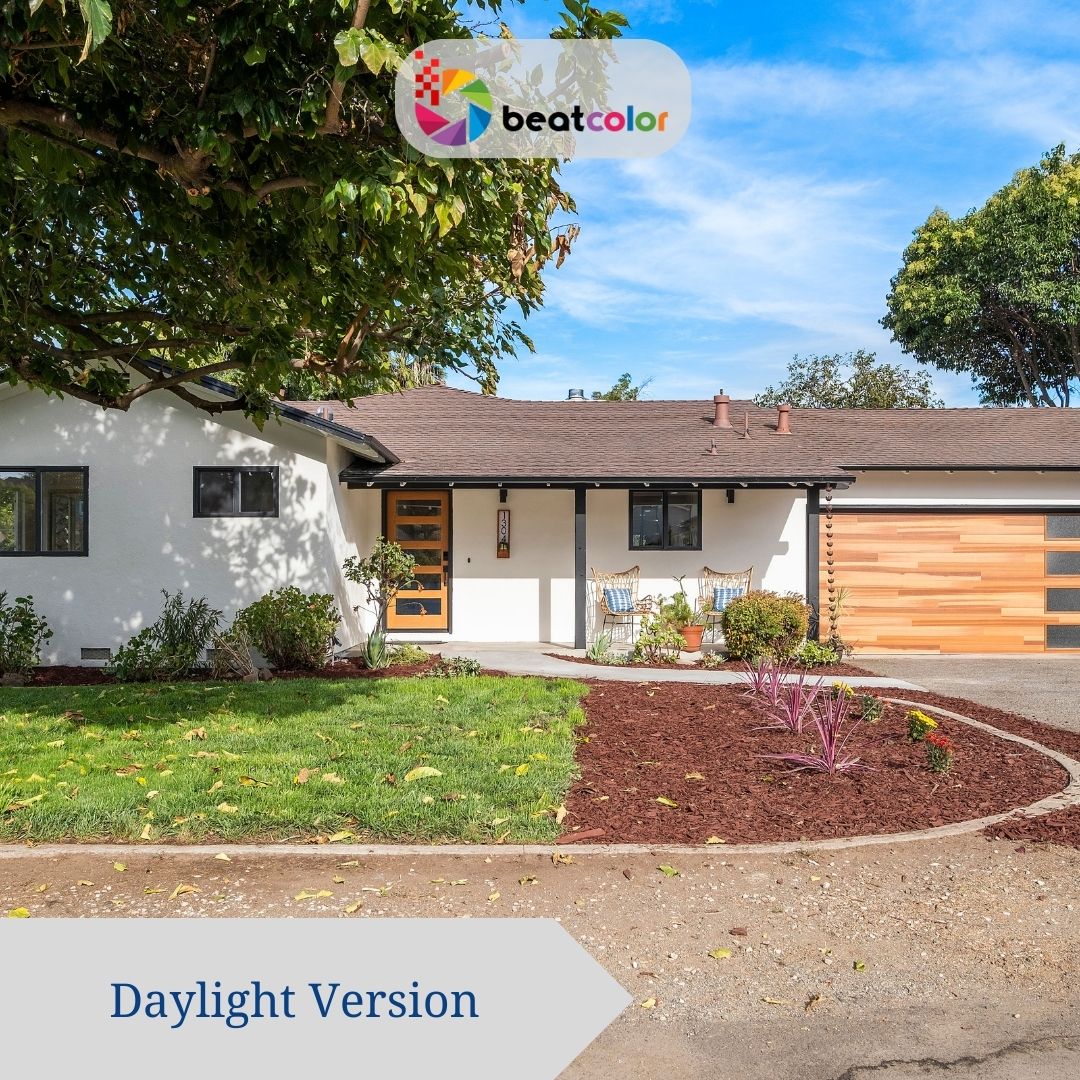
For exterior shots, a dull sky can be replaced with a vibrant one to add charm. Similarly, you can enhance outdoor lighting or virtually stage a room for an extra professional touch.
- Replace the sky with a clear blue or twilight backdrop.
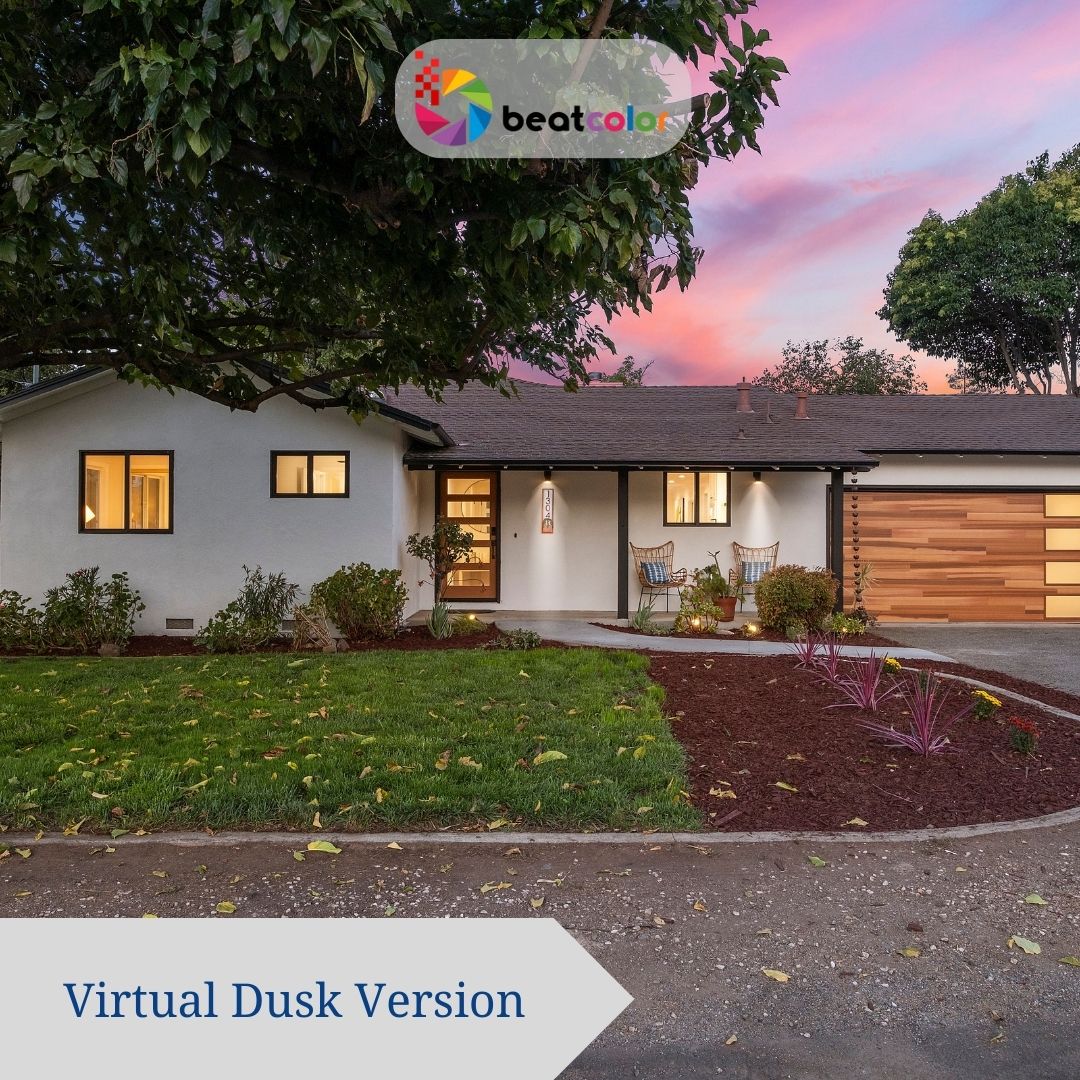
- Virtual staging can transform vacant spaces by adding realistic furniture, helping buyers visualize their future homes.


Why it matters: These enhancements can significantly boost the property’s aesthetic value.
7. Remove Distractions
Clutter or unwanted objects in a photo can detract from the property’s appeal.
- Remove objects such as cables, trash, or unnecessary decor.
- Use the clone stamp tool to fill in areas after object removal.
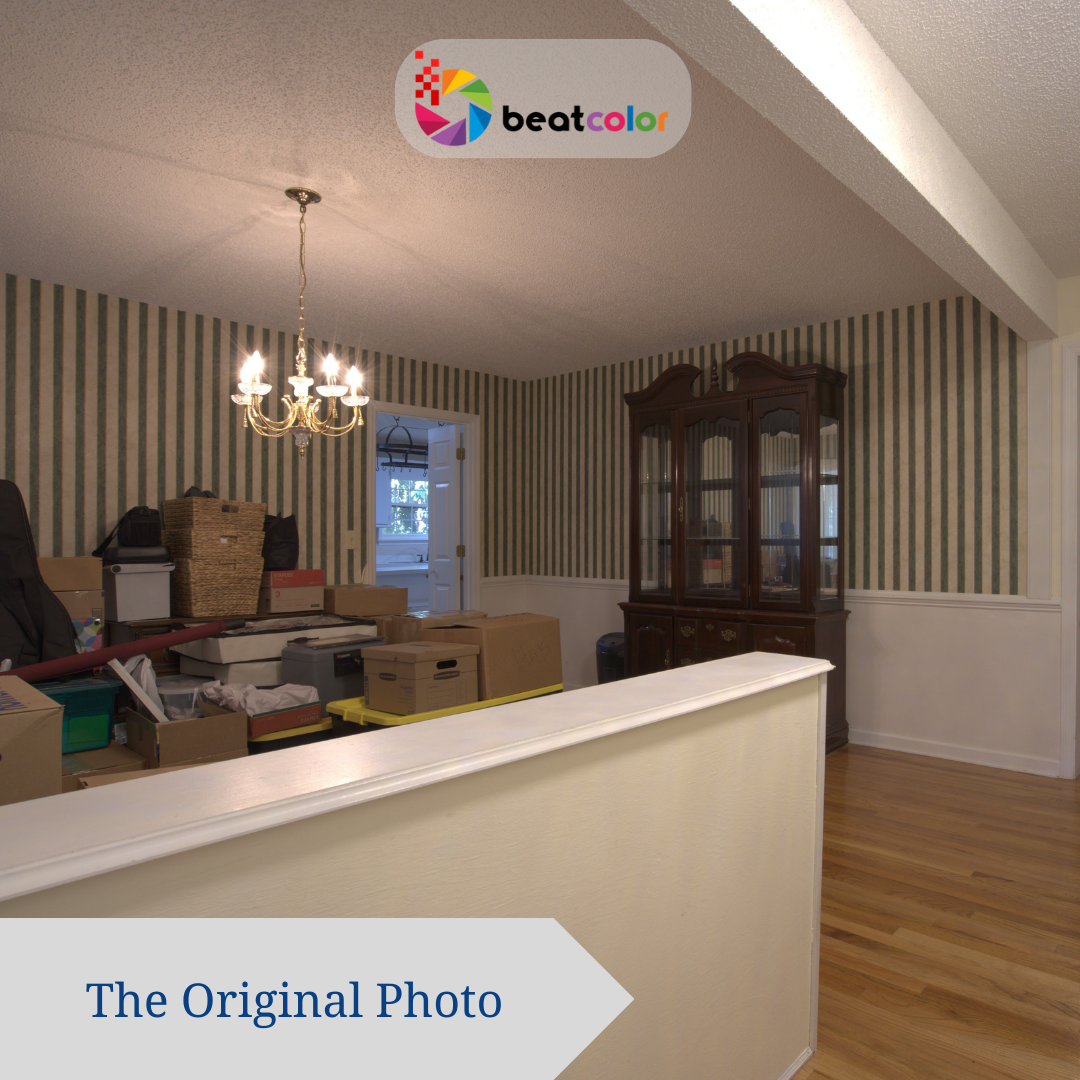
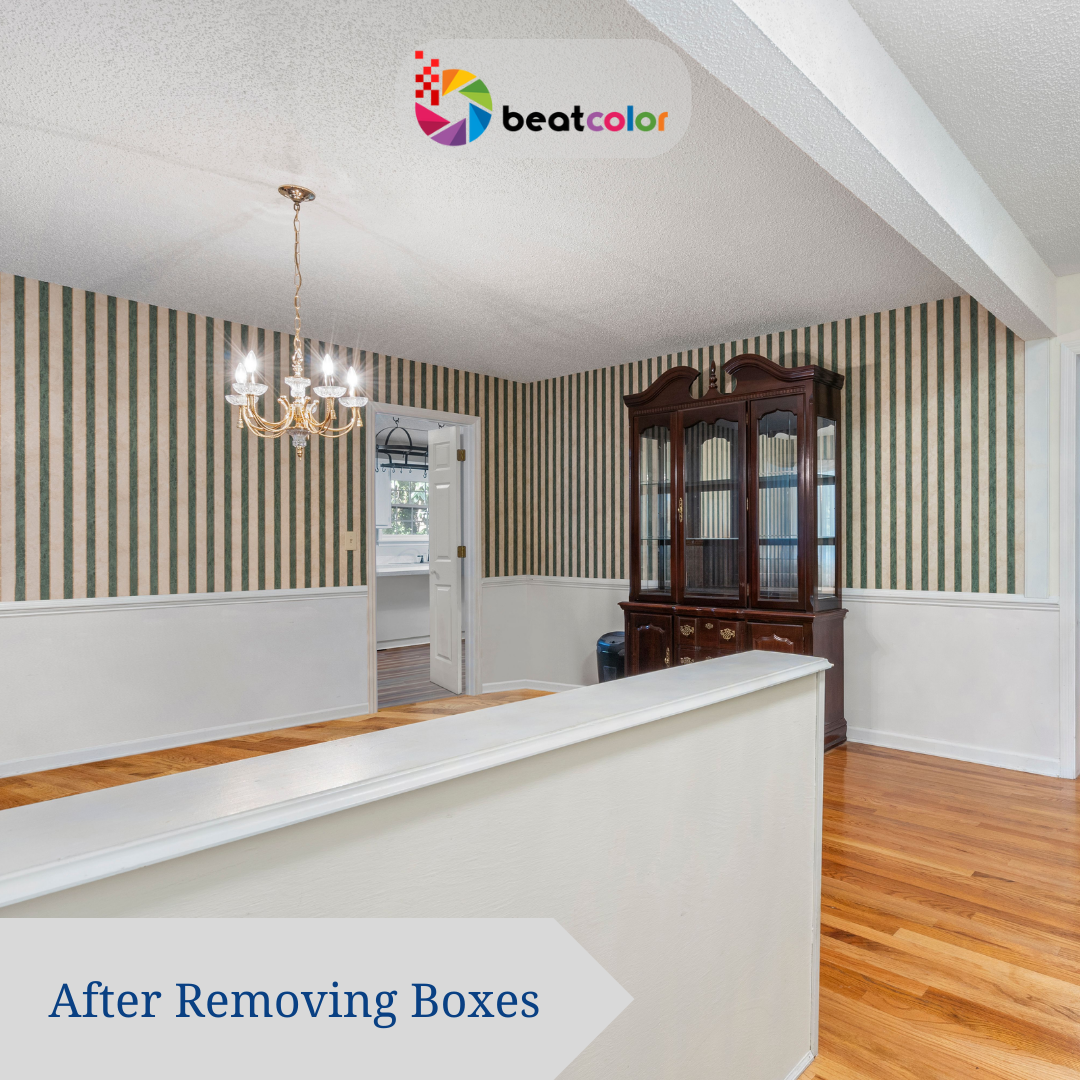
Example: Cleaning up a messy backyard can make it appear more organized and inviting.
8. Final Touches and Exporting
Review the image for consistency in lighting, colors, and composition. Apply final tweaks like noise reduction or contrast adjustments. Once satisfied, export the photos in high-resolution formats suitable for websites or print.

Pro Tip: Save images in multiple sizes for different platforms (e.g., MLS, social media).
See the results at: BeatColor Photo Editing Services
III. Essential Tools for Real Estate Photo Enhancement
Before diving into the process, ensure you have the right tools for editing. Popular software includes:
1. Adobe Photoshop
Adobe Photoshop is the go-to software for advanced real estate photo editing, offering tools like sky replacement and precise masking for detailed enhancements. Its versatility allows professionals to correct imperfections and create stunning, high-quality images with ease.

2. Adobe Lightroom
Adobe Lightroom is perfect for batch editing and non-destructive adjustments, making it a favorite for managing large real estate photo portfolios. Its powerful tools like graduated filters and HDR merging ensure consistency and natural enhancements across all images.

3. Skylum Luminar
Skylum Luminar uses AI-powered features like the AI Sky Enhancer and AI Accent to transform real estate photos effortlessly. Its pre-designed templates provide quick and professional edits, perfect for photographers seeking efficiency and quality.

4. GIMP
GIMP is a free, open-source photo editor offering essential tools like cropping, color correction, and layer adjustments for real estate photography. With plug-in support, it’s a cost-effective option for basic to moderately complex edits.

IV. Benefits of Enhanced Real Estate Photos
1. Increased Buyer Interest
Enhanced real estate photos are vital in catching a buyer’s attention in today’s competitive housing market. Listings featuring professionally edited images tend to stand out, prompting more views and inquiries. High-quality visuals create an emotional connection with buyers, allowing them to imagine living in the property and appreciating its unique features.
Furthermore, this emotional resonance often leads to higher levels of engagement, increasing the likelihood of showings and offers.
2. Faster Sales
Properties with enhanced photos generally sell faster because they present the property in the best possible light. Listings featuring crisp, professionally edited images appeal more to buyers browsing online, compelling them to prioritize these properties for viewings.
Additionally, visually attractive photos reduce hesitation and help buyers make quicker decisions, minimizing the time a listing spends on the market. In competitive scenarios, polished images often help properties stand out and secure offers sooner.
3. Higher Selling Price
Well-edited real estate photos significantly impact the perceived value of a property. By showcasing the home’s best attributes—like natural lighting, spaciousness, and fine details—enhanced images create a premium impression. This professional presentation justifies higher asking prices, as buyers associate quality visuals with a well-maintained and desirable property.
As a result, sellers who invest in professional photo editing often achieve better financial outcomes, maximizing their returns on investment.
Final Thoughts
Real estate photo enhancement is a game-changer in the competitive property market. By following these basic steps, you can transform ordinary photos into stunning visuals that captivate buyers and drive sales. Whether you’re a professional photographer or a real estate agent, mastering photo enhancement techniques will give you an edge in showcasing properties at their best.
Related Posts:
Maximizing Property Appeal with Aerial Real Estate Photo Editing
Panoramic Photo Editing Services BeatColor: A Game-Changer Solution
Flambient vs. HDR: The Best Approach to Real Estate Photography


