Real Estate Photography Lighting Techniques – A Must Read For Beginners (Update 2021)
Mastering Real Estate Photography Lighting is one of the decisive factors to get an eye-catching photo, which is inspiring enough for a call to action. To get bright, clean, warm and inviting photos, the latest camera isn’t enough to do that. It must take advantage of both natural and artificial lights available. This article presents the most essential techniques of lighting for real estate photography to showcase both exterior and interior.
Continue reading-on to find the easy-to-practise methods!
How To Make Use Of Real Estate Photography Lighting Successfully?
Method 1: Make Use Of The Existing Light
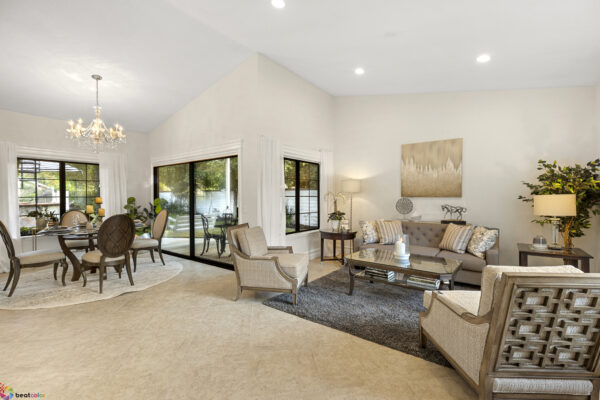
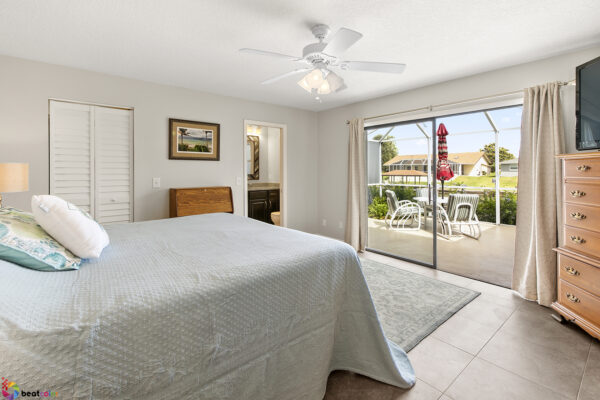
Natural light from the windows is an amazing source to showcase the beautiful features of the structures. Let’s open the window or shades or curtain to let it in.
Window views are definitely what every owner wants to homebuyers. To capture a beautiful scene, you will use the shooting with flash we introduced to you later. There are also some cases, the window view is not nice at all. How to shoot in such a situation? Well, you will set up your camera to have the window on the right or left wall, not directly in front of the shot. By shooting this way, you are allowing natural light to lighten-up almost all features of the room. It also prevents direct light from hitting your lens then reduces lens flare, and ghosting.
Method 2: Use Single Bounced Fill Flash
The strong light source always leaves hard shadows and creates unbalanced photos. To minimize shadowy subjects, let’s use a single bounced fill flash and find the best angle to fill the shadow. For example, if you want to lead viewers’ attention to a certain feature, you will bounce the flash at the opposite side of that feature to create a softer light & get the correct details.
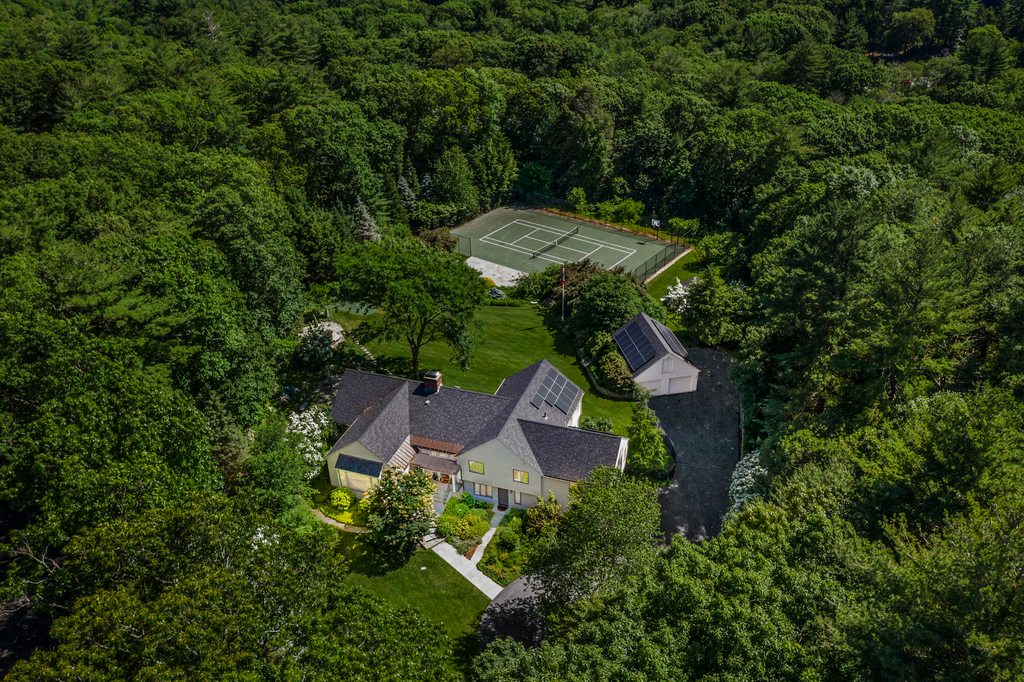
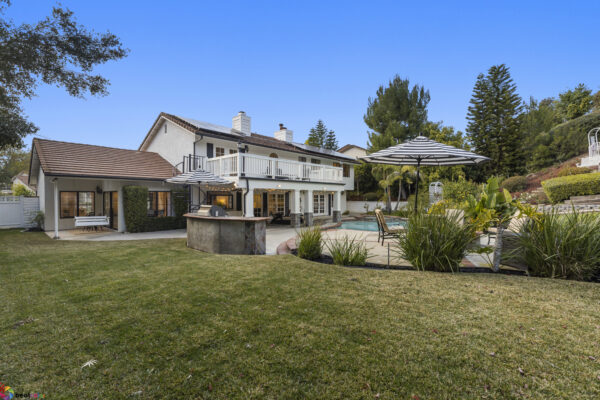
In terms of shooting the exteriors, a hot shoe flash is helpful to direct the light towards the structure in order to highlight the property. To showcase the landscape of the house, a flash still works in filling shadows if it is directed over the entire shot.
In addition, you can use this trick to take a clear window view while still capturing a large portion of the room. To get the perfect shot with a nice view outside, remember to match the lighting from the window and the interior.
See how to use the flash shots in the post-processing stage here.
Method 3: Get to Know Multiple Wireless Flashes
Once the single bounced fill flash can’t light-up the high ceiling well or feature the scenic landscape outside the window, multiple flashes would do a fantastic job.
Besides lighting-up the valuable items in the room, don’t forget to look for shadowy areas then bounce the flashlight to brighten much more details.
Method 4: Take Action at the Right Moment
In Real Estate Photography, the quote “Time is more precious than gold” is so true. Especially as for exterior shots, taking at the wrong time is easier to make the front dark. Or else we have to expose the window . To capture wonderful exterior shots, schedule shooting hours according to the direction of the house to have the best sunlight. Further than that, you can choose to shoot bracketing and choose the fastest exposure, which is the most correctly captured for front shots.
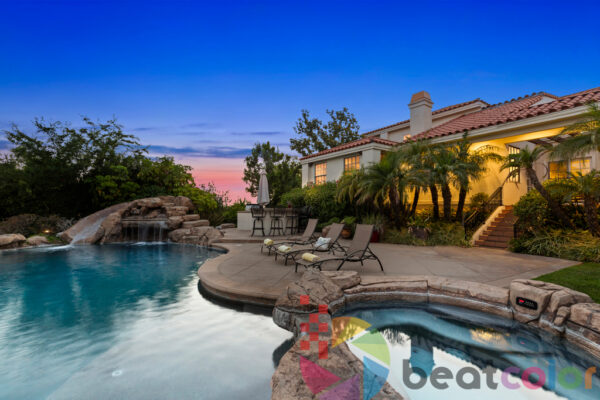
Talking about Real Estate Photography Lighting, it is impossible to miss ‘golden hours’ to capture the inviting virtual images. That moment is quite short, which is around 20 minutes before and after the sunset. Such a short time also requires everything done quickly. So, you would need a tripod and a long shutter speed. At that time, getting the cool blue hue while avoiding shadows becomes easier. More specially, turning all the interior lights on would create a magic with beautiful lighting.
Similarly, in the twilight, the indoor lights and the outdoor lights nearly match with each other. Hence, it avoids the exposure windows so well.
Method 5: Use HDR While Maintaining A Natural Look
The HDR technique is getting more popular thanks to its good light handling, which the large camera sensors still can’t composite a full frame image perfectly.
To use HDR on your camera, you would choose the bracketing mode and take multiple photos at different exposures. Normally, you should do at least three exposures, including one window shot, one interior, and another in between that. The post-processing step of Realty Editor will merge those together to create a crip photo. To remain a natural look for a HDR taken photo, it is necessary that in your Real Estate Photo Editing step, you use local adjustments to recover highlights and shadows only where needed, leaving the correctly exposed parts of the image untouched.
Method 6: Work on Mixed Lighting
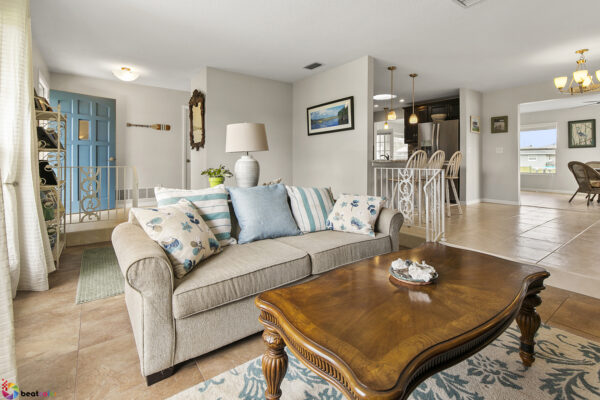
In this circumstance, light sources like the window, light textures don’t match. It creates a color cast for your image. Although it can be solved through the step “White Balance” in Photoshop, you still minimize such cases.
The simplest way is turning off every lighting device. Masking in the lights saves more time in the color correction stage. So, let’s shoot the room with both turning on and off. Then, like the way you merge the window view. You will mask in the illuminated lights from two HDR composites of each lighting situation. This is good for fixtures that don’t have much illumination but should be seen turned on.
Another way is using gel filters along with a flash to match the color temperature of light fixtures.
Conclusion
Real estate photography lighting plays a crucial role to produce warm and inviting images. Viewers can also see the beautiful scene out of the windows and the interior space as well.
The fact that there is no one-size-fits-all technique for all properties. Furthermore, the lighting varies between each house and certain features you want to highlight. We hope this article will well present the main techniques for all aspiring photographers to get the right real estate photo lighting.


