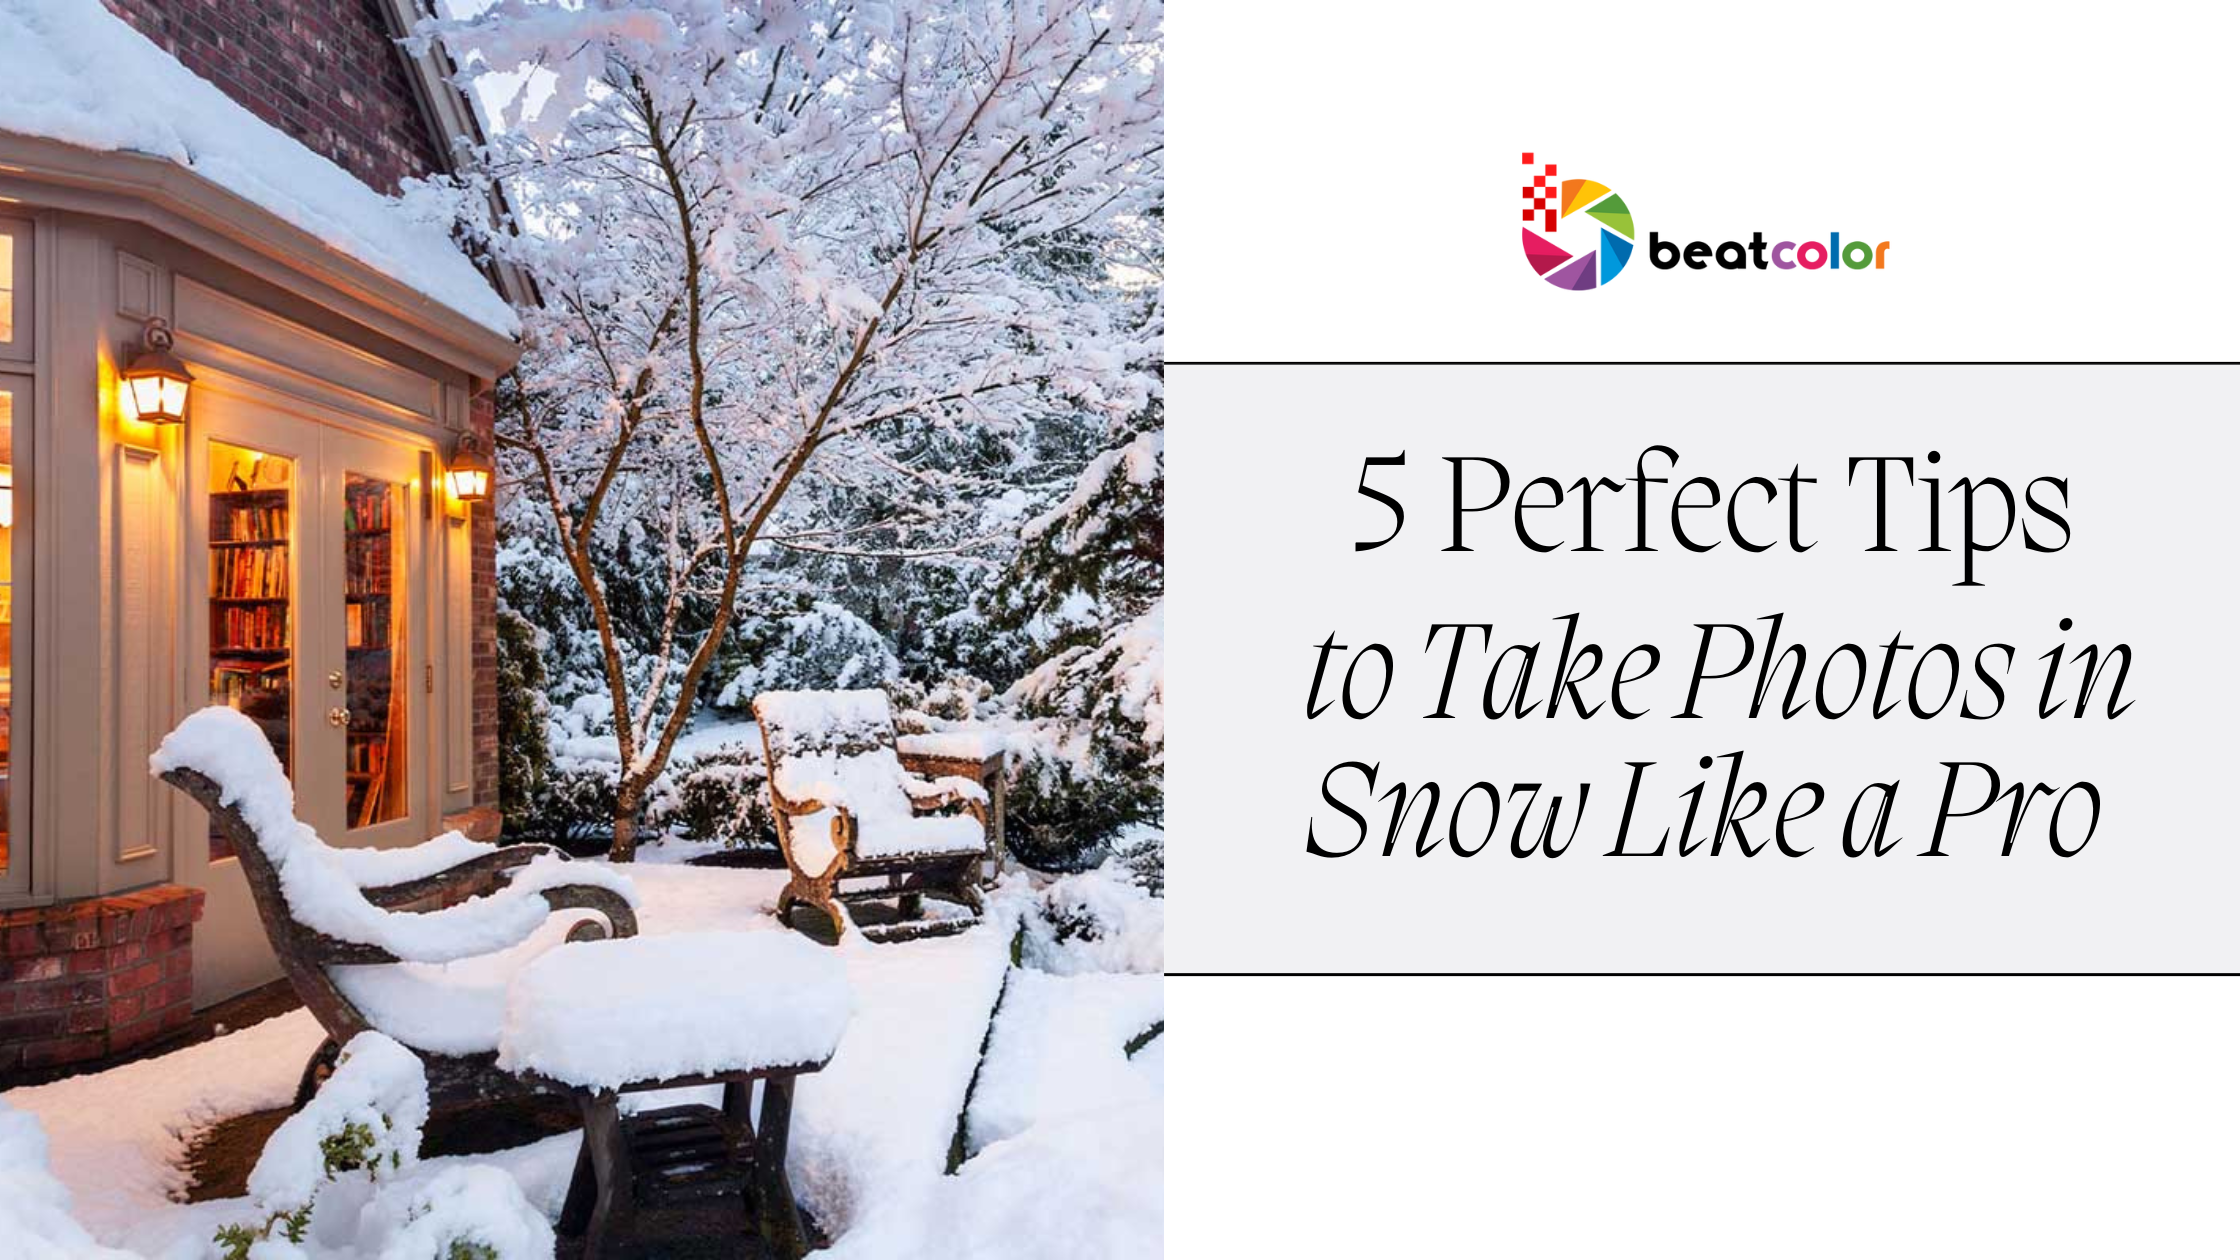
5 Perfect Tips to Take Photos in Snow Like a Pro
To successfully take photos in snow, you need more than just a good camera and an eye for beauty. Snow transforms ordinary landscapes into magical winter wonderlands, offering unique opportunities for photographers to capture breathtaking scenes.
However, snowy conditions can be tricky to photograph due to lighting challenges, reflections, and the cold weather. With the right techniques, tools, and mindset, you can create stunning images that stand out.
1. Master Your Camera Settings to Take Photos in Snow
To successfully take photos in snow, it’s crucial to adjust your camera settings to suit the unique conditions of snowy environments. Here’s how to get started:
a) Exposure Compensation
Snow often reflects light so brightly that cameras misinterpret the scene and underexpose the image, making snow appear dull or gray. Use exposure compensation to brighten the image. Increasing by +1 to +2 stops ensures the snow looks crisp and white.
b) Set the Right White Balance
Snowy landscapes often have a cool, bluish tone, especially in shaded areas. To make the snow look more natural, adjust your camera’s white balance. Use the “Daylight” or “Cloudy” settings for a warmer tone, or customize the white balance for better results.
c) Optimize ISO, Shutter Speed, and Aperture
- ISO: Keep it low (ISO 100-400) to minimize noise, especially in bright conditions.
- Shutter Speed: Use a fast shutter speed (1/500 or higher) to freeze falling snowflakes or wildlife. For motion blur effects, slow it down to 1/30 or less.
- Aperture: Use a smaller aperture (f/8 to f/16) for landscapes to keep everything in focus. For portraits or isolated subjects, use a wider aperture (f/2.8 to f/4) to create a beautiful background blur.
Properly configuring these settings will ensure that your snowy shots are well-exposed, sharp, and vibrant.
2. Plan Your Shoot Around Lighting and Weather Conditions
Lighting and weather play a significant role in the success of snow photography. Planning ahead will help you capture the best possible shots.
a) Embrace the Golden Hour
The golden hour—shortly after sunrise and just before sunset—offers soft, warm lighting that enhances the beauty of snowy landscapes. Shadows are longer, and the light creates a gentle contrast against the snow.
b) Overcast Skies Are Your Friend
Cloudy days provide diffused lighting, which reduces harsh shadows and evens out exposure. This is especially helpful when photographing reflective snow.
c) Photograph During or After Snowfall
Capturing falling snow creates a magical, wintry vibe in your photos. Use a fast shutter speed to freeze snowflakes in motion, or a slower speed to create a dreamy, blurred effect. After a snowfall, the pristine, undisturbed snow makes for stunning images.
d) Avoid Midday Light
Direct sunlight during midday can create harsh shadows and overexposed highlights. If you must shoot at this time, use a polarizing filter to minimize glare and enhance contrast.

3. Add Contrast and Color to Take Photos in Snow
Snow-dominated scenes can often appear flat or monochromatic due to the abundance of white. To create dynamic and visually engaging images, focus on incorporating contrast and pops of color.
a) Include Colorful Subjects
Add vibrancy to your photos by including elements like a red barn, a blue scarf, or the warm tones of sunrise or sunset. Brightly dressed subjects, such as people in colorful jackets, also make your shots more visually appealing.
b) Look for Natural Contrast
Identify contrasting elements, such as dark tree trunks against white snow or shadows cast by sunlight. These contrasts add depth and interest to your composition.
c) Use Leading Lines
Paths, fences, or rivers in snowy landscapes create natural leading lines that draw the viewer’s eye through the scene. This technique adds structure and intrigue to your images.
4. Protect Yourself and Your Gear in the Cold
Taking photos in snow requires extra preparation to ensure both you and your equipment stay safe and functional in cold conditions.
a) Dress Warmly
Layer up with insulated, waterproof clothing, gloves, and boots. Gloves with touch-sensitive fingertips are particularly useful for adjusting camera settings without exposing your hands to the cold.
b) Keep Your Batteries Warm
Cold weather quickly drains camera batteries. Bring extras and keep them in an inner pocket close to your body to maintain their charge.
c) Protect Your Camera
- Use a weather-sealed camera or a protective cover to shield your gear from snow and moisture.
- Avoid condensation by placing your camera in a plastic bag before bringing it indoors. Wait for it to adjust to room temperature before removing it from the bag.
d) Use Lens Hoods and Filters
A lens hood reduces glare from the snow, while a polarizing filter enhances contrast and reduces reflections. These tools are invaluable for maintaining image quality in snowy conditions.
5. Capture Unique Perspectives and Creative Shots
Snow photography offers endless opportunities for creativity. Experiment with angles, compositions, and subjects to make your photos stand out.
a) Focus on Details
Zoom in on the intricate patterns of frost, snowflakes, or icicles. These small details add variety and uniqueness to your snowy portfolio.
b) Try High and Low Angles
Climb to a higher vantage point for expansive views of snowy landscapes, or crouch low to capture snow-covered textures up close. Changing your perspective can reveal fresh, creative compositions.
c) Play with Light and Shadows
Take advantage of snow’s reflective properties to create interesting light patterns or highlight specific areas of your composition. Silhouettes against a snowy background also make for striking images.
d) Include Human and Wildlife Elements
Photographs of people sledding, walking, or playing in the snow add storytelling and scale to your images. Wildlife in snowy settings, such as deer or birds, also makes for captivating subjects.

Final Thoughts
Taking photos in snow presents both challenges and opportunities. With the right preparation and techniques, you can capture the serene beauty of winter landscapes in all their glory. Whether it’s mastering exposure settings, protecting your gear, or finding creative compositions, each tip plays a role in elevating your snowy shots.
So grab your camera, head out into the frosty wonderland, and let your creativity shine. With practice and patience, you’ll be able to take snow photos that truly stand out!
Read more:
Aerial Real Estate Photo Editing: Transforming Property Marketing from Above
5 Key Challenges in Panorama Real Estate Photo Editing
The Basic Steps for Photo Enhancement in Real Estate Photo Editing


