
Real Estate Photo Editing: The Complete Guide for Realtors
Buyers form an opinion about a home within seconds of seeing the first photo online, and that first impression often decides whether they click, scroll past, or book a showing. That’s why real estate photo editing has become a non-negotiable step for agents who want their listings to stand out on Zillow, Realtor.com, and the MLS. A well-lit, color-corrected, and professionally polished image doesn’t just look nicer, it signals credibility and helps a property sell faster, often at a higher price.
However, many realtors still upload straight-out-of-camera photos, and the result is a listing that looks flat, dark, or inconsistent next to competing properties. In this guide, we’ll walk through everything you need to know about real estate photo editing: why it matters, the most common techniques, a step-by-step workflow, the DIY-versus-outsourcing decision, and the mistakes to avoid. By the end, you’ll have a clear framework for turning ordinary listing photos into scroll-stopping visuals.
Why Real Estate Photo Editing Matters for Realtors
Photo quality directly influences how buyers interact with a listing. When a home’s photos look crisp and inviting, more people click through, spend longer browsing the gallery, and eventually schedule a tour. Consequently, agents who invest in real estate photo editing often see stronger engagement metrics across every platform they use.
Moreover, editing affects more than clicks, it affects the bottom line. Homes with professionally edited photos tend to sell faster because buyers can visualize themselves in the space before they ever step through the door. In addition, sharp, well-balanced images reduce the number of “wasted” showings from buyers who feel misled by inaccurate or poorly lit photos.
Finally, competition plays a major role. Since every listing on Zillow or the MLS sits side by side with dozens of others, a photo that looks washed out or crooked simply gets scrolled past. Real estate photo editing gives your listings the polish they need to compete with and outperform neighboring properties in a crowded feed.
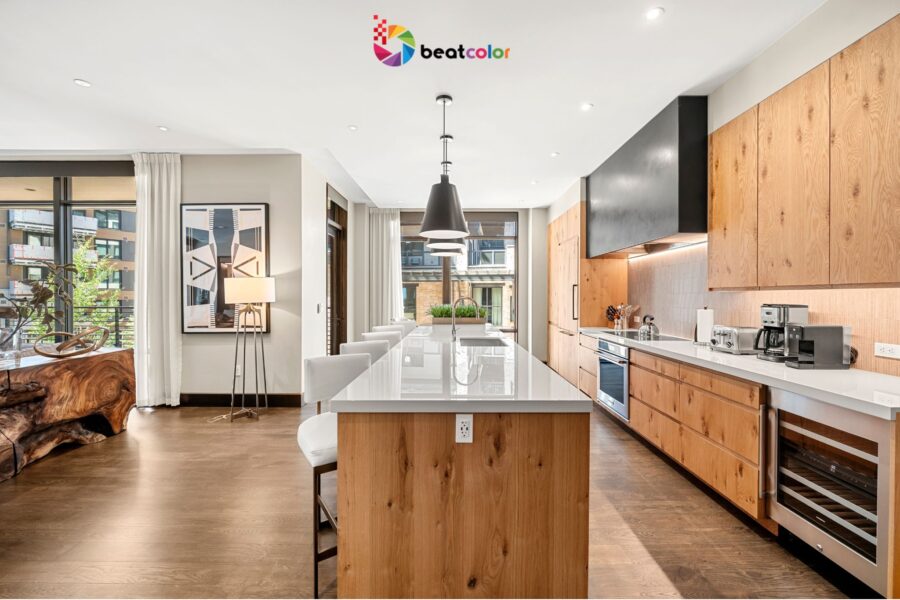
Popular Real Estate Photo Editing Techniques Every Realtor Should Know
Not all edits serve the same purpose, so it helps to understand the main techniques photographers and editors use. The table below breaks down the most common types of real estate photo editing and when each one applies.
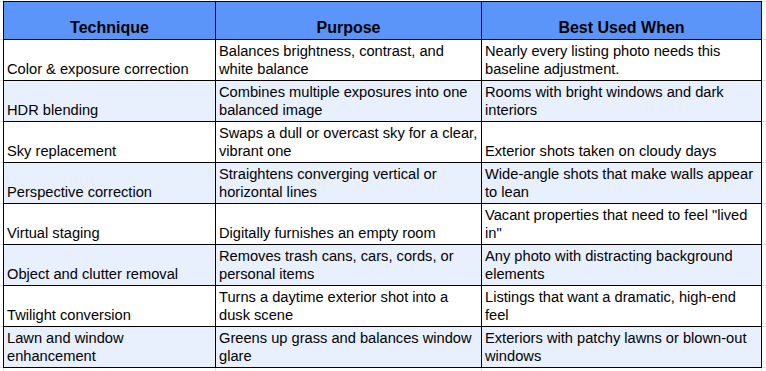
Each of these techniques plays a distinct role, and most professional listings combine several of them rather than relying on just one. Understanding this menu of options allows you to brief a photographer or editor precisely instead of guessing at what a photo needs.
The Professional Real Estate Photo Editing Process, Step by Step
A consistent workflow separates amateur results from professional ones. Here’s how a typical real estate photo editing process unfolds from the moment the shutter clicks to the moment the final image gets uploaded.
Step 1: Shoot in RAW with bracketed exposures. Photographers capture several shots of the same scene at different exposure levels, which gives editors the flexibility to blend highlights and shadows later without losing detail.
Step 2: Import and cull the images. Editors review every shot, discard blurry or redundant frames, and select the strongest angle for each room.
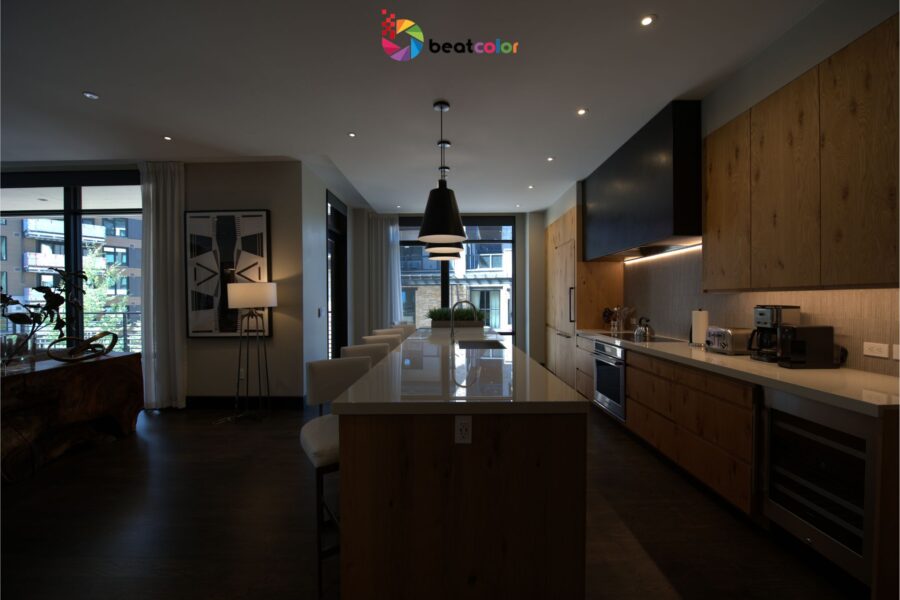
Step 3: Blend exposures and correct color. Using HDR blending and white-balance adjustments, editors merge the bracketed shots into one naturally lit image that reflects how the room actually looks.
Step 4: Retouch the details. This stage covers perspective correction, object removal, sky replacement, and any staging work the listing requires.
Step 5: Export for the right platform. Finally, images get resized and formatted to meet MLS, website, and print specifications, since each platform has different resolution and file-size requirements.
Because this workflow moves through several dependent stages, skipping a step, such as shooting without brackets, limits what editors can achieve later, no matter how skilled they are.
DIY vs. Professional Real Estate Photo Editing Services: Which Should You Choose?
Once you understand the techniques and workflow, the next decision is whether to edit photos yourself or hand them to a professional service. Both paths work, but they suit different situations.
When DIY Editing Makes Sense
Agents who list only a handful of properties per year, or who enjoy learning tools like Lightroom, Photoshop, or newer AI-powered editors, can often handle basic color correction and cropping on their own. This approach costs little beyond the software subscription and gives you full creative control.
When Outsourcing Makes Sense
On the other hand, agents managing multiple listings per month rarely have time to master HDR blending, virtual staging, and perspective correction on top of their regular workload. In this case, outsourcing to a dedicated real estate photo editing service saves time and delivers more consistent results across every listing. While DIY editing keeps costs low, it demands a steep learning curve and ongoing time investment; a professional service, by contrast, trades a modest per-photo fee for speed, consistency, and access to advanced techniques you’d otherwise need training to perform well.
When evaluating a service, look for a fast turnaround time, clear pricing, sample galleries that match your property type, and a straightforward revision policy. Services like BeatColor, for example, typically commit to a 24–48 hour turnaround and unlimited revisions, which removes much of the guesswork from choosing a partner.

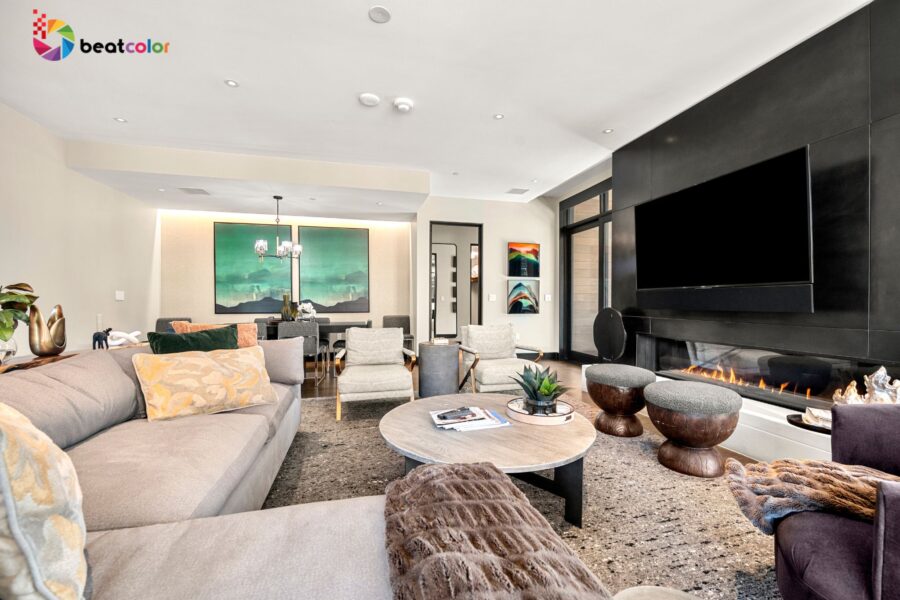
Common Mistakes and MLS Rules in Real Estate Photo Editing
Even with the right tools, certain mistakes show up again and again in real estate photo editing. Avoiding them protects both your listing’s appeal and your professional reputation.
Overediting. Pushing saturation, brightness, or sky replacement too far creates images that look artificial rather than aspirational, and buyers often notice the difference the moment they walk through the door.
Distorted proportions. Aggressive perspective correction or wide-angle lenses can make rooms appear larger than they really are, which sets unrealistic expectations and risks disappointing buyers during a showing.
Inconsistent style across a listing. When one photo looks warm and bright while the next looks cool and flat, the gallery feels disjointed rather than cohesive.
Ignoring MLS photo guidelines. MLS, short for Multiple Listing Service, is the shared database that agents use to publish and distribute listing information within their local market. Because each regional MLS sets its own rules, often limiting how much editing is allowed and requiring disclosure for virtual staging, it’s worth checking your local MLS policy before uploading heavily edited images. Overlooking this step can lead to a listing being flagged or removed entirely.
By keeping edits realistic, consistent, and compliant with local MLS rules, you protect both the listing’s performance and your credibility as an agent.
Conclusion: Invest in Real Estate Photo Editing, Sell Homes Faster
Real estate photo editing isn’t a cosmetic afterthought, it’s a direct lever on how quickly a home sells and how much it sells for. As we’ve covered, professional editing improves click-through rates, helps listings compete on crowded platforms, and gives buyers a realistic yet compelling first look at a property. Choosing the right combination of techniques, following a consistent workflow, and staying within MLS guidelines all play a part in getting there.
If you’d rather skip the learning curve and hand your listings to specialists, BeatColor offers professional real estate photo editing with fast turnaround, MLS-compliant results, and support for every technique covered in this guide, from HDR blending to virtual staging. Sign up for a free BeatColor account and test the service on your next listing to see the difference professional editing makes.