A Straightforward Guide To Remove Shadows From Photos
If you are seeking a straightforward guide to remove shadows from photos, this post is perfect to grab. It introduces how to use Patch Tool, Clone Tool, Magic Wand Tool combined with adjustment layers to remove shadow. Additionally, the article provides you practical tips, which we can take advantage of once shooting properties without leaving shadows.
How To Remove Shadow In Photoshop
In this part, we provide you background knowledge about How To Remove Shadow From Photos in Photoshop. Utilising the following methods flexibly certainly creates very catching-eyes. Let’s check-it now!
Method 1: Removing Shadows From Photos Using Patch Tool
Patch tool is categorized under Spot Healing Brush, which is used to touch-up the photos. Patch tool uses selection defined-areas while Spot Healing Brush works by brushing images.
Distinctively, Patch tool is used for the images, in which texture, lighting and shading of the shadowless area is very similar to the shadowed area. Photoshop will replace a shadowed patch with a well-lit patch seamlessly via the Patch tool. Photoshop will replace a shadowed patch with a well-lit patch seamlessly via the Patch tool.
Here, we will show you How To Remove Shadow From Picture By Patch Tool.
Step 1: Open image in Photoshop and duplicate the layer if you use the older version than Photoshop CS6. By duplicating one layer, you are not going to accidentally damage the original photo.
Step 2: Go to the Toolbar and find the Patch Tool (in the left side of panel) then click on it. Whenever you press the shortcut Ctrl+J on the keyboard, the Patch Tool is automatically opened.
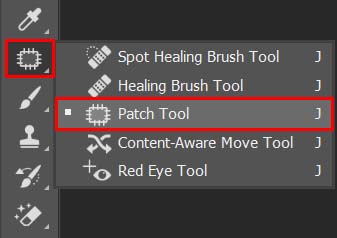
Step 3: Choose Content Aware from the dropdown menu of Patch. This function allows Photoshop to create the new pixels.

Step 4: Now, let’s move to the most important stage, removing shadow. Draw around the shadow area and move the cursor to the other part of the photo, which you want to replace the shadow with.
Step 5: Release the mouse button. The software will automatically merge the edges.
You can do an additional step to adjust the work until you are completely happy with it. By regulating the Adaption settings in the Options bar.
Method 2: Use Clone Stamp and Healing Brush
Method 2 “Use Clone Stamp and Healing Brush” gives you more control over small details. Instead of drawing around the shadow area as presented in method 1, it uses a brush to paint over either a portion of the image or over parts of another image. More especially, the handy Clone Tool works well in the following cases:
- Filling an empty space
- Making a border of one area with another
- Balancing out an image
- Making a background or pattern from an image
Now, let’s start with How To Remove Shadows From Photos
Step 1: Duplicate the layer.
Step 2: Open the Clone Stamp Tool in the left side of the Tools menu. Adjust the brush size by tapping on the Brush icon. Using Increase/ Decrease the size and hardness, which helps get smooth edges.
Step 3: Choose a source point referred to as pixels from the background, which is the most similar to the shadow area
Step 4: Press and hold Alt. Then, the cursor will turn into a crosshair. Next, click on the pixels chosen.
Step 5: Release the Alt button and move crosshair into the shadow area that needs editing-out.
Finally, you can use the Healing Brush functions to make every copied pixel look resemble in terms of texture, lights, ect,…
Method 3: Using Magic Wand Tool & Adjustment Layers
If you are seeking a quicker and effective method for removing shadows from photos, this method combined by Magic Wand Tool & Adjustment Layers is the right one to do.
Let’s follow the guideline and you will see how magical it is as its name:
Step 1: Duplicate the layers
Step 2: Open the Magic Wand Tool
Step 3: Select shadow area
Step 4: Right click on the mouse and choose “Layer/New Adjustment Layer/Brightness/Contrast/OK”
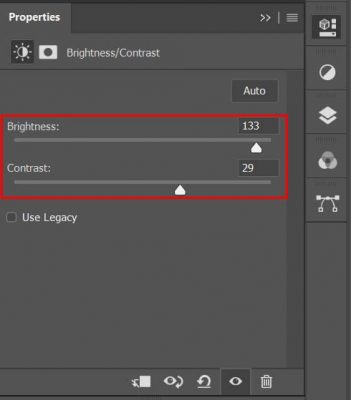
Step 5: Adjust the brightness, contrast, shadow to meet with an unshadowed area.
Tip To Avoid Shadows Once Taking Photos
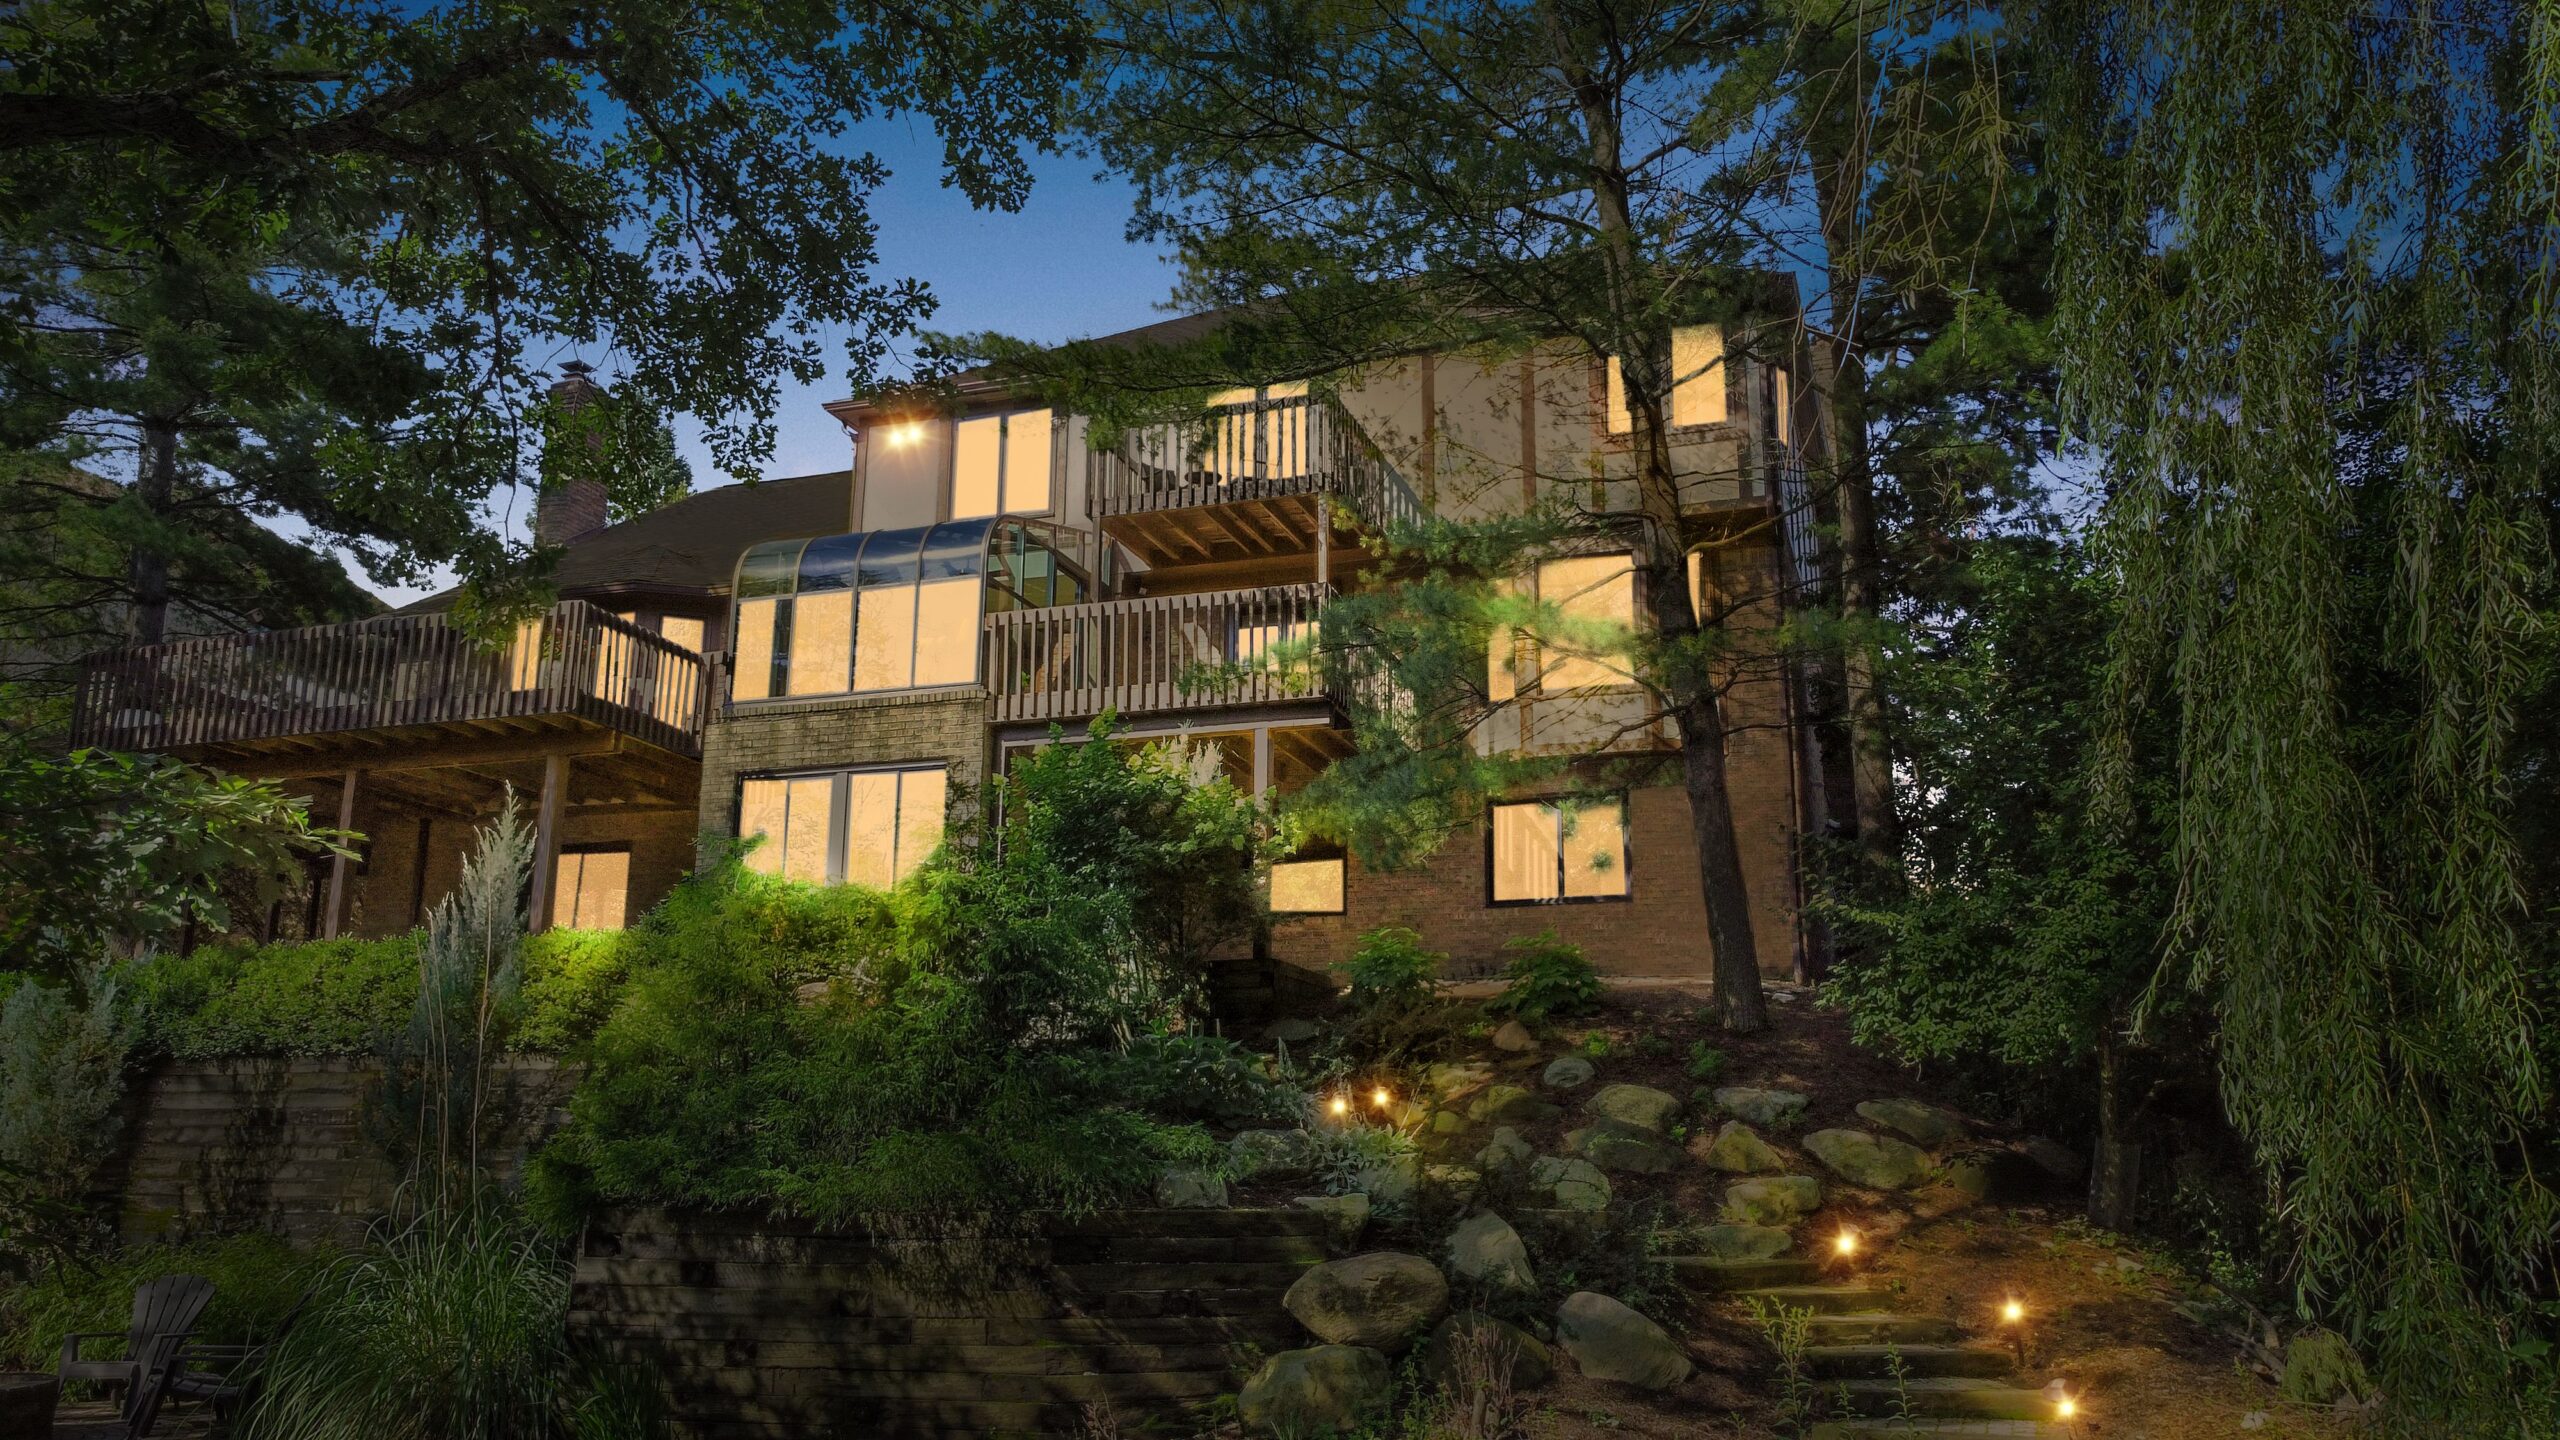
Manipulating the natural and artificial light sources is always a decisive factor to define a deep photo showcasing all natural beauty of the property. It requires certain knowledge to understand light arrays and the sun position. Additionally, photographers also need to use techniques in using lighting sources. Based on those points, the following practical tips provide you with the most essential techniques or tricks to avoid shadows for the indoor and outdoor photography:
- Use shutter priority mode: S for Nikon and Tv for Canon.
- Set shutter speed between 1/60 to 1/200 to avoid flints coming from light bulbs.
- Utilize a reflector to supply additional light sources for dark areas.
- Avoid shadowed wall effect by using a reflector or other light source in the background to put the shadows down.
Tricky & practical tips:
- Turning on light service without creating shadow, which are provided by realty editors
- Starting shooting the less important rooms like the bathroom. children room on sunny days.
- Using best ambient light sources for the primary rooms like great room, master bedroom, kitchen & dining room, ect,… to avoid shadows on the wall.
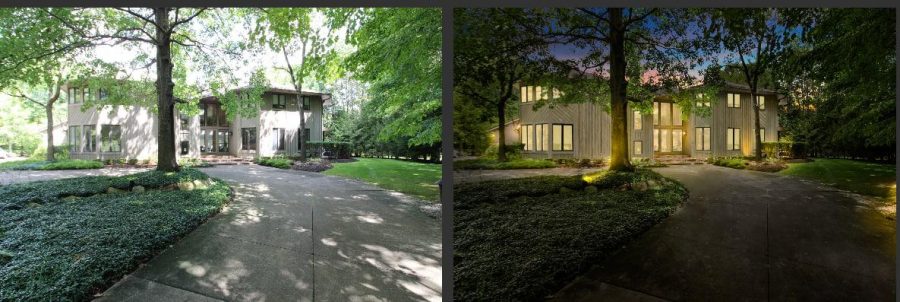
- Shooting the exterior afterwards
- Use Flash & HDR
Conclusion
We hope the concise guideline provides you with useful information for image enhancement and retouching. Practising three methods flexibly and gaining experiences case by case are the right way to get success in touching-up real estate photography.
See A Tutorial : How To Declutter Stuffs By Photoshop


