REAL ESTATE PHOTOGRAPHY TIPS FOR BETTER INTERIOR SHOTS
Real estate photography includes exteriors photography and interiors photography. Each type has its own set of requirements to get the best images. Many photographers agree that interiors photography is a bit more difficult to shoot than exteriors photography is. So here are some interesting tips for the best interiors real estate photographs.

Real estate photography tip #1: Equipment
Without photography tools, how can you take a photograph? Therefore the first thing you must keep in mind is getting the right tools.
A wide angle lens (24mm equivalent or wider) is suggested. With wide angle lens you can show an entire room instead of just a part of one wall. Generally if you’re unsure of which camera to get, it’s best to go with a more affordable option first, then upgrade later as your skills improve. It is advised to use Canon’s 10-22mm or 10-18mm and Nikon’s 10-24mm lenses on cropped-frame bodies and the Nikon 14-24mm, Canon and Nikon 16-35mm lenses and the Canon 17-40mm for for full-frame bodies.
A tripod is a must have for every real estate photographer in the war against blurred photos. The tripod lets you make long exposures so you can use small apertures for sharp focus and use slow ISOs for clean images.
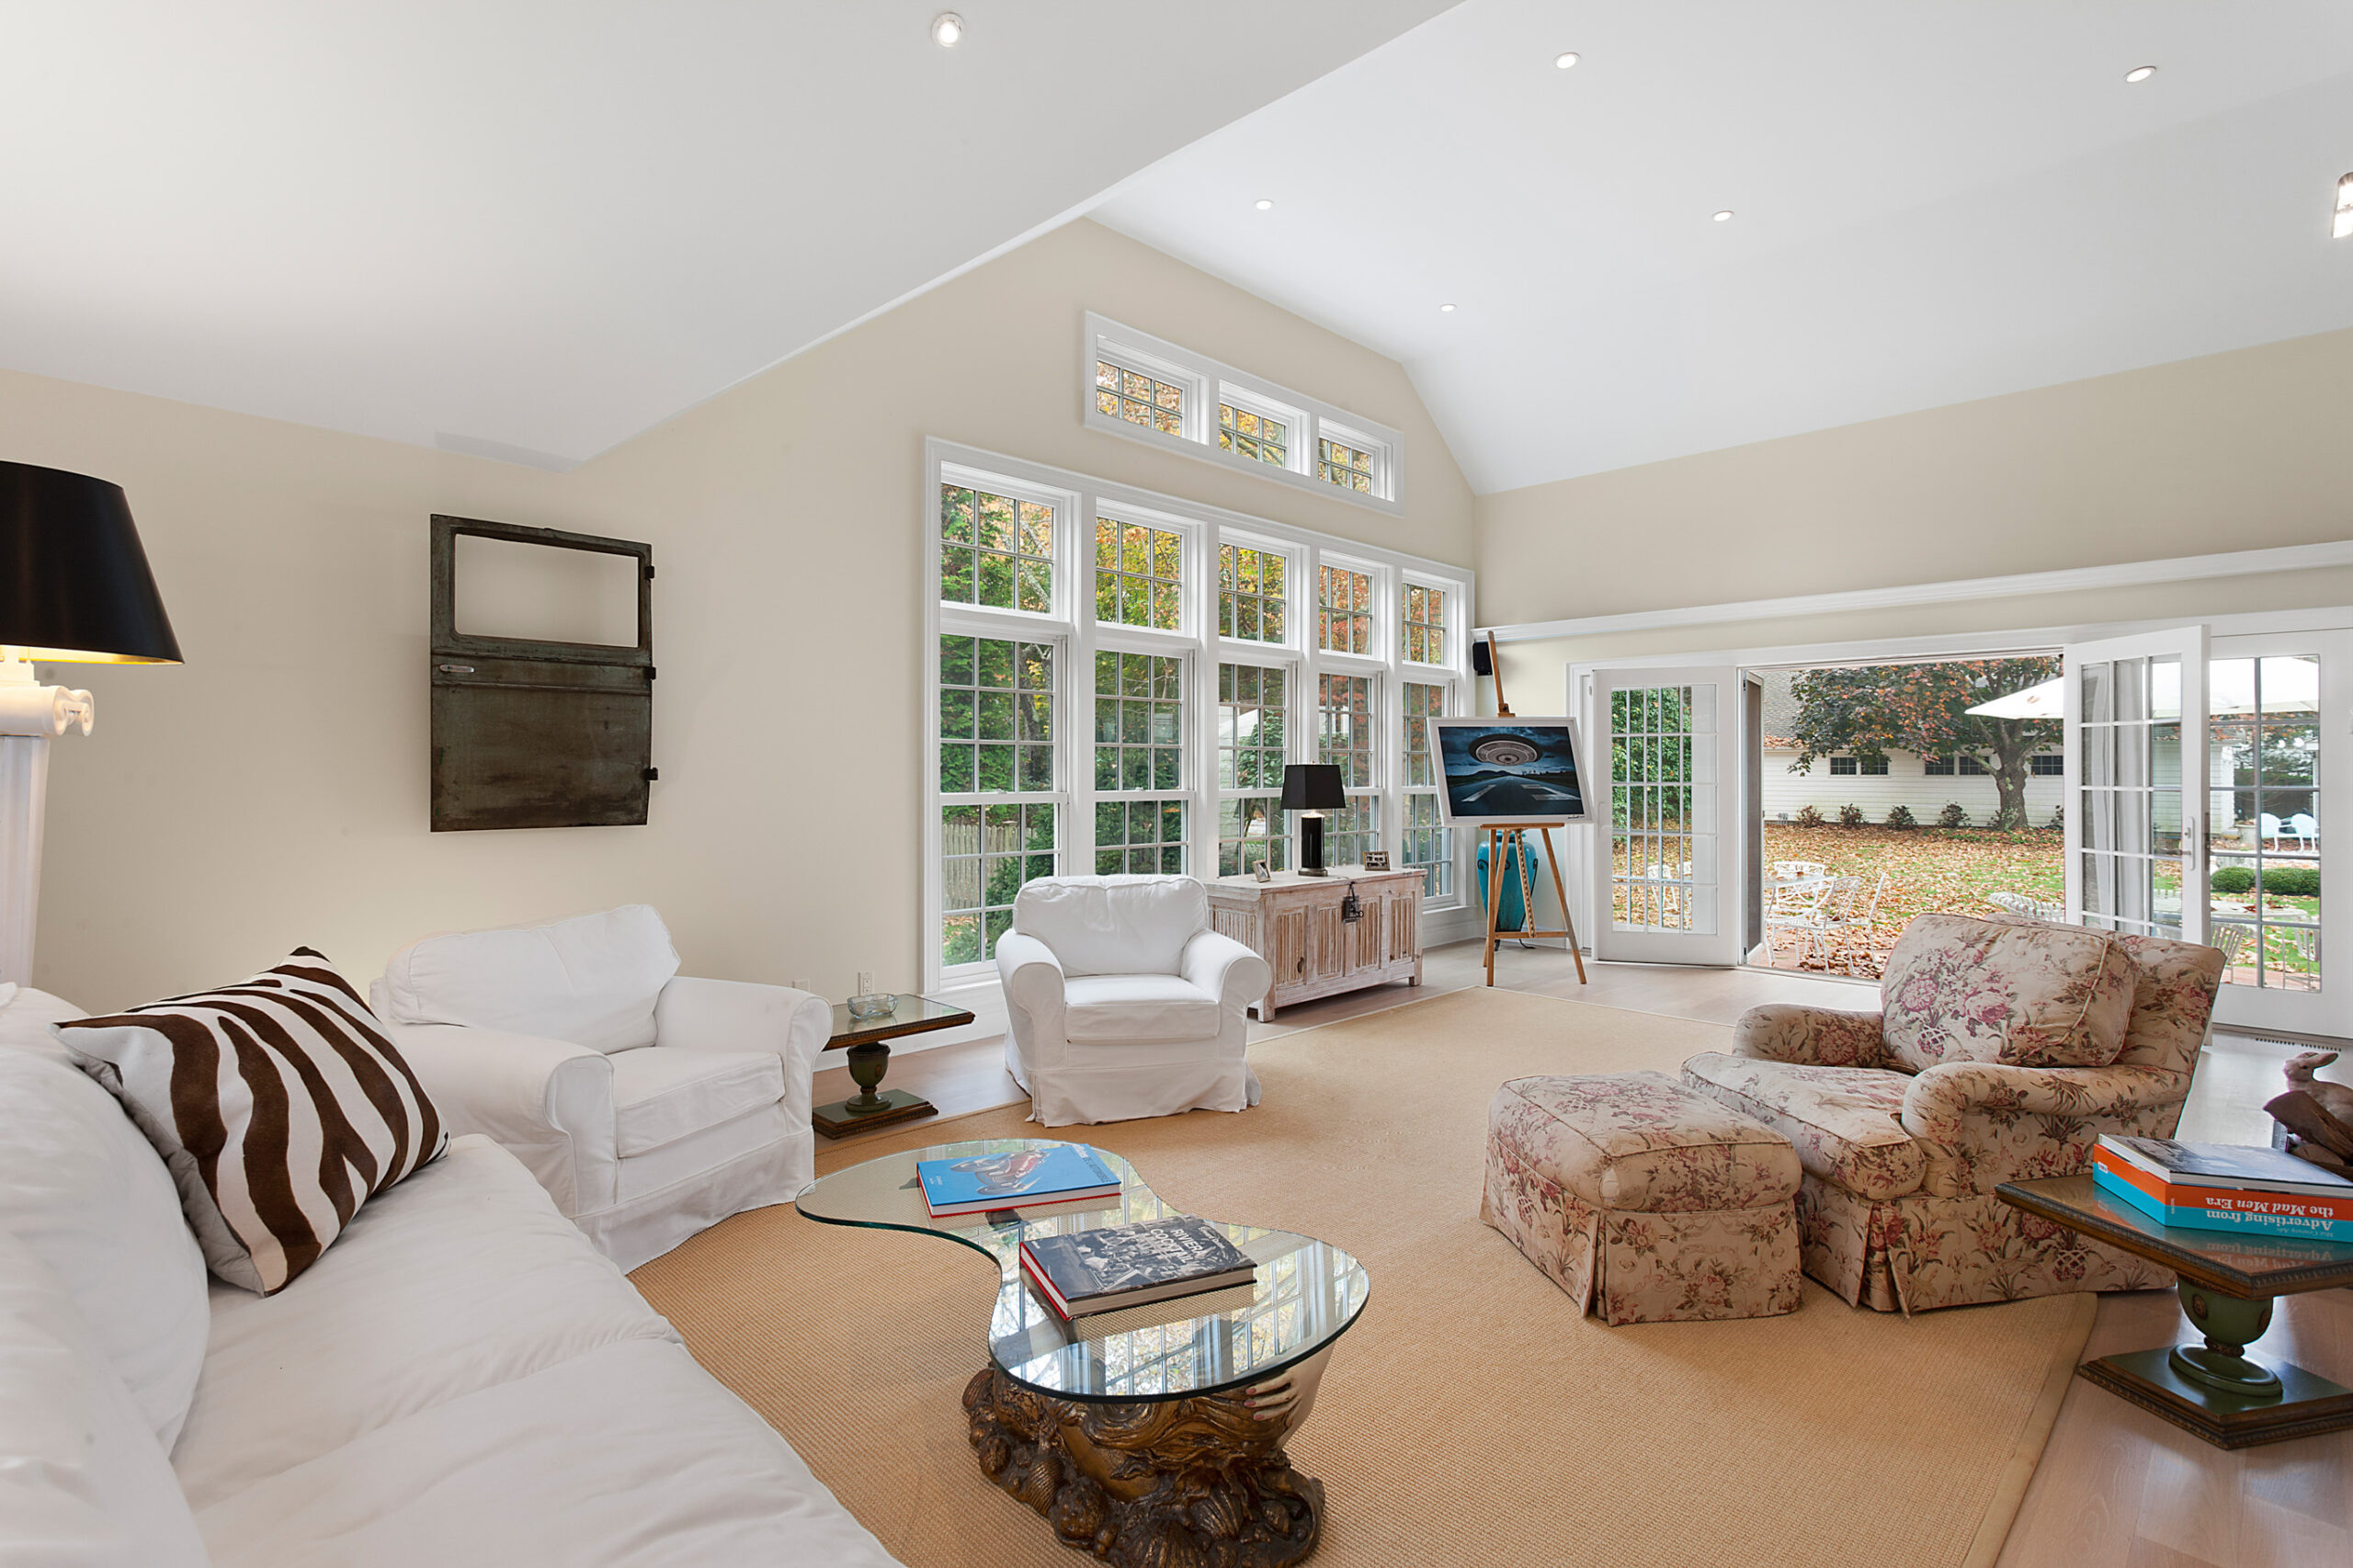
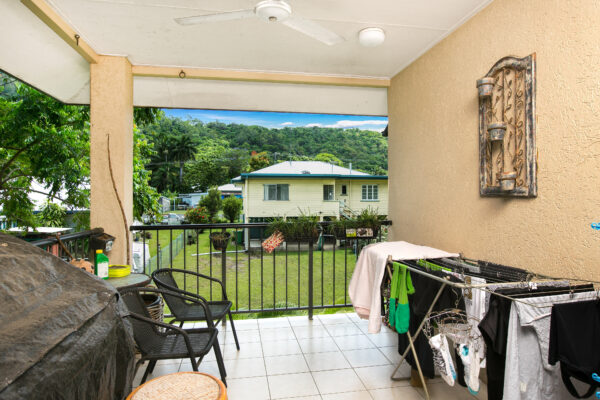
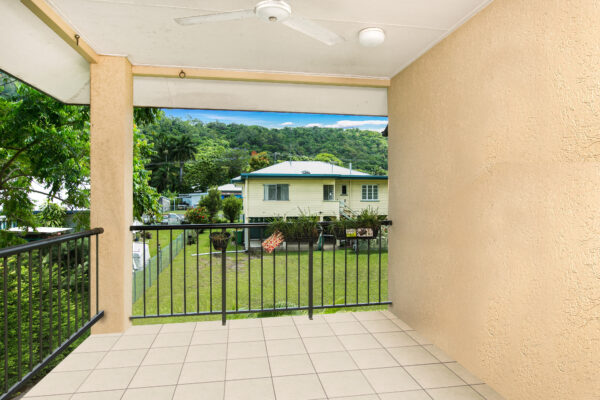
Real estate photography tip #2: Choosing the flattering angles.
Shooting directly the interiors somehow makes your property look dull and cannot convey anything. If you want to add interesting and drama in your property photos, choosing some special angles would be the best choice. Take some time to move around and look for pleasing angles and try to find the angels which can show more than one room. From that, your photographs will have depth and space. However, remember that you’re not trying to show off your possessions or furniture – you’re trying to sell the bare bones of the house. So when in doubt, chose angles that showcase the architectural details of your home, not your furniture.
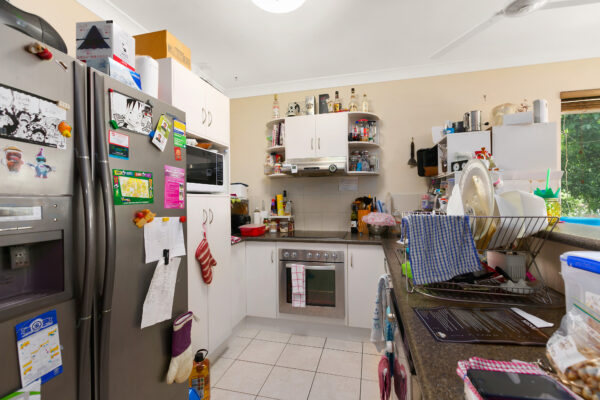
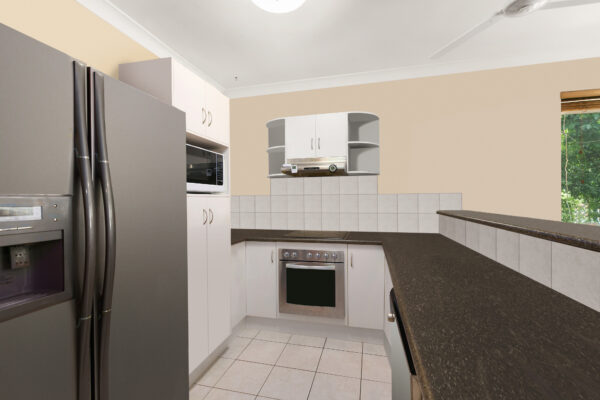
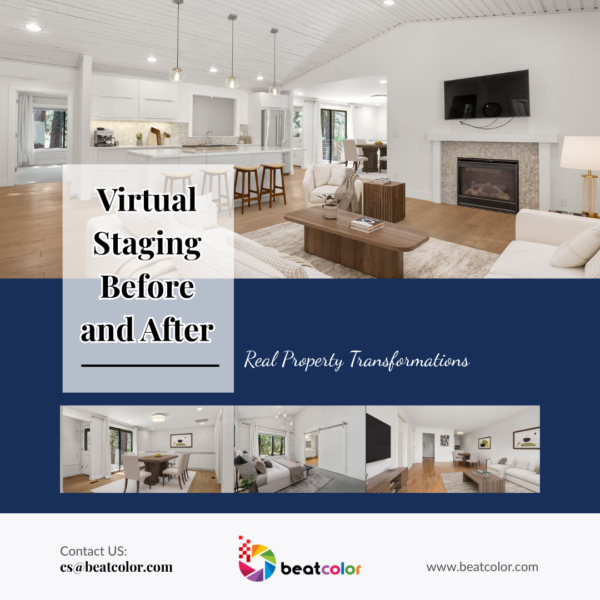
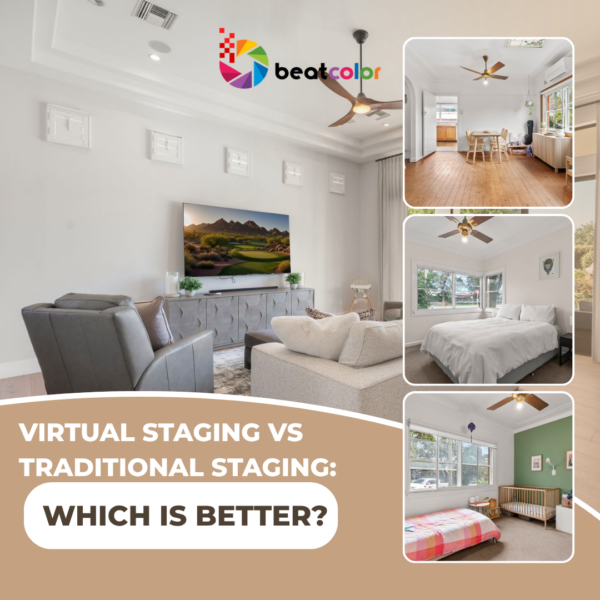
Real estate photography tip #3: Stage your interior rooms
Selling home online or even offline without staging or cleaning your home will be your most regrettable thing ever. Let’s imagine you are the home buyer, will you buy a cramped and untidy house? Is that house worth much money? The answer is definitely not. Spending some of your time to walk through the room and straighten, align, and organize everything possible. Flat surfaces like tables, countertops, and desks should all be completely. For kitchen room, make sure to wipe the kitchen sink down clean cleared off, and small countertop kitchen appliances, or dirty dishes should all be tucked away and out of sight. After doing some touch-ups, your home will definitely be more valuable than before. Look at the below photographs to see how worth it is!
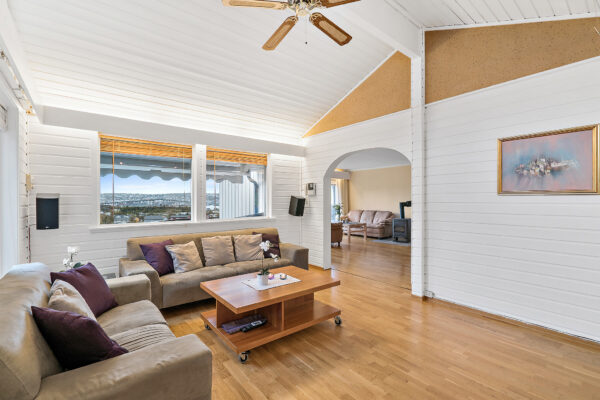
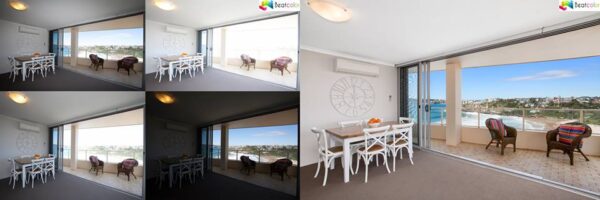
Real estate photography tip #4: Mind the light
Natural daylight will be the ideal factor for an interior shot. However, finding the right time to get the best light for your purpose can be a little tricky. If you want warm and lived-in atmosphere, morning time will be helpful. On the contrary, if you want a cozy, romantic or serious mood, consider evening time. Or if the light is not ideal as you expected, you can try to use HDR photos by taking several pictures (normally 3 or more) in different exposures to capture the darkest photo (-2 EV), correctly exposed photo (EV) and the over exposed photo (+2 EV) and then merging three into one single picture by using Photomatix Pro 5.0. The images, once merged, will create a new image that takes advantage of the entire dynamic range of the originals.
One more thing, don’t forget to utilize the light indoor by turning on all the light. Having interior lights sprinkled throughout the space give accent lights and create a warm, lived-in space that will add to the appeal.
Real estate photography tip #5: Be aware of vertical lines
In architectural photography or real estate photography, verticals MUST be vertical. However, most photographers new to photographing architecture and real estate share in common, is that their verticals are typically not vertical. The fact is photographers don’t pay attention more about verticals. However, it’s important to have verticals parallel with the left and right edge of the frame. Here is one simple tip to have vertical lines: you need to be sure the camera is 100% level. A good tripod will have a bubble level you can reference to be sure the shot is level. Shooting with a level camera will straighten the vertical lines in the frame and make the resulting photo more pleasing to look at.
Real estate photography tip #6: Avoid over-editing
Post-processing is a must after shooting real estate photographs. However, extreme saturation, contrast, clarity, sharpening, and HDR use can all distract from actually showing what the space looks and feels like. A bit white balance or contrast and color adjustment is fine enough to make it natural. If you have further editing requirements, you can have a real estate photo editing company support you. But remember to tell them to make it as much natural as they can.


