How to Take Real Estate Photos Like a Pro

In today’s competitive real estate market, visual presentation can make or break a listing. The majority of potential buyers begin their home search online, where real estate photos often serve as the first impression. Great photos don’t just show a space – they sell a lifestyle. And in many cases, they sell the home itself. But what separates average photos from the kind that actually drive results?
The answer lies in a three-step process: preparing the property, capturing it correctly, and post-processing with professional editing. Whether you’re a real estate agent, a homeowner, or a photographer, understanding these stages can help you produce images that lead to faster sales and stronger offers.
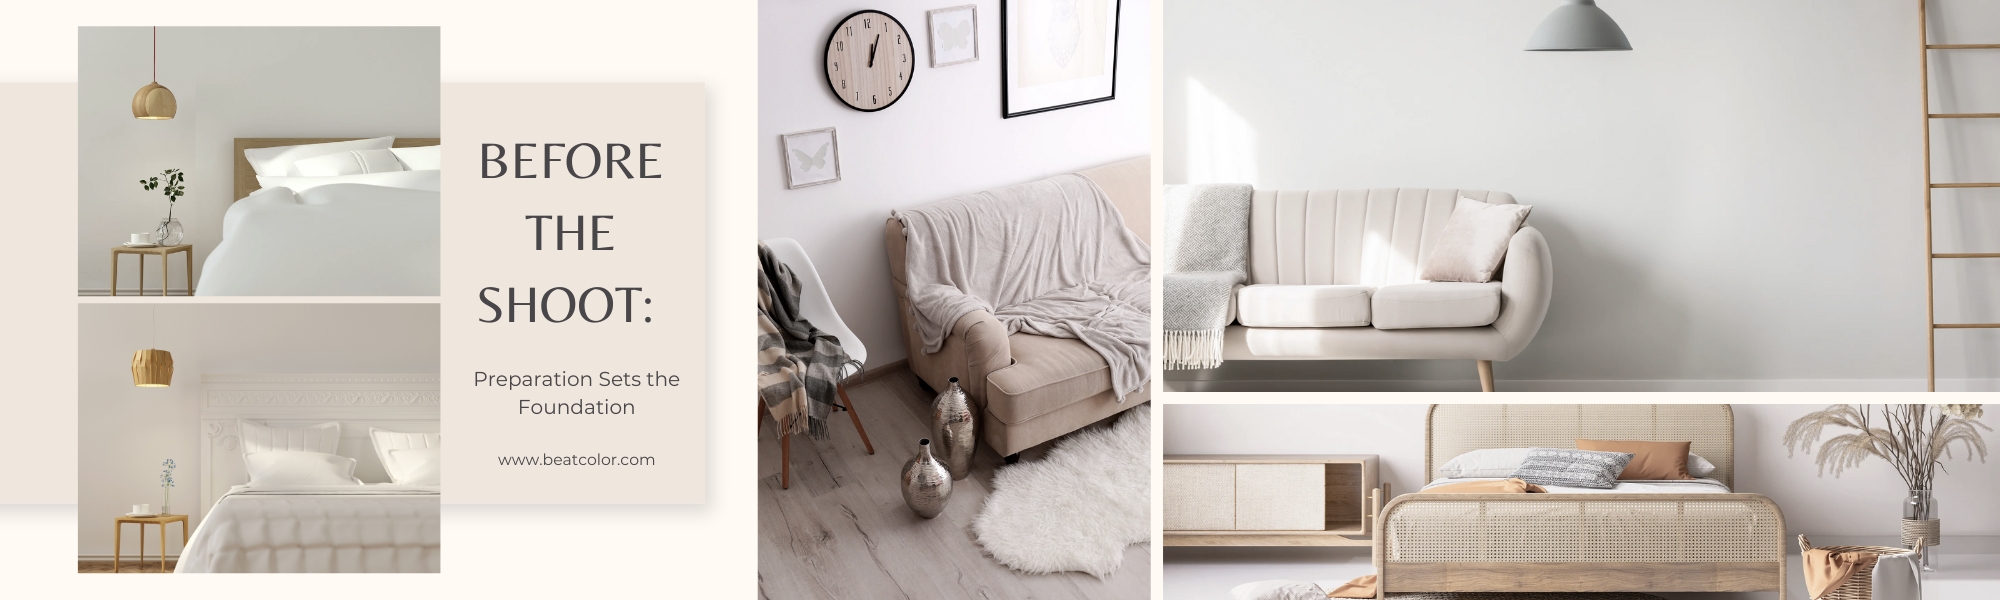
I. Before the Shoot: Preparation Sets the Foundation
Real estate photography begins long before the camera comes out. One of the most overlooked aspects of professional-looking photos is the environment itself. No amount of editing can replace the impact of a clean, well-prepared space.
Watch more: Real Estate Photography for Beginners
1. Clean and Declutter the Space
The first step is making sure the home is spotless. Surfaces should shine, floors must be clean, and all visible clutter should be removed. Personal items, such as family photos or bathroom products, should be hidden to create a neutral environment.
2. Stage for Emotional Appeal
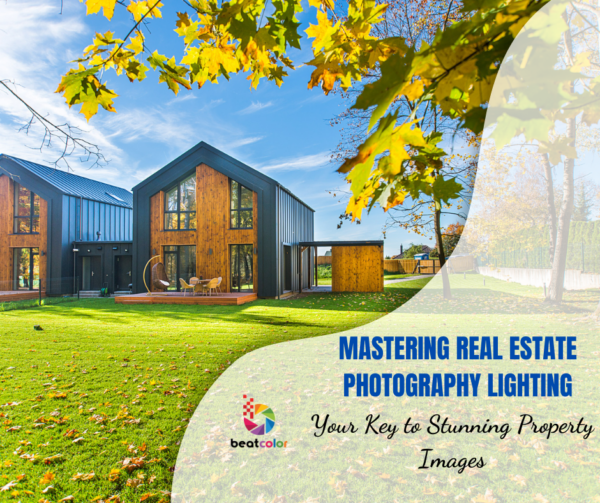
Even minimal staging can make a major difference. Arrange furniture to highlight space, open the blinds, and let in natural light. Small touches – like fresh flowers or neatly folded towels – can help buyers imagine themselves living in the home.
3. Plan the Shoot Strategically
Time of day matters. Schedule your shoot during hours with the best natural light, typically late morning or early afternoon. Walk through the property in advance to determine which rooms and angles you’ll focus on.
II. During the Shoot: Capture with Clarity and Intention
Now that the property is ready, it’s time to photograph it in a way that highlights its features and tells a story.
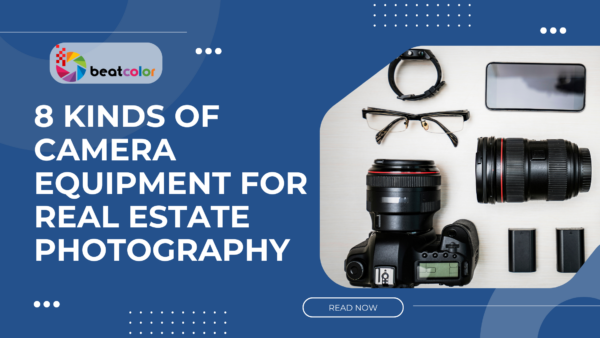
1. Use the Right Equipment
A DSLR or mirrorless camera with a wide-angle lens works best for interiors. Use a tripod for stability and consistent height. If needed, bring additional lighting to balance shadows in darker rooms.
Read more: The Estate Agent Photography Kit For Professional Property Photos
2. Focus on Composition
Shoot from chest height to maintain a natural perspective. Keep lines straight – especially door frames and walls – and capture multiple angles of each room. This helps showcase layout, space, and flow.
3. Cover All Key Areas
Don’t skip essential spaces such as bathrooms, hallways, entryways, and exterior shots. Highlight selling points like views, outdoor spaces, and unique architectural features.
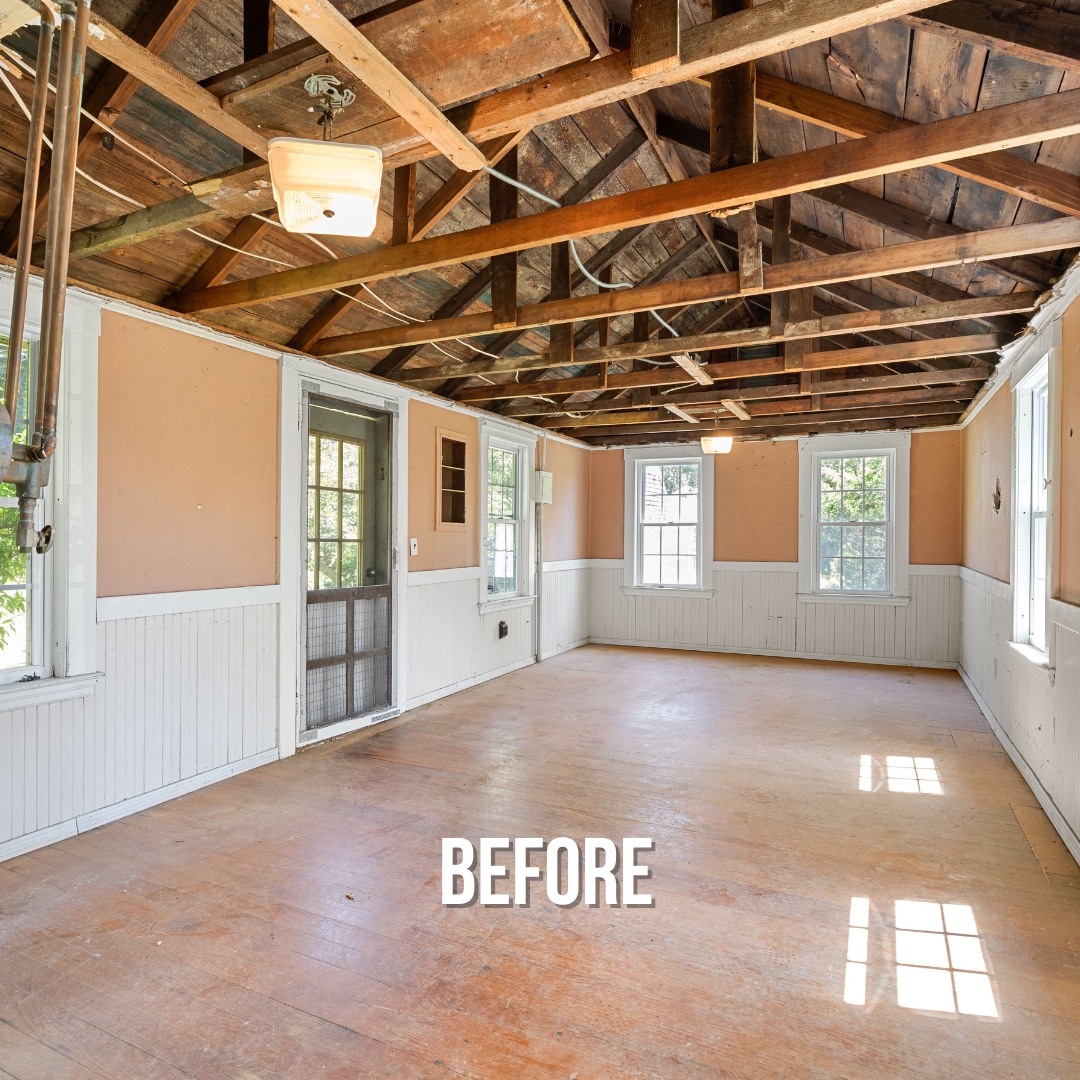
III. After the Shoot: Polish Your Photos Professionally
Capturing the photos is just the beginning. Post-processing plays a critical role in transforming good shots into great ones.
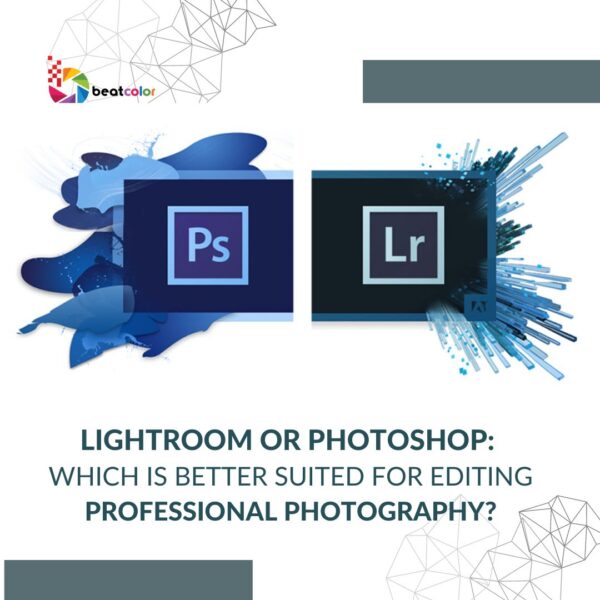
1. Apply Essential Edits
Start with basic adjustments: exposure, white balance, contrast, and straightening. For outdoor shots, you might consider replacing a dull sky or removing unwanted elements like cords or trash bins.


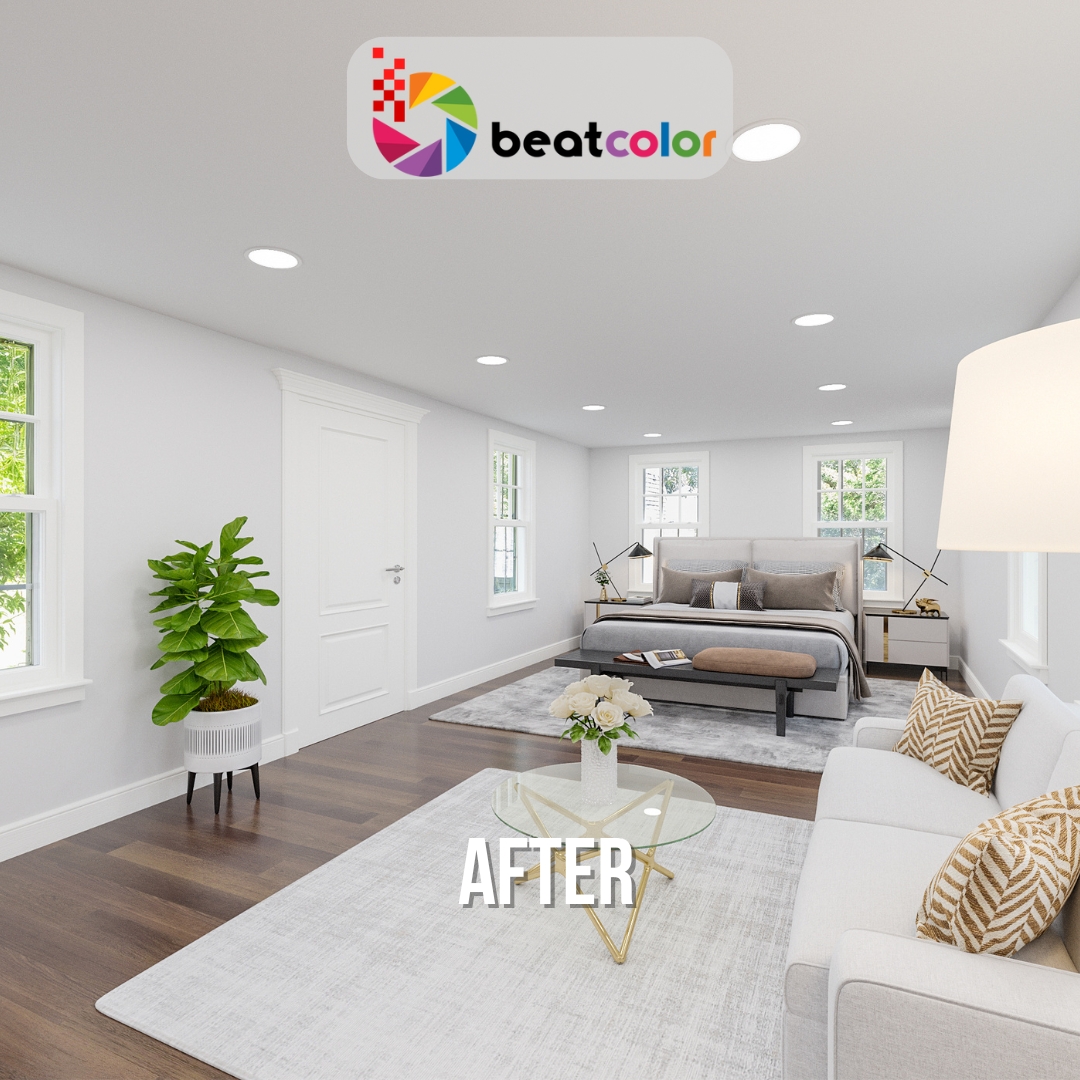
2. Outsource to a Professional Editing Service
If you’re short on time or want consistent quality, work with a professional real estate photo editing agent. Services like BeatColor offer fast, high-quality edits – including sky replacements, object removal, and window view enhancements – that save you time and elevate your listing.
Final Thoughts
Creating powerful real estate photos is a process that demands care at every stage. From thoughtful preparation and strategic composition to meticulous editing, each phase builds on the next to deliver images that truly connect with buyers. In a world where most first impressions happen online, you can’t afford to treat photos as an afterthought.
If you’re serious about selling properties faster, investing in high-quality visuals is essential, not optional. And when paired with a trusted editing service like BeatColor, your workflow becomes faster, smoother, and far more effective.
For more information about professional photo editing for real estate, visit BeatColor’s official website. If you’re interested in broader tips on real estate marketing, consider reading this guide on how to write real estate listing descriptions that convert.
Read more:
Top 5 Companies Providing Real Estate Virtual Staging Services in 2024
Professional Commercial Real Estate Photography: 5 Ultimate Tips To Follow
Virtual Staging Real Estate Photo Editing vs. Traditional Staging: Which Wins in 2025?


