
Case Study: Editing 500 Property Photos for a Texas Photographer

A 500-image property shoot sounds impressive. For a photographer, however, the real challenge begins after the camera stops.
Five hundred images can quickly become a production bottleneck. Every frame needs attention before reaching the photographer’s client.
That means exposure, color, perspective, window views, and distractions all require careful review.
This case study follows a 500-photo editing project for a Texas real estate photographer.
Rather than focusing only on editing techniques, we examine the decisions behind the workflow.
The goal was straightforward: create a consistent property gallery without making the homes look unrealistic.
Property Photo Editing: The Assignment Arrives
The photographer delivered 500 property images after several Texas shoots. The collection included interiors, exteriors, kitchens, bedrooms, bathrooms, and lifestyle-oriented spaces.
The images also varied in lighting conditions. Some rooms had strong window light.
Others appeared darker because of mixed indoor and outdoor lighting.
Exterior images presented another challenge. Texas properties can experience bright sunlight, strong shadows, and changing weather conditions.
Therefore, applying one preset across the entire collection would not produce reliable results.
The project needed a more controlled approach.
Why 500 Images Changed the Workflow
Editing ten property photos is different from editing 500. At smaller volumes, photographers can inspect every image individually without major delays. At 500 images, consistency becomes equally important.
One room should not look noticeably warmer than another. Likewise, vertical lines should remain consistent throughout the same property. This matters because buyers increasingly encounter properties online before visiting them.
According to NAR’s latest buyer research, 81% of buyers consider listing photos very useful. Therefore, property photography is not simply a visual extra.
It has become an important part of the property’s digital presentation.
Step One: Sorting Before Editing
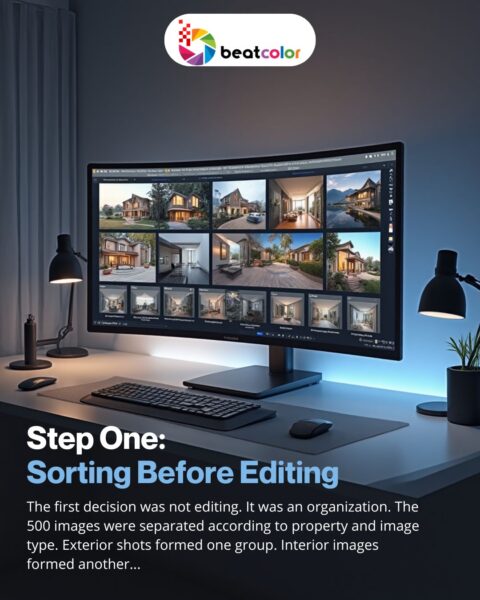
The first decision was not editing. It was an organization. The 500 images were separated according to property and image type. Exterior shots formed one group. Interior images formed another. Special categories included twilight photographs, window-pull images, and detail shots.
This structure reduced unnecessary repetition. It also created a cleaner editing sequence. Next, obvious duplicates and unusable frames could be identified.
However, selection required restraint. An editor should not remove images simply because they appear less dramatic.
A seemingly ordinary hallway can provide important context for a listing. The objective was therefore consistency, not aggressive image reduction.
Step Two: Establishing the Visual Baseline
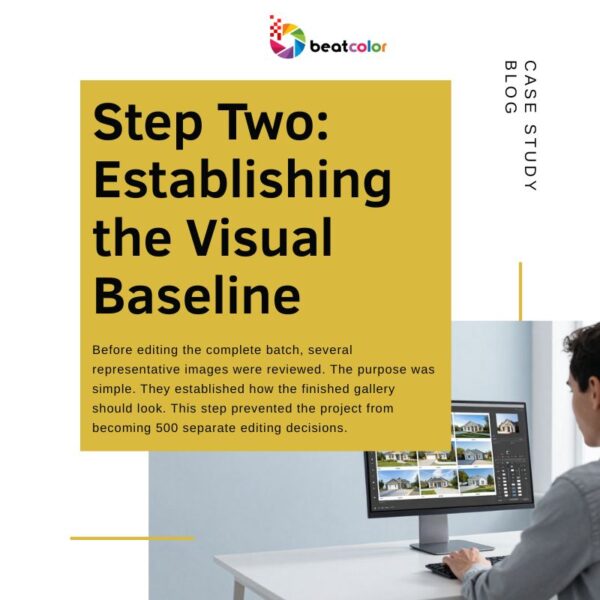
Before editing the complete batch, several representative images were reviewed. These images included bright interiors, darker rooms, kitchens, bathrooms, and exteriors.
The purpose was simple. They established how the finished gallery should look. This step prevented the project from becoming 500 separate editing decisions.
Instead, the editor created a visual baseline. Exposure remained natural.
Colors stayed believable. Contrast added definition without creating an artificial appearance. Perspective corrections kept architectural lines visually stable. That balance became especially important for property photography.
A listing should look polished without promising something buyers will not experience in person.
NAR highlighted this issue in 2026, warning that excessive enhancements can create unrealistic expectations.
Step Three: Tackling the Interiors
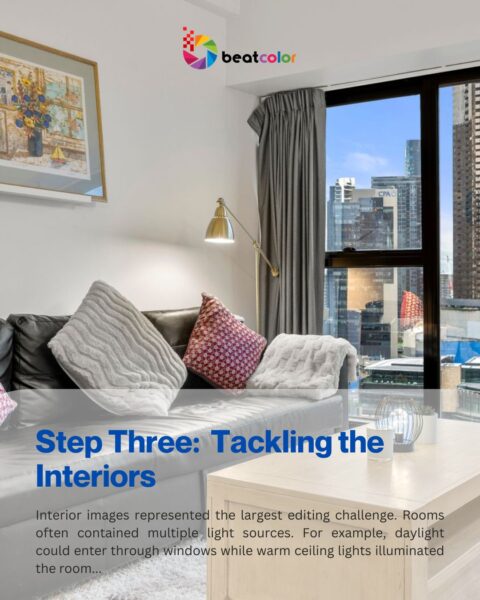
Interior images represented the largest editing challenge. Rooms often contained multiple light sources. For example, daylight could enter through windows while warm ceiling lights illuminated the room.
A simple global adjustment could therefore create unnatural colors. The editing process focused on controlled exposure and white-balance correction. Highlights were recovered where possible. Shadows were opened carefully.
However, shadows were not completely eliminated. Natural depth helps rooms appear dimensional.
The same principle applied to bright windows. Window views could be balanced without turning them into artificial landscapes.
This distinction is crucial. Property Photo Editing should improve visibility while preserving the property’s actual appearance.
Step Four: Correcting Architecture
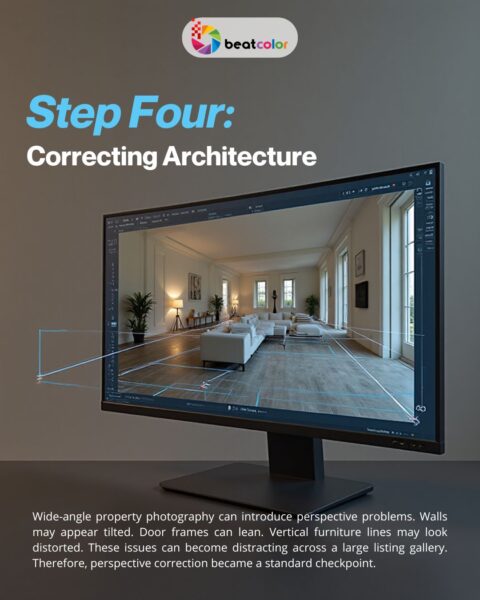
Wide-angle property photography can introduce perspective problems. Walls may appear tilted.
Door frames can lean. Vertical furniture lines may look distorted. These issues can become distracting across a large listing gallery. Therefore, perspective correction became a standard checkpoint.
The editor reviewed vertical and horizontal lines throughout the major rooms. Corrections remained subtle. Overcorrection can make architecture look strangely stretched.
Meanwhile, insufficient correction can make professional photography appear unfinished.
The goal was a natural sense of space.
Step Five: Handling Exteriors
Exterior images required a different editing mindset. Texas sunlight can create strong highlights and deep shadows.
A property may also contain distracting elements around the frame.
The editing process therefore prioritized clarity and balance. Sky exposure was controlled without making skies look dramatic. Grass and landscaping retained believable colors.
Building materials remained faithful to their original appearance. Small distractions could be removed when appropriate. However, permanent property features were not digitally altered.
That distinction protects the credibility of the listing.

Property Photo Editing: The AI Question
AI has changed Property Photo Editing significantly. Automated tools can now handle selections, masking, enhancement, and certain correction tasks.
That sounds ideal for a 500-image project. However, automation does not remove the need for human judgment. Recent research has even explored objective image-quality scoring for real estate imagery.
A 2026 study analyzed roughly 500,000 real estate images and linked image quality with market outcomes. Still, quality assessment does not replace editorial context.
An algorithm may recognize brightness. It may not understand whether a specific adjustment misrepresents a property’s condition.
Therefore, the workflow used automation where it improved speed. Human review remained essential for consistency and accuracy.
The Final Quality-Control Pass
After editing, the project entered a separate quality-control stage. This stage was intentionally different from the editing stage.
Editors naturally become accustomed to images they have already reviewed. A fresh inspection can reveal problems that become invisible during production.
The final review checked exposure consistency. It also checked color consistency and perspective. Unexpected artifacts received additional attention.
Window views were reviewed again. Exterior colors were compared against the original files.
Finally, the images were checked as complete property galleries. That last step mattered.
A single image can look excellent alone. A professional listing gallery must also look cohesive.
What the 500-Photo Project Revealed
The biggest lesson was not faster editing. It was workflow discipline. Large property photography projects become manageable when decisions are standardized. Sorting reduces confusion. Baseline editing reduces inconsistency.
Batch processing improves efficiency. Human quality control protects the final result. This approach also helps photographers protect their creative time. Instead of spending long evenings correcting hundreds of files, photographers can focus on shooting.
That becomes increasingly valuable in competitive markets. Texas currently has more than 317,000 homes listed for sale, according to Realtor.com’s June 2026 data. The statewide median listing price was approximately $364,640.
Meanwhile, active listings were up 1.32% year over year. With substantial inventory available, visual presentation can help individual listings compete for attention.
The Real Takeaway
Five hundred photos are not simply five hundred editing tasks. They represent one complete visual experience. Every image contributes to how buyers understand a property. Therefore, Property Photo Editing should be approached as a production system.
The strongest workflow combines technical correction, visual consistency, automation, and human review. Most importantly, it respects the difference between enhancement and exaggeration.
That balance matters more as AI-powered editing becomes increasingly accessible. For photographers handling high-volume property shoots, the lesson is practical.
Better systems create better consistency. Better consistency creates stronger galleries.
And stronger galleries give photographers more time to focus on what happens behind the camera.
Read more:
Outsourcing vs Hiring an In-House Real Estate Photo Editor
Smart Photo Editors: Pros, Cons and Top Alternatives
Virtual Staging Services: Complete Buyer Guide