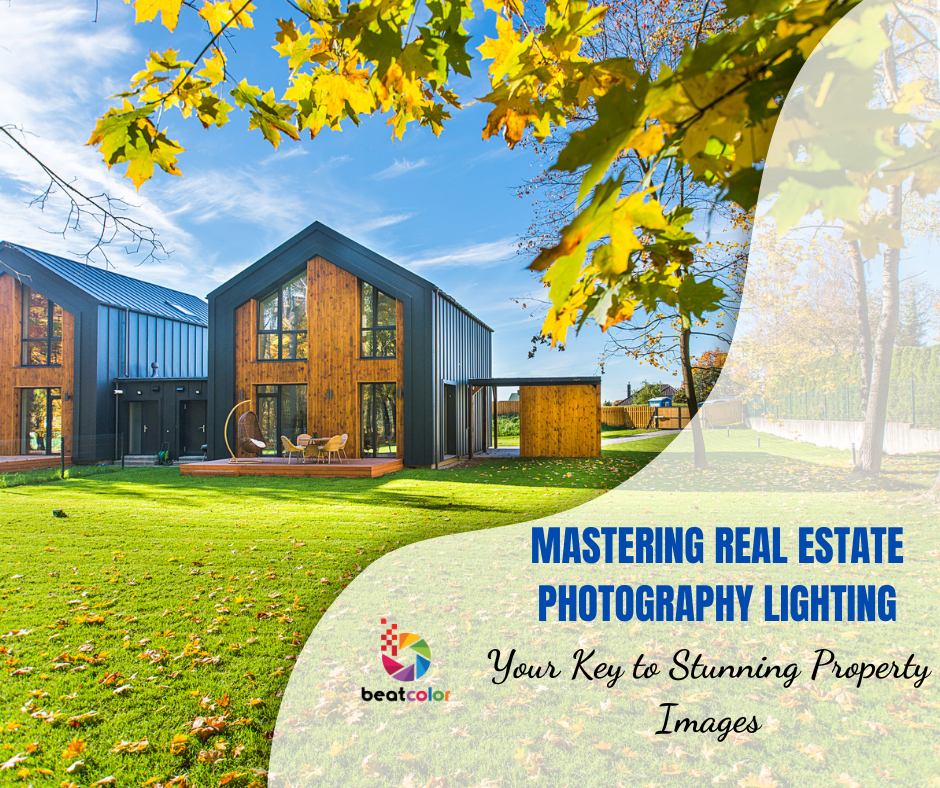
Mastering Real Estate Photography Lighting: Your Key to Stunning Property Images
In the world of real estate photography, lighting is everything. Whether you’re shooting luxury homes or cozy apartments, the right lighting can transform your images. It’s not just about making a room look bright; it’s about creating an atmosphere that resonates with potential buyers.
In this blog, we’ll dive into the latest trends, tips, and techniques to help you master lighting for real estate photography. Let’s get started and elevate your photography game!
Why Lighting Matters in Real Estate Photography
Good lighting is essential for capturing high-quality images that highlight a property’s best features. Poor lighting can make even the most beautiful spaces appear dull or uninviting. When potential buyers view these images online, it may deter them from visiting the property. On the other hand, well-lit photos can make spaces appear larger, warmer, and more appealing, increasing the chances of a sale.
Types of Lighting in Real Estate Photography
There are three main types of lighting every photographer should know: natural, artificial, and flash. Understanding how and when to use each type will help create the perfect ambiance.
1. Natural Light
Natural light is a photographer’s best friend. It offers a soft and warm feel, making spaces look welcoming. Morning and late afternoon, known as “golden hours,” provide the best natural light for real estate photography. Make sure to open windows and curtains to let in as much light as possible.
Tip: Avoid shooting in direct sunlight during midday as it can create harsh shadows.
2. Artificial Light
Artificial lighting, like lamps and overhead lights, can fill in shadows or brighten darker spaces. For evening shots, make sure interior lights are on to give a cozy feel. LED lights are a great choice due to their brightness and energy efficiency.
Tip: Combine artificial lighting with natural light for a balanced look.
3. Flash Lighting
Flash photography can help control lighting in rooms with limited natural or artificial light. It’s especially useful for highlighting specific areas like kitchens or bathrooms. However, using too much flash can result in overexposure, so use it sparingly.
Tip: Invest in an external flash for better control of light direction.
Key Techniques to Optimize Lighting
Now that we’ve covered the basics, let’s explore the techniques that will make your real estate photos stand out.
1. Use HDR Photography
High Dynamic Range (HDR) photography involves taking multiple shots at different exposures and blending them into one image. This technique balances bright and dark areas, ensuring details are visible in both shadows and highlights. HDR is particularly useful in spaces with large windows or a mix of light sources.
2. Bounce the Flash
Direct flash can cause harsh shadows and reflections. To avoid this, bounce the flash off walls or ceilings to create softer, more natural lighting. This technique diffuses the light and spreads it evenly throughout the room.
3. Diffuse Harsh Light
Diffusers are an essential tool for softening strong light sources. If you’re working with harsh sunlight or bright artificial lights, using a diffuser can help create a more even lighting effect, reducing unwanted shadows.
4. Light Positioning
The positioning of your lights is just as important as the type of light. Avoid positioning lights directly behind the camera, as it can result in flat, uninteresting images. Instead, place lights at angles to create depth and dimension in the shot.
Tip: Experiment with side lighting to highlight textures like wood floors or brick walls.
The Impact of Color Temperature
Understanding color temperature is crucial in real estate photography. The color temperature of your light sources can affect the mood and feel of the room. Warmer tones (around 2700-3000K) create a cozy, inviting atmosphere, while cooler tones (5000-6500K) make spaces feel bright and airy.
Tip: Match the color temperature of all your light sources to maintain a consistent look.
Common Lighting Mistakes to Avoid
Even seasoned photographers make mistakes with lighting. Here are some common errors and how to avoid them:
- Overexposure: Too much light can wash out your photos. Always check your exposure settings.
- Underexposure: Photos that are too dark may miss important details. Adjust your lighting or use HDR to balance the exposure.
- Color Inconsistency: Mixing warm and cool lights can create an unbalanced look. Stick to one color temperature per shot.
- Ignoring Shadows: Pay attention to shadows that may fall in unwanted areas, such as across furniture or walls. Move lights or adjust angles to eliminate harsh shadows.
Latest Trends in Real Estate Photography Lighting
As technology evolves, so do lighting trends. In 2024, smart lighting solutions are gaining popularity among photographers. Smart bulbs with adjustable brightness and color temperature allow for real-time adjustments during shoots. Additionally, LED panels and ring lights are becoming essential tools for their versatility and energy efficiency.
Drones equipped with lighting systems are also on the rise, particularly for twilight shots and exterior photos. This innovation provides a unique way to showcase properties from different angles, especially in low-light conditions.
Final Thoughts
Mastering lighting in real estate photography is a game-changer. With the right combination of natural, artificial, and flash lighting, you can transform any property into an attractive space for potential buyers. By using techniques like HDR, light bouncing, and proper positioning, your photos will stand out in today’s competitive market. So, take these tips, experiment with your lighting, and watch your real estate photography skills soar to new heights!
Read more:
The Ultimate Guide to Fireplace Staging: How to Make Your Home Shine
Virtual Furniture Design: Transforming Real Estate Listings in 2024
Kitchen Remodeling: A Guide to Transforming Your Space


