5 Tips to Improve Editing Landscape Pictures
Editing landscape pictures can transform them from simple snapshots into stunning, professional-quality images. With the right techniques, you can enhance colors, highlight details, and add depth to convey the full beauty of natural scenes. Here are 5 essential tips to improve your landscape picture editing and make your photos more captivating.
1. Balance Lighting with HDR for Dynamic Landscapes
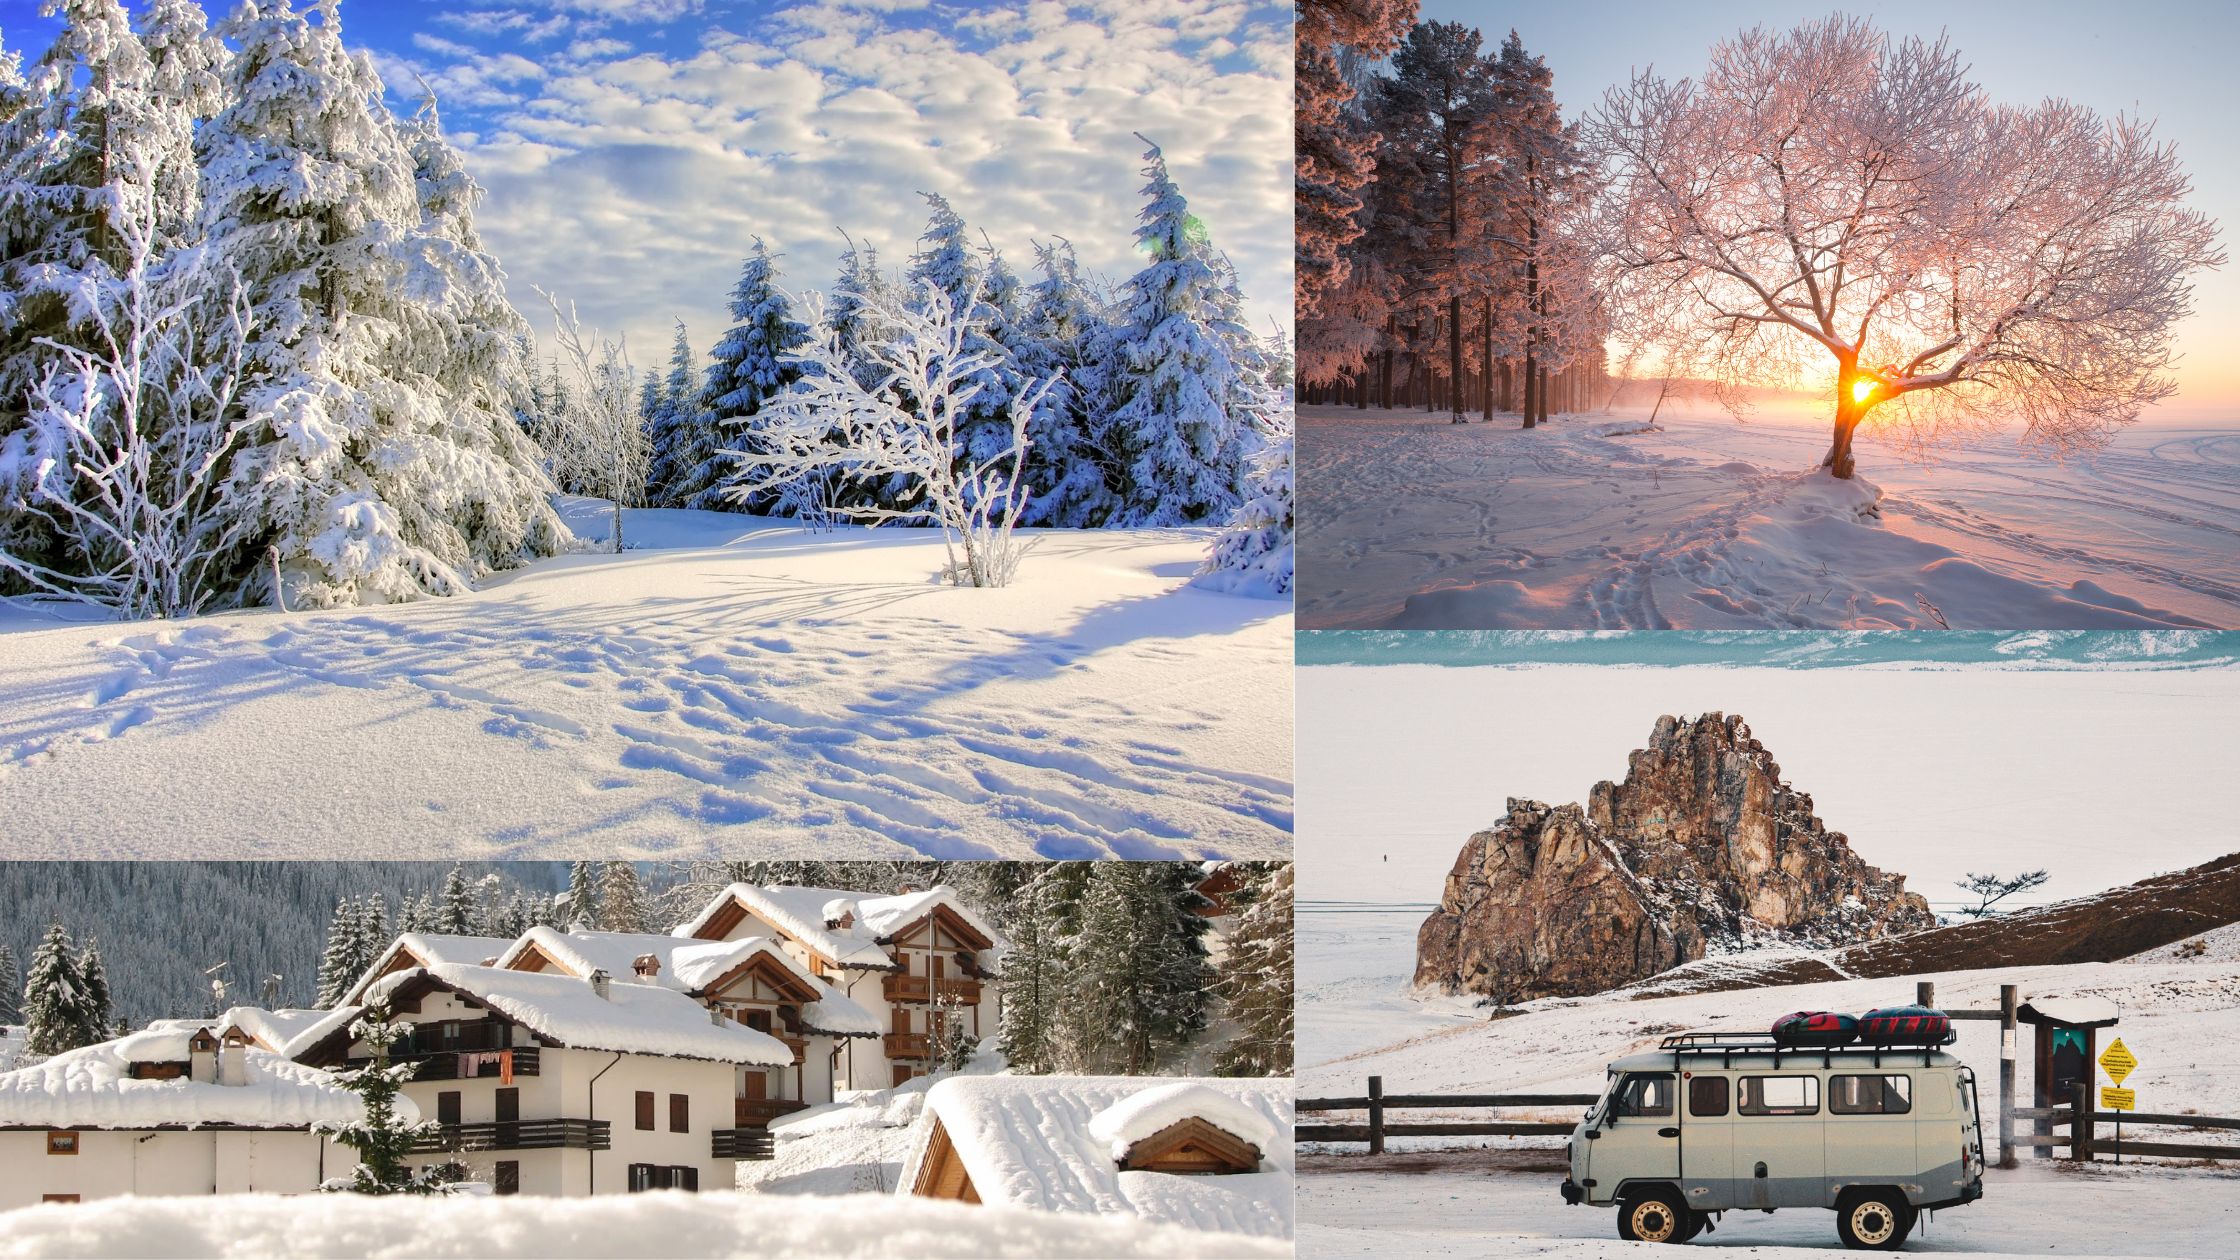
Lighting is one of the most crucial elements in landscape images. Unlike controlled studio lighting, natural lighting in landscapes varies widely, often resulting in parts of the image that are too bright or too dark. This is especially common when the scene has both a bright sky and dark foreground elements, like mountains or trees. High Dynamic Range (HDR) is a powerful technique to address this issue, helping you balance light and shadows effectively.
Lighting is one of the most crucial elements in landscape images. Unlike controlled studio lighting, natural lighting in landscapes varies widely, often resulting in parts of the image that are too bright or too dark. This is especially common when the scene has both a bright sky and dark foreground elements, like mountains or trees. High Dynamic Range (HDR) is a powerful technique to address this issue, helping you balance light and shadows effectively.
a. Combine Multiple Exposures
HDR involves taking several shots of the same scene at different exposure levels (typically one underexposed, one normally exposed, and one overexposed) and then merging them together. By blending exposures, HDR retains details in both the brightest and darkest areas, creating a balanced, well-exposed photo that highlights every part of the landscape.
b. Use HDR Software
Programs like Adobe Lightroom, Photomatix, or even smartphone apps like Snapseed have HDR features that make it easy to combine multiple exposures. While editing, ensure that the final image looks natural by adjusting sliders like highlights, shadows, and contrast carefully.
HDR editing can make your landscape photos more vivid and detailed, emphasizing the natural beauty of skies, water, trees, and other elements.
2. Enhance Colors for a Vibrant Landscape Photos
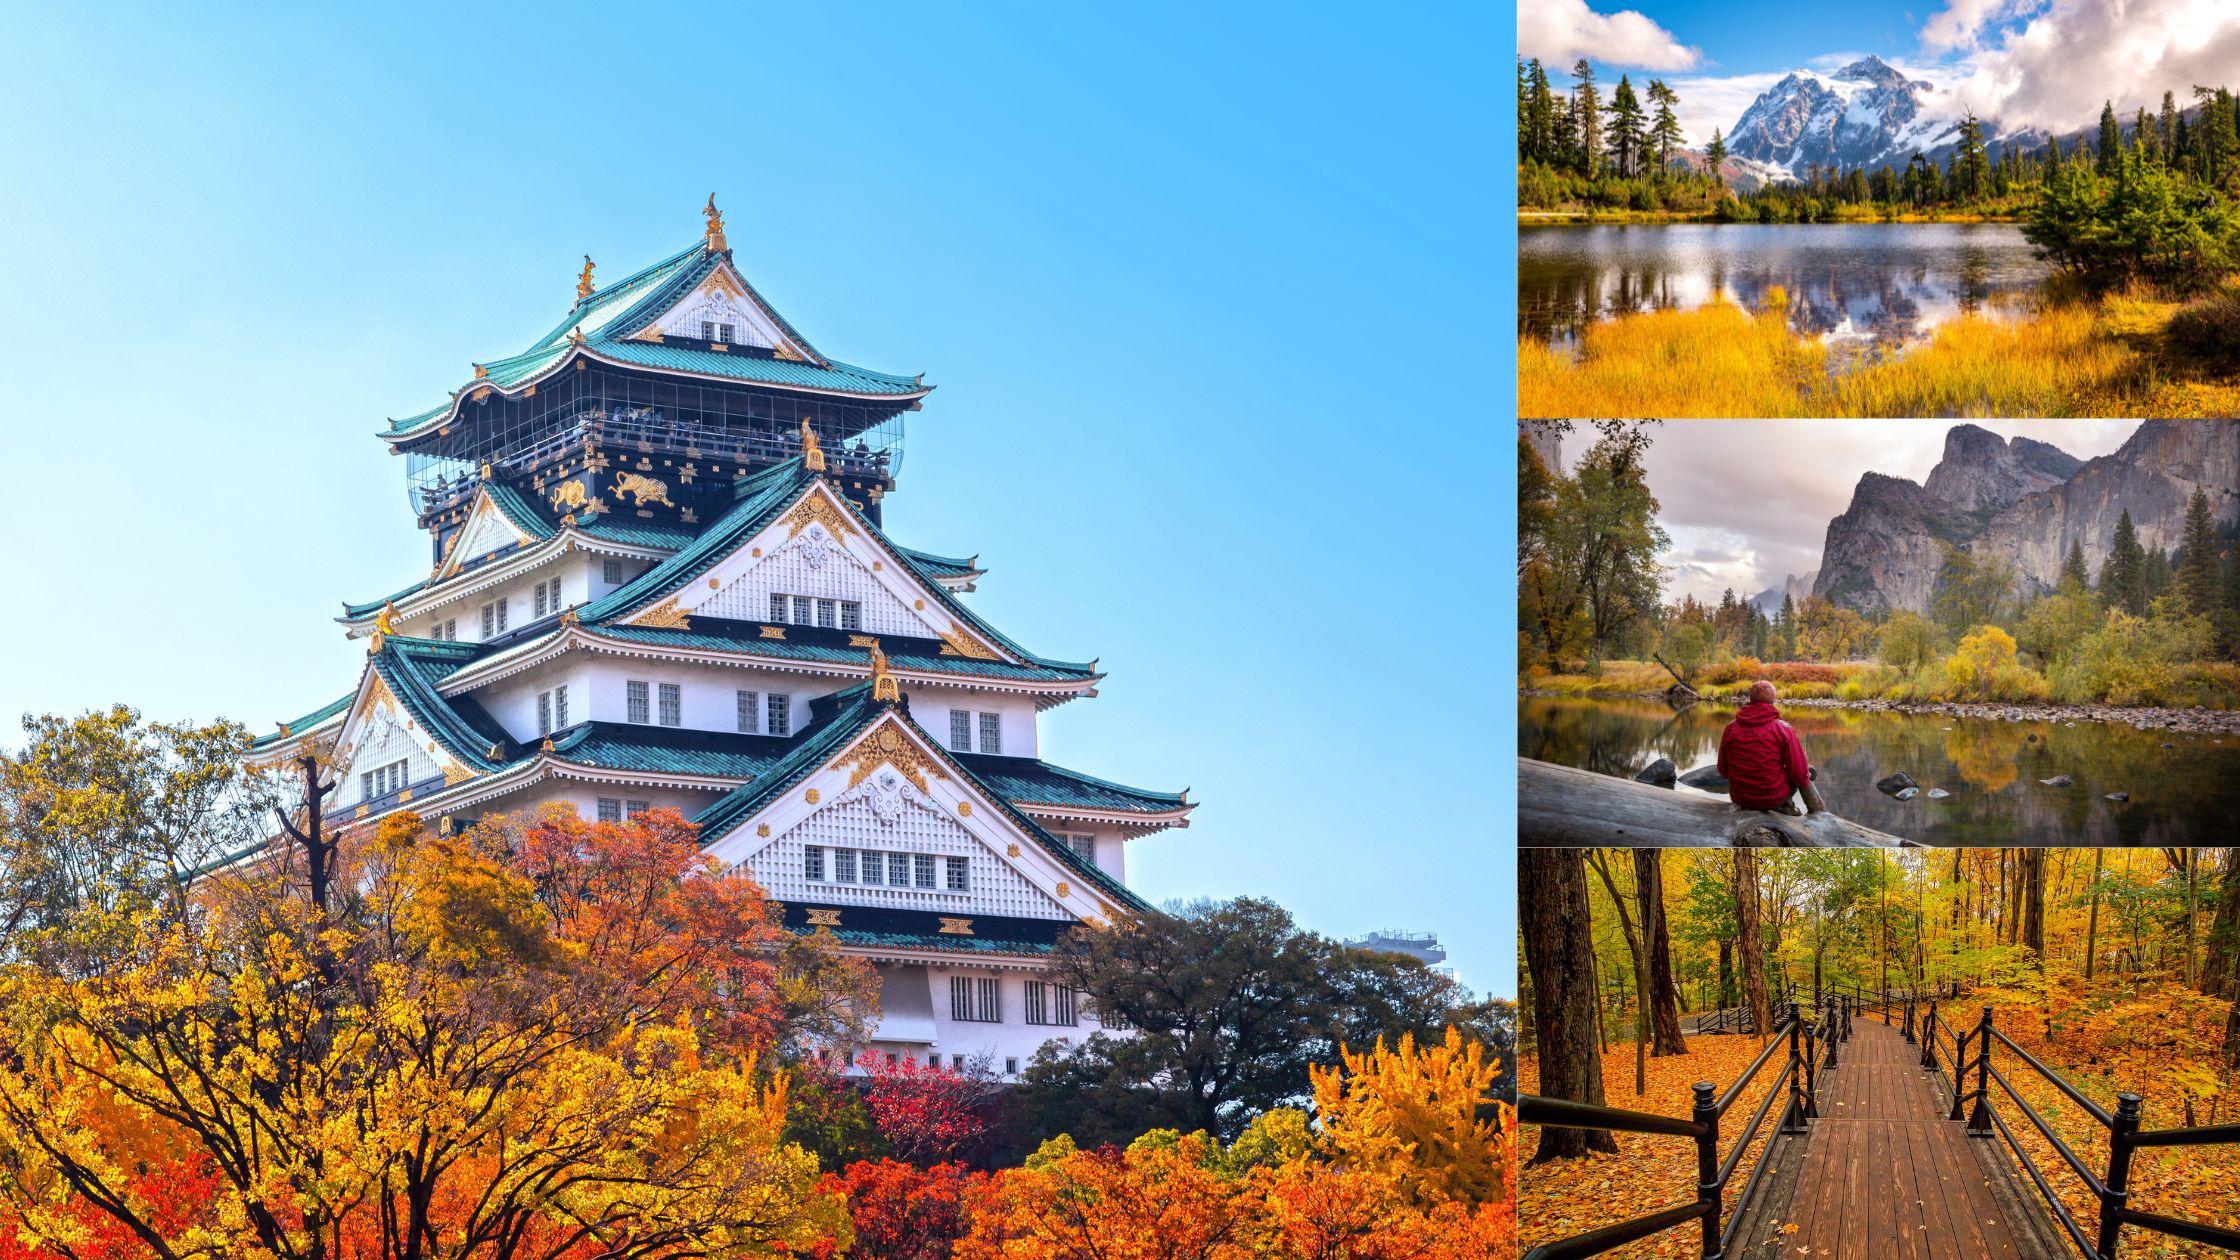
Colors play a significant role in conveying mood and atmosphere in landscape pictures. Enhancing colors can help make your photos more visually appealing, but the key is to adjust colors selectively to avoid an overly saturated look.
a. Adjust Saturation and Vibrance
Saturation and vibrance are two main sliders in most photo editing software. Saturation adjusts all colors equally, which can sometimes lead to an unnatural look. Vibrance, on the other hand, enhances only the muted colors, leaving already-bright areas unchanged. This adjustment often results in a more natural enhancement.
b. Work on Specific Color Ranges
Use color adjustment tools to specifically enhance blues, greens, and earth tones. Boosting the blue tones can make skies look clearer and more vivid, while enhancing greens can make foliage appear lush. If your software offers a hue/saturation/lightness (HSL) panel, adjust each color independently for precise control.
c. Add Warmth for Golden Hour Effect
Adding warmth to your image can replicate the feel of golden hour, giving landscapes a soft, golden glow that adds mood and warmth. Experiment with the temperature slider or add a slight orange hue for that golden-hour magic.
Balancing color adjustments will create a visually pleasing landscape photo that retains its natural beauty without appearing artificial.
3. Highlight Textures with Contrast and Clarity
Landscape pictures often include elements with a lot of texture, like rocks, foliage, and water. Enhancing texture can add depth and make these details pop, giving the image a more three-dimensional feel.
a. Increase Contrast and Clarity
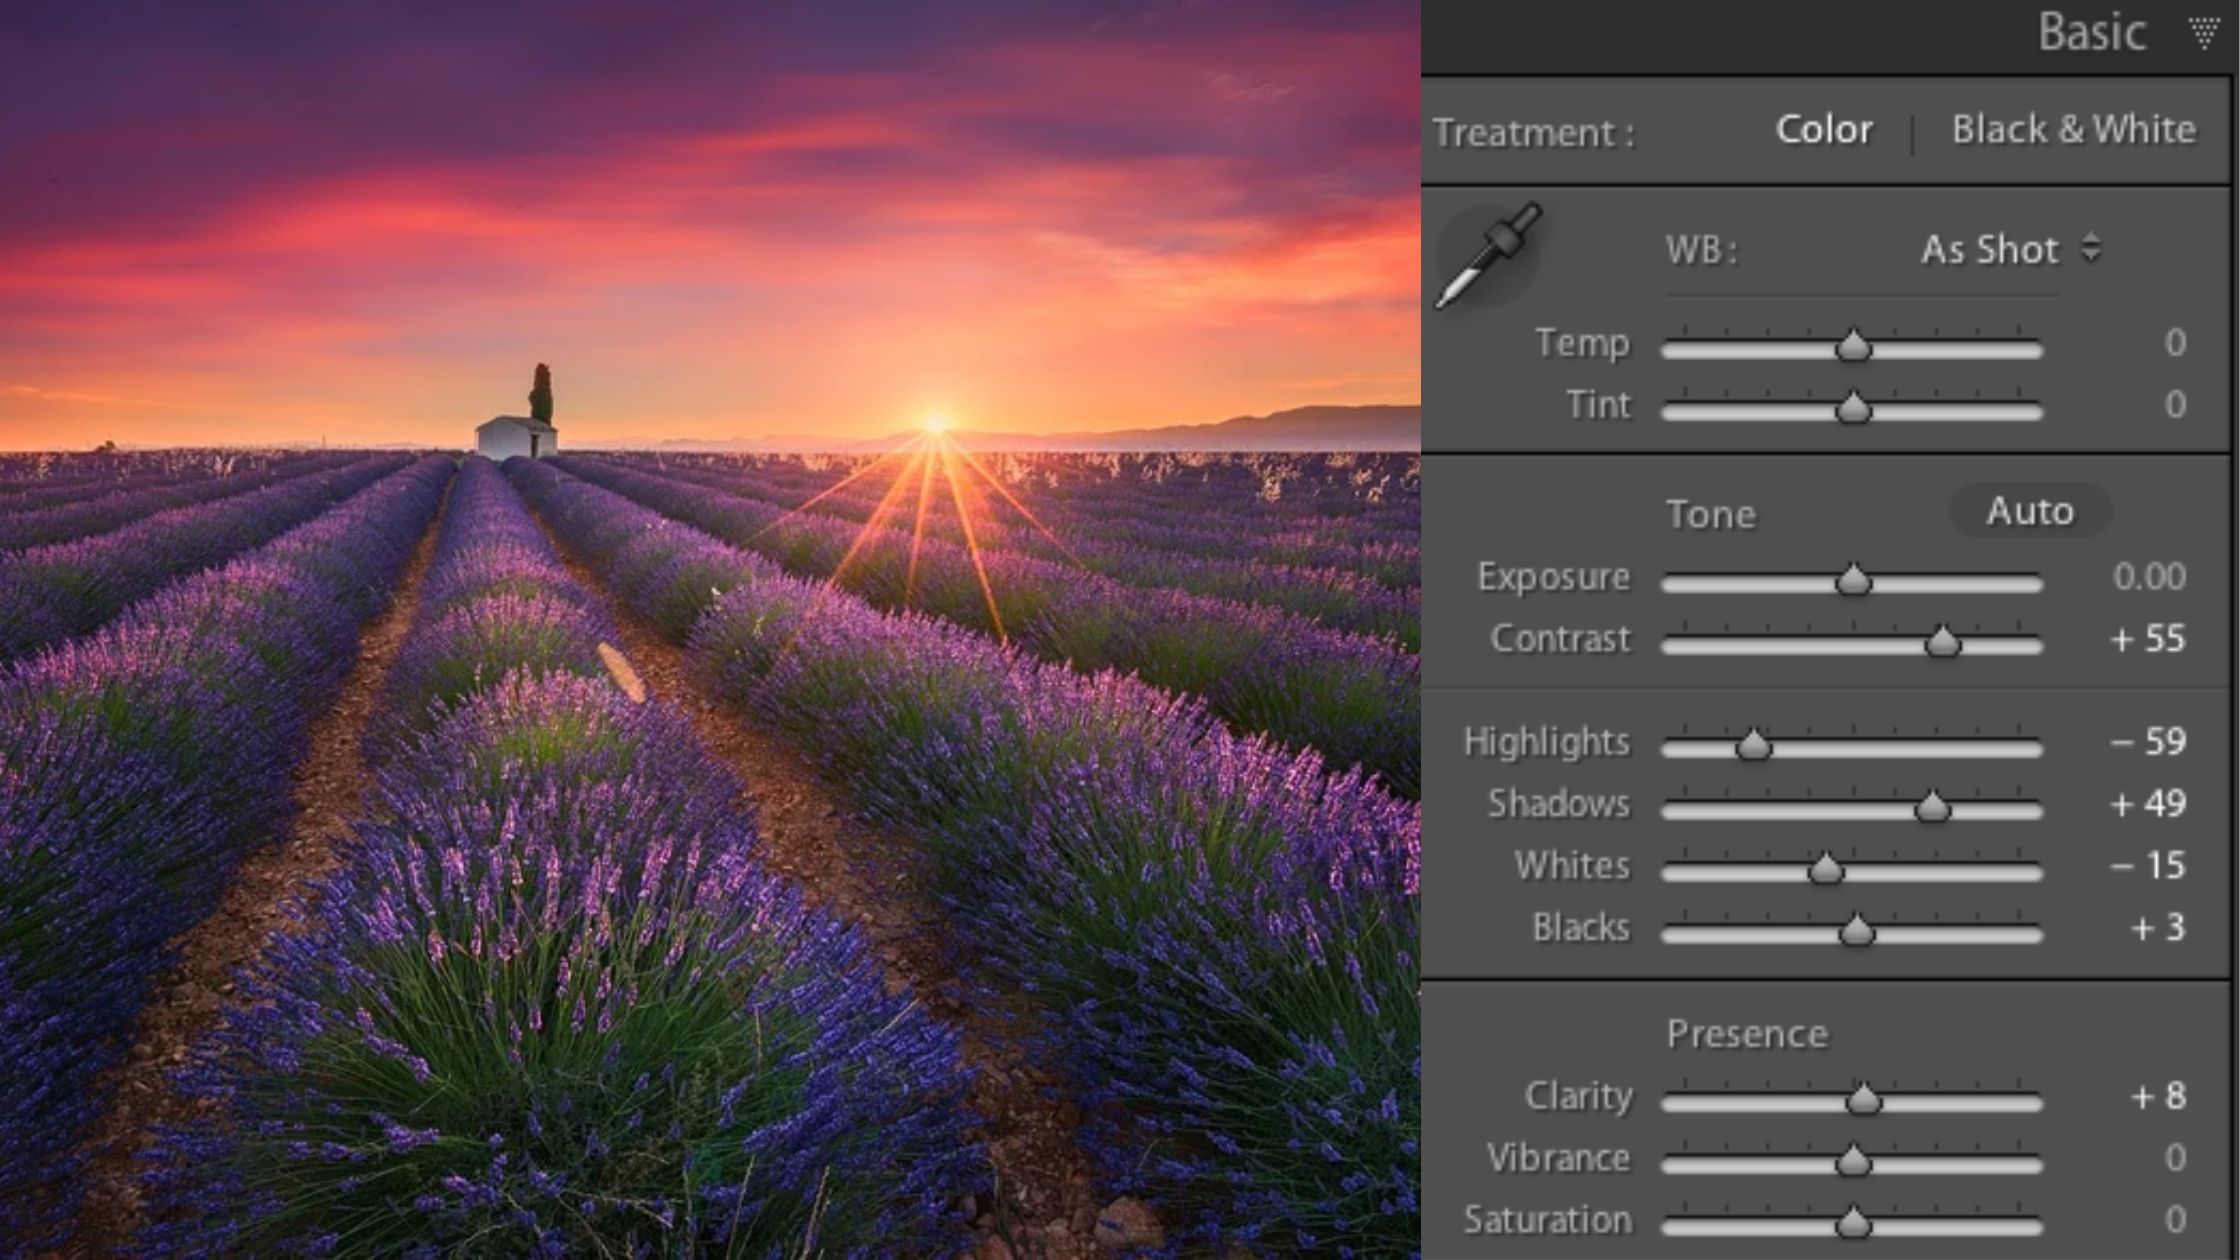
Contrast adds depth by accentuating the difference between light and dark areas. Clarity, which is available in software like Adobe Lightroom, targets midtones and enhances local contrast, making textures appear sharper without affecting the overall brightness.
b. Use the Dehaze Tool
The dehaze tool is excellent for removing haze and enhancing clarity in landscapes, especially when fog, mist, or pollution is present. Applying a small amount can make distant objects appear sharper, adding depth to the scene.
c. Sharpen Details Selectively
Too much sharpening can make an image look harsh, but selective sharpening of textured areas like rocks or trees can enhance the photo. Many editing tools allow you to apply sharpening only to specific areas, so focus on details that benefit from it without overdoing the effect on smoother parts like skies or water.
By enhancing texture, you’ll make landscape photos feel more immersive, as viewers can almost feel the textures within the image.
4. Refine Composition with Cropping and Straightening
Great composition is essential in photography, and slight adjustments during editing can significantly improve the composition of your landscape pictures. Cropping and straightening are easy but impactful edits that can change the focus of your image and create a more balanced, professional look.
a. Crop to Highlight Key Elements
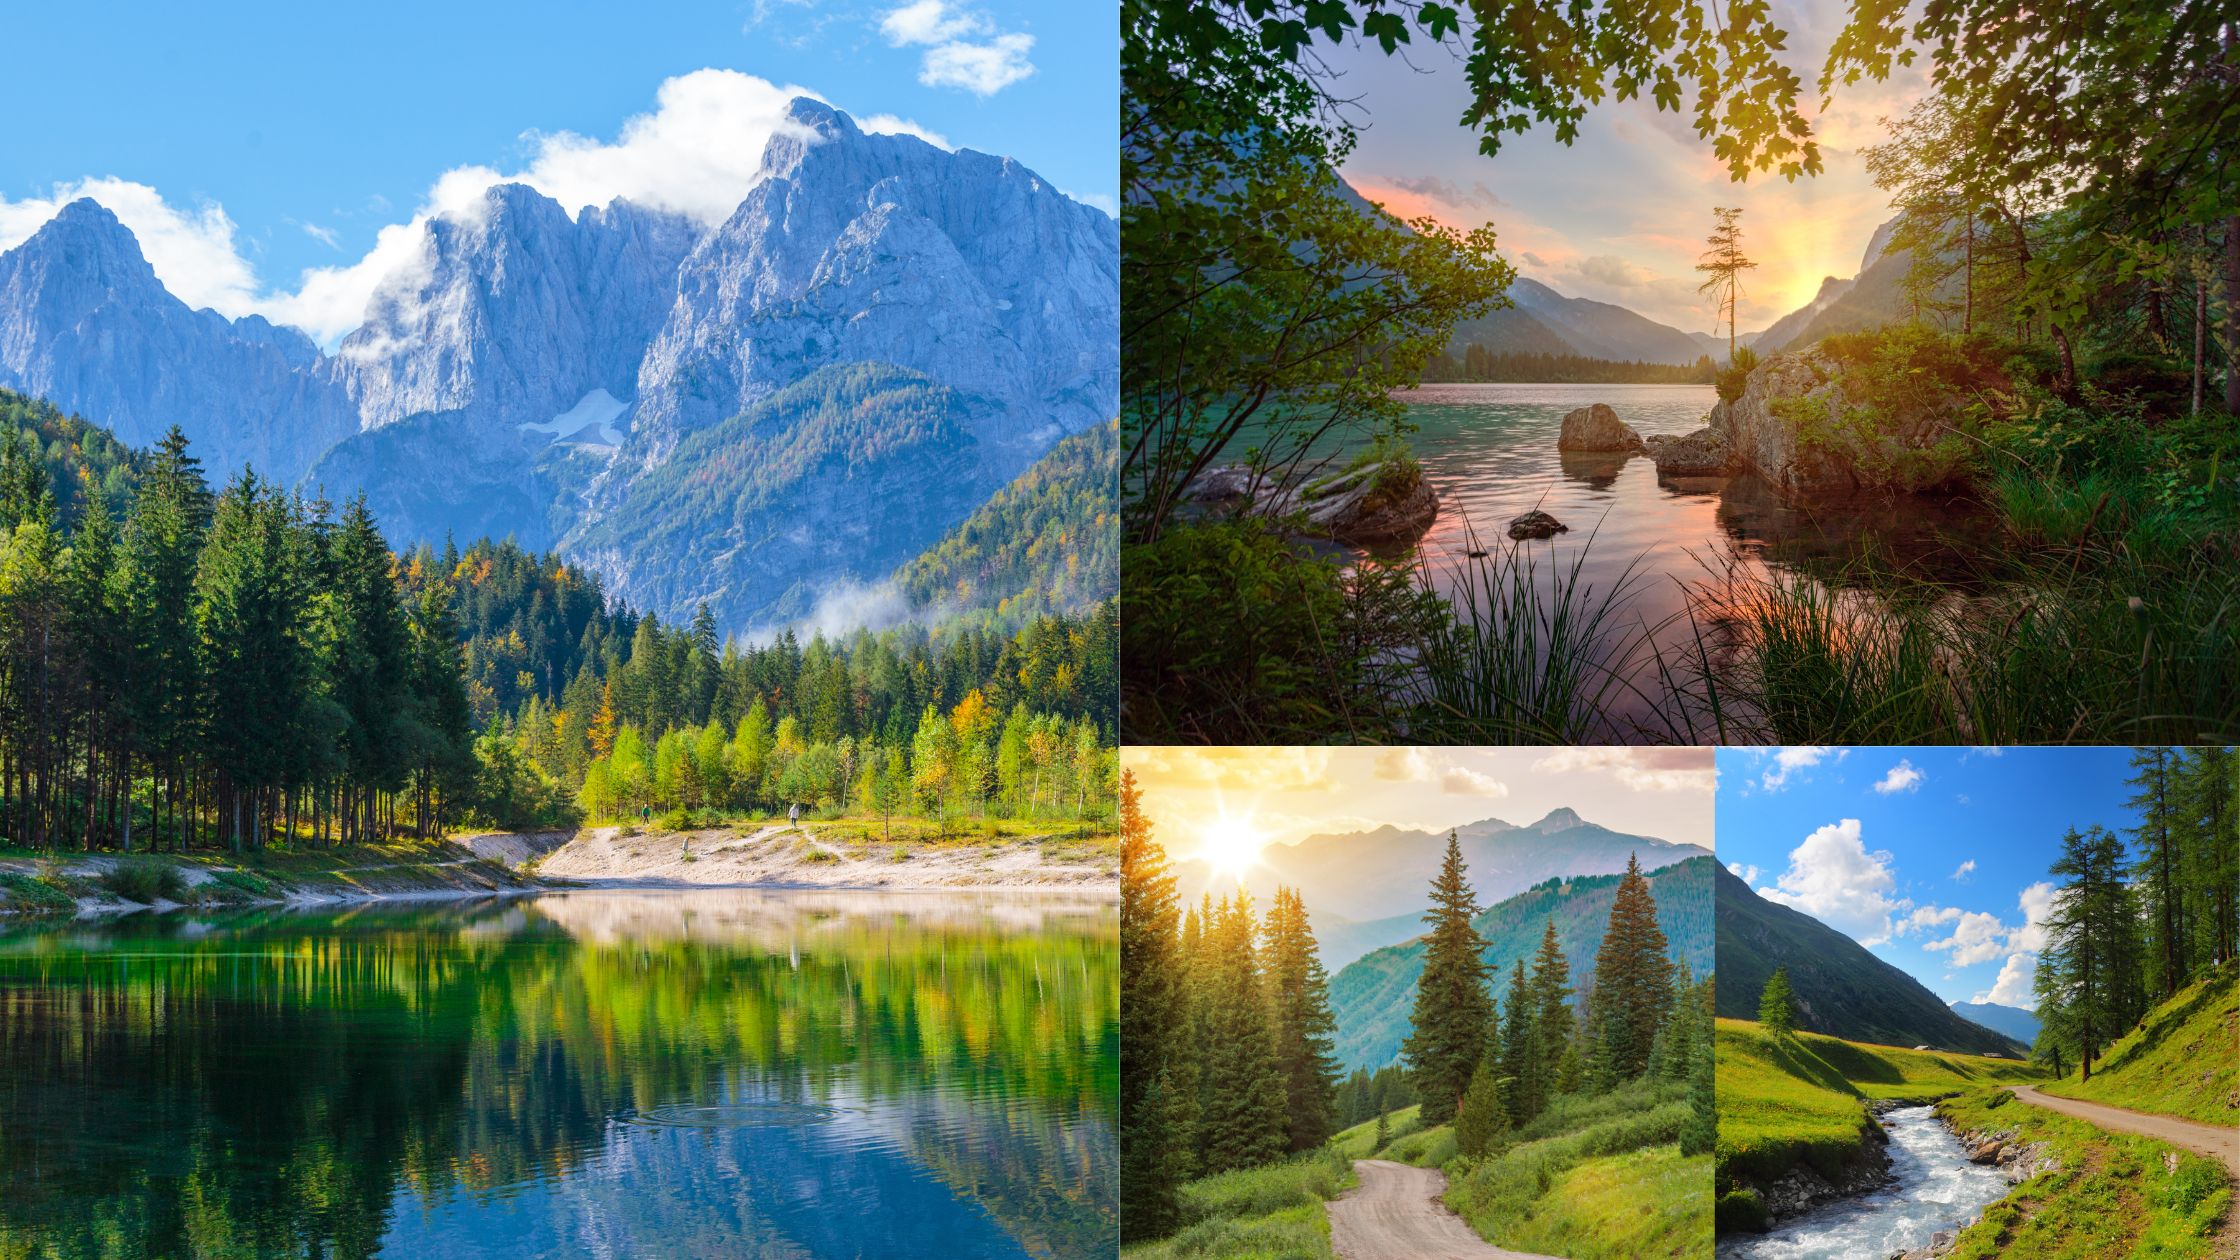
Cropping refines the composition by focusing on the main subject and removing distractions. It helps direct attention to key elements like a person, tree, or mountain peak. Use the rule of thirds by positioning the subject along the grid lines or at intersection points for a balanced and engaging image.
b. Straighten the Horizon
A crooked horizon line can be distracting and can make your photo feel unbalanced. Many editing tools have a straightening feature that allows you to align the horizon easily. An even horizon keeps the image balanced and visually pleasing, especially in landscape photography, where natural lines are key.
c. Experiment with Aspect Ratios
Depending on where you plan to showcase your photos, adjusting the aspect ratio can improve the composition. For instance, a 4:5 aspect ratio works well for social media, while a 16:9 ratio may look more cinematic.
Refining the composition through cropping and straightening makes your photos look more intentional and professional.
5. Apply Subtle Effects like Vignettes or Blurs for Focus
Adding subtle effects like vignettes or blurs can help direct the viewer’s attention to the main subject, enhancing depth and creating a more dynamic photo. These effects can add an artistic touch to your landscape pictures.
a. Add a Vignette for Centered Focus
A vignette effect darkens the photo’s edges to draw focus to the center. Use editing tools to adjust strength and softness for a subtle, natural look. Avoid heavy vignettes, as they can make the image feel overly edited.

b. Use Selective Blurring for Depth
Applying blur to specific areas creates a depth effect, drawing attention to the main subject. Tools like radial or linear blur in Photoshop help focus the viewer’s eye on the primary subject.
c. Add a Slight Glow for Dreamy Atmosphere
A gentle glow can give landscapes a magical or ethereal feel, particularly in sunrise or sunset photos. Tools like the Orton effect in Photoshop can add a soft glow that enhances colors and makes light appear diffused.
By applying subtle effects thoughtfully, you’ll elevate your landscape photos, making them more visually engaging and professional.
Conclusion
Editing landscape pictures can transform them into captivating works of art. By mastering basic and advanced techniques—like HDR, color adjustments, texture enhancement, composition refinement, and subtle effects—you’ll take your landscape photos to the next level. Each of these tips contributes to the overall aesthetic of your photos, ensuring they are vivid, balanced, and professional.
Whether you’re sharing these images on social media, selling prints, or just enjoying the beauty of nature, these editing tips will help you create breathtaking images that stand out.
Read more:
Mastering Real Estate Video Editing: The Secret to Boosting Property Sales
HDR Real Estate Photo Editing – What You Know?
Real Estate HDR Photo Editing Services – Top Reasons To Outsource


