6 Biggest Real Estate Photo Editing Mistakes That Mar Property Photos

In the world of real estate, captivating photos can make all the difference in attracting potential buyers; however, even the most stunning properties can be marred by common real estate photo editing mistakes. Unexpectedly, these things could hold you back from getting high-paying real estate photography gigs.
In the concise article today, let’s delve into these pitfalls and how to avoid them to ensure your property photos stand out.
What are Common Real Estate Photo Editing Mistakes We Should Avoid?
1. Mistake #1 – Over-Saturation
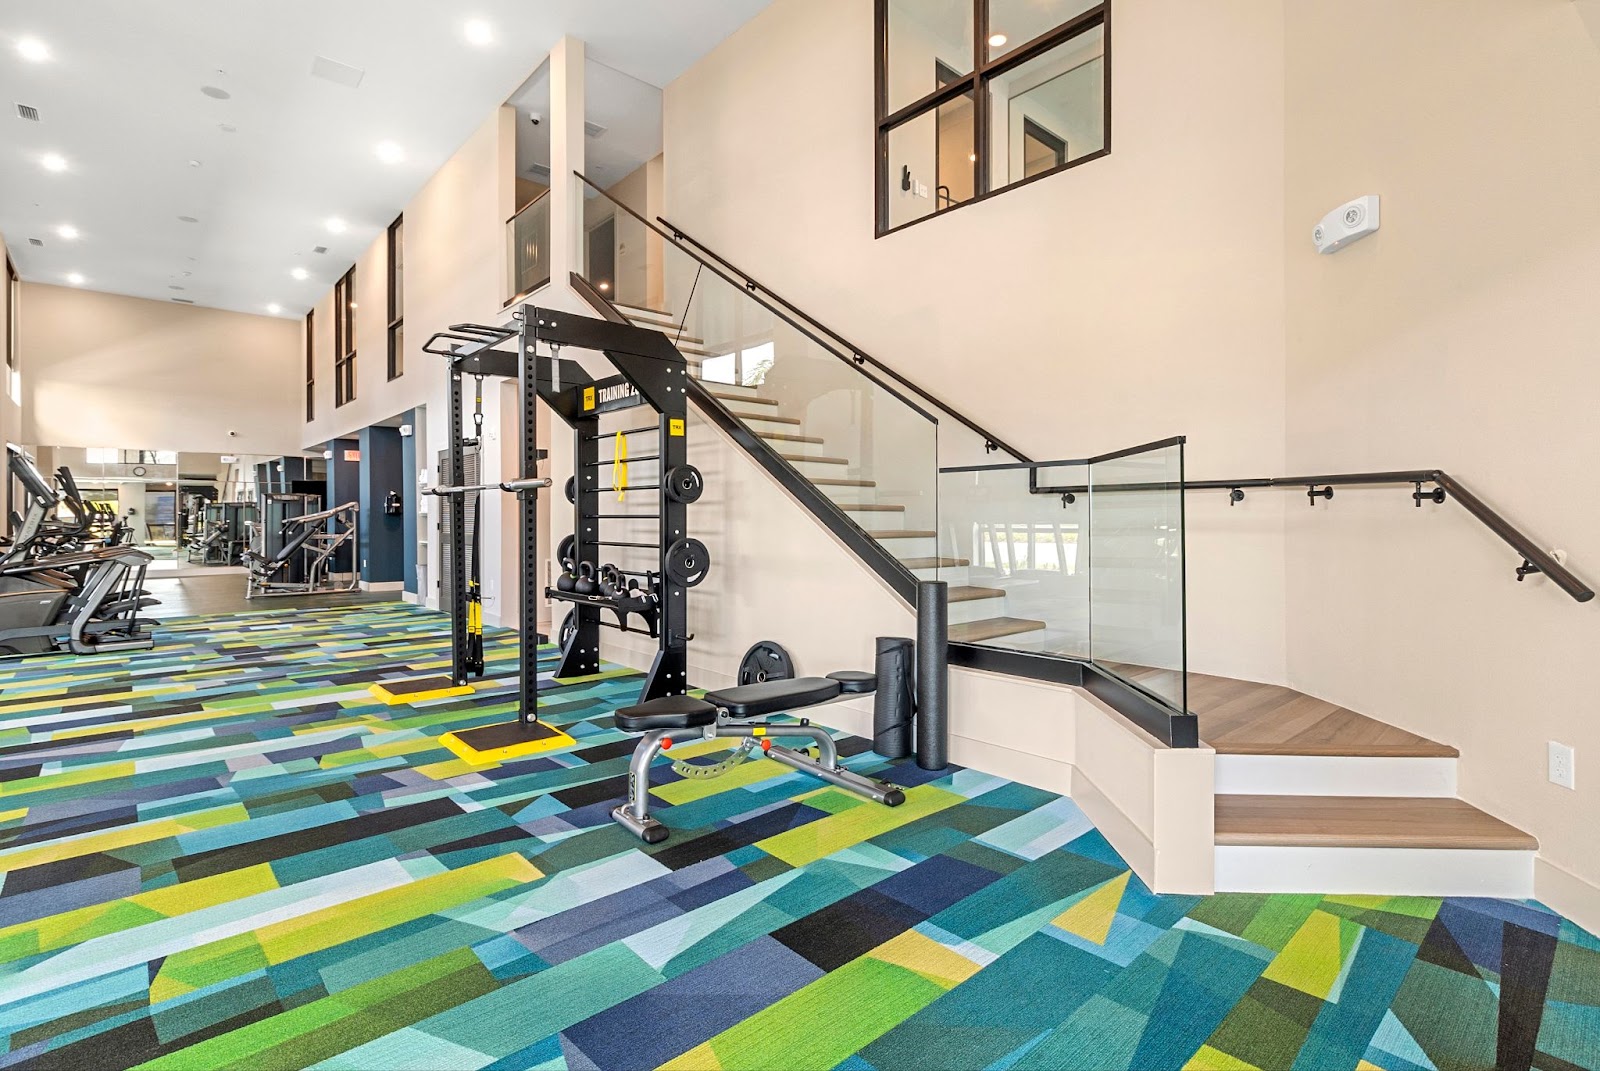
Over-saturation is one of the most popular photo editing mistakes during the editing of real estate photos. It involves increasing the saturation of colors beyond natural levels, resulting in images that appear overly vibrant and unrealistic. This can negatively impact the perception of the property, as it distorts the true colors and aesthetics.
To avoid this mistake, it’s essential to exercise restraint when adjusting saturation levels. Instead of enhancing colors excessively, aim for a balance that accurately represents the property’s features while maintaining a natural appearance. Pay attention to skin tones, foliage, and other elements to ensure they remain true to life.
Real estate photos can effectively showcase the property’s appeal without misleading potential buyers with unrealistic colors by avoiding over-saturation.
2. Mistake #2 -Not Correct Perspective
Next, neglecting to correct perspective distortions can make rooms appear skewed or disproportionate, giving potential buyers an inaccurate representation of the property. Straight lines look more pleasing, and sometimes straightening them is a simple matter of logic. As a general rule, you should always straighten the horizon line in exterior photography. Meanwhile, in architectural or indoor portrait photos, look for elements like frames, shelves, rooftops, etc., and straighten them horizontally or vertically.
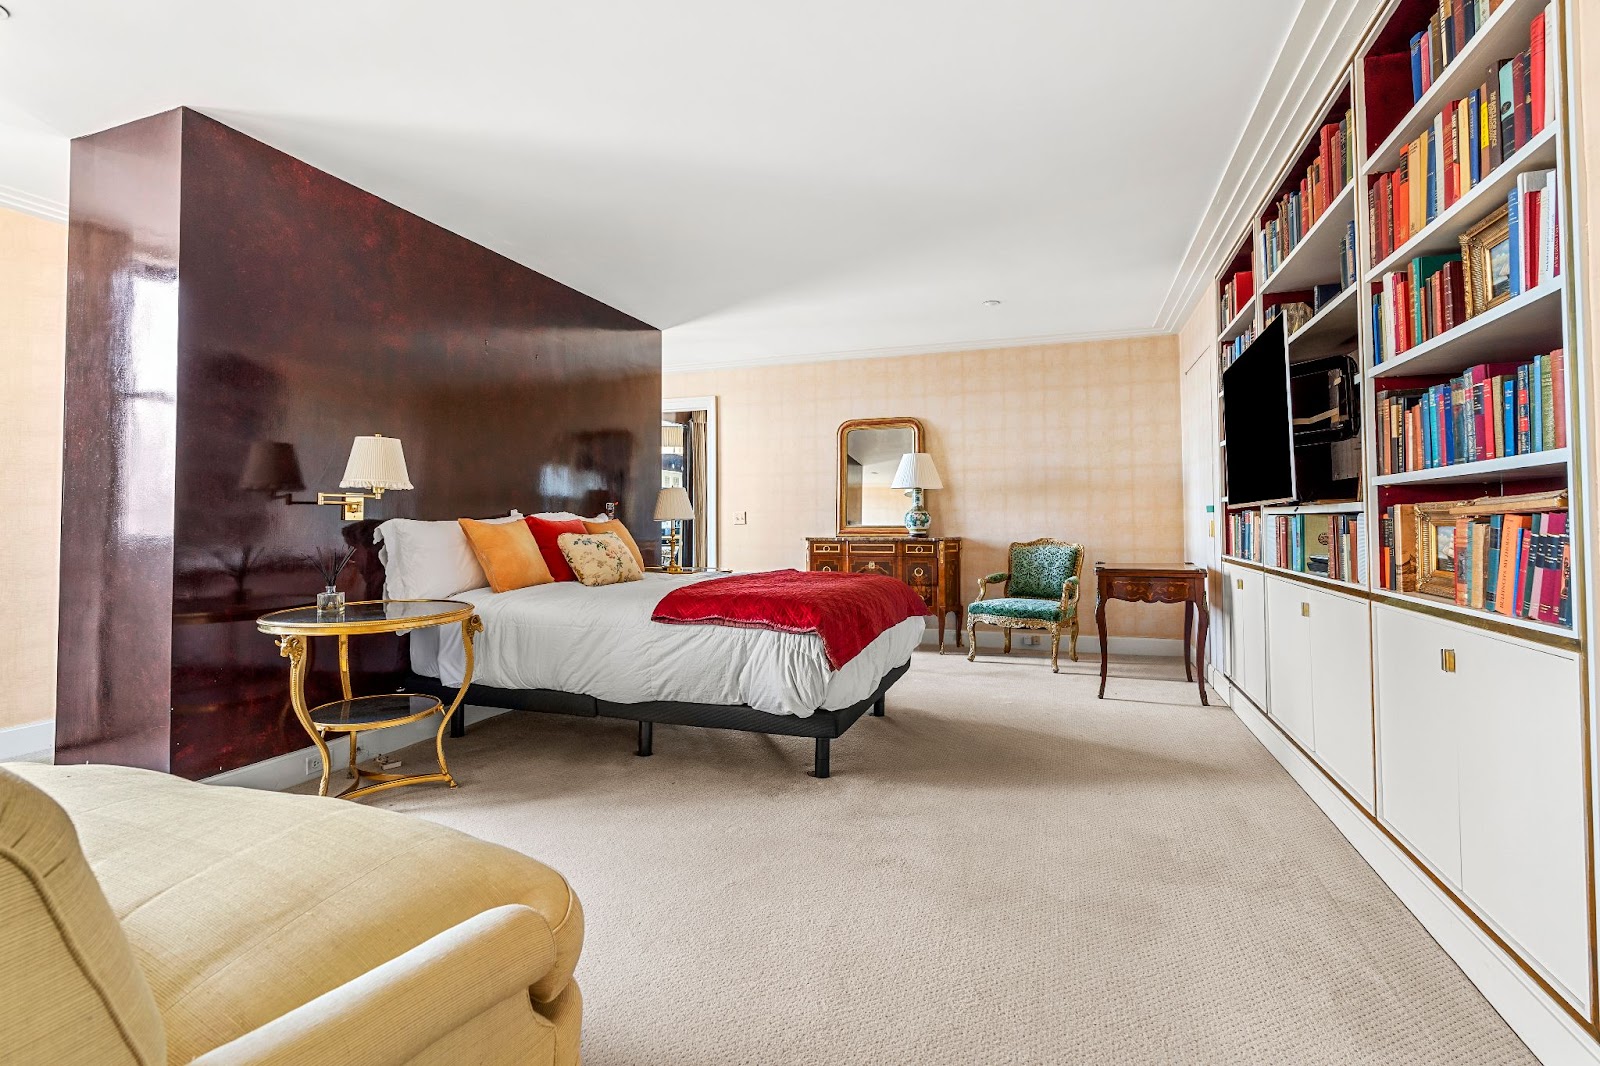
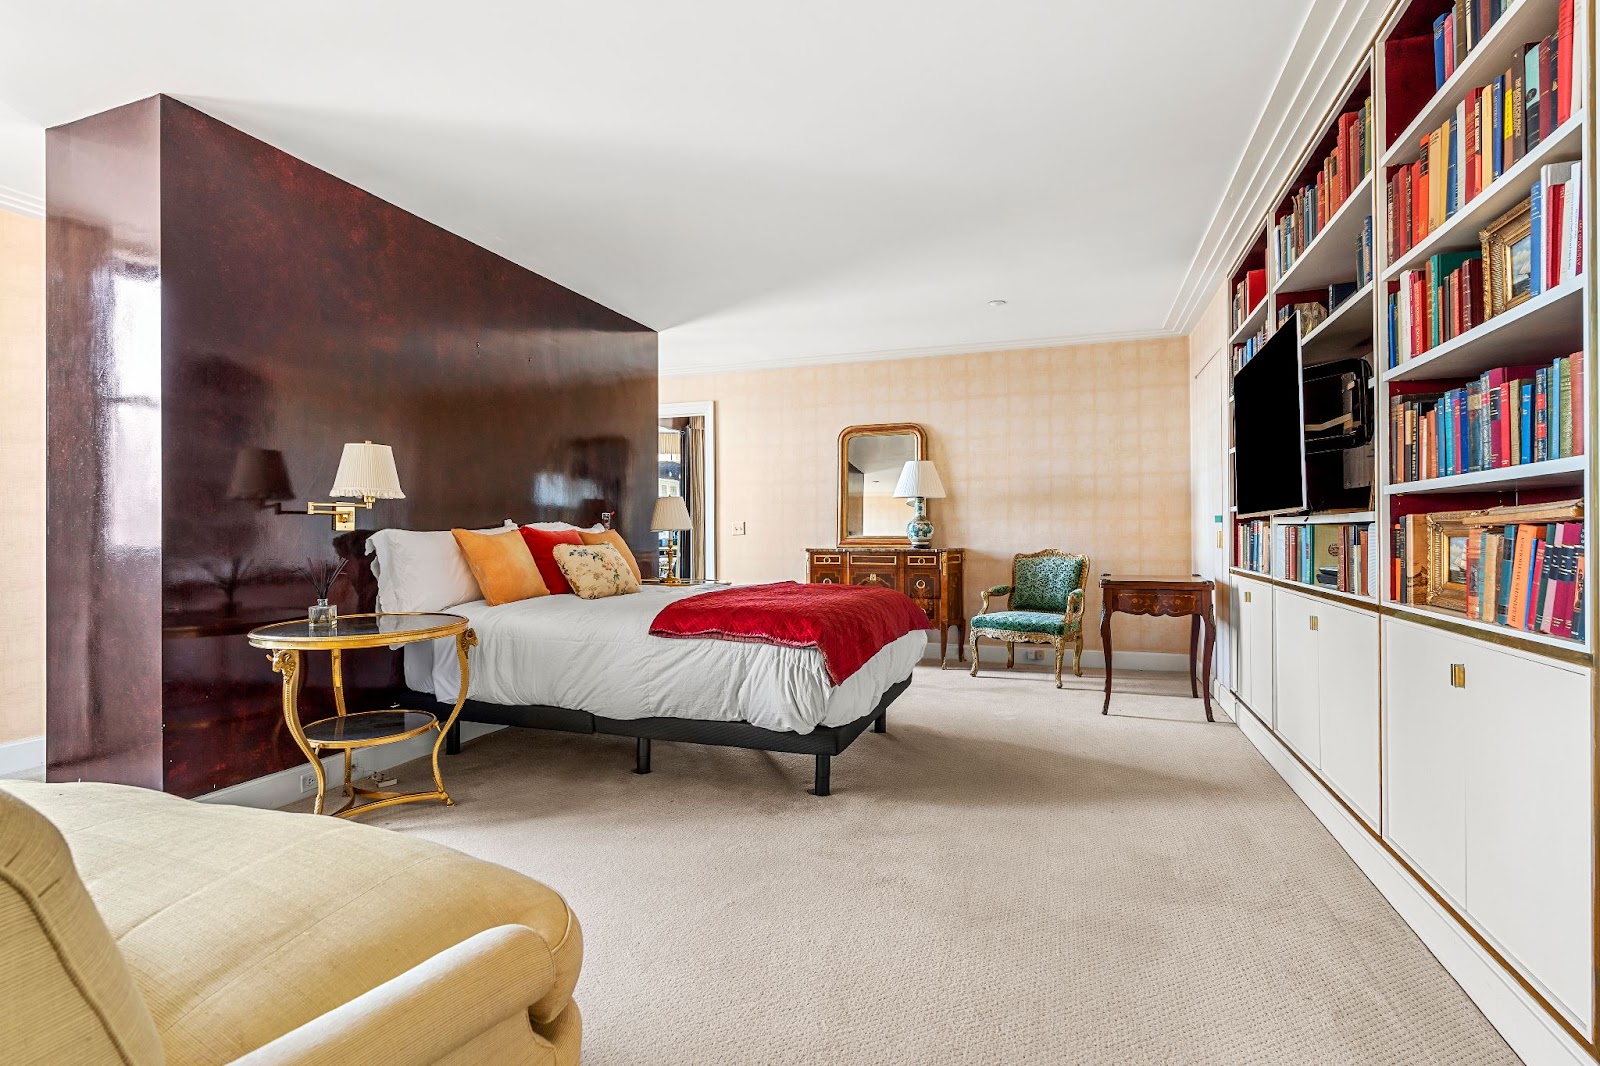
Select the Crop tool, then the Straighten Tool next to the Angle slider. Then, draw a straight line on the photo along the horizon. The image will rotate so that the horizon line is completely straight. Note that the corners of the image will be possibly cropped when you do this.
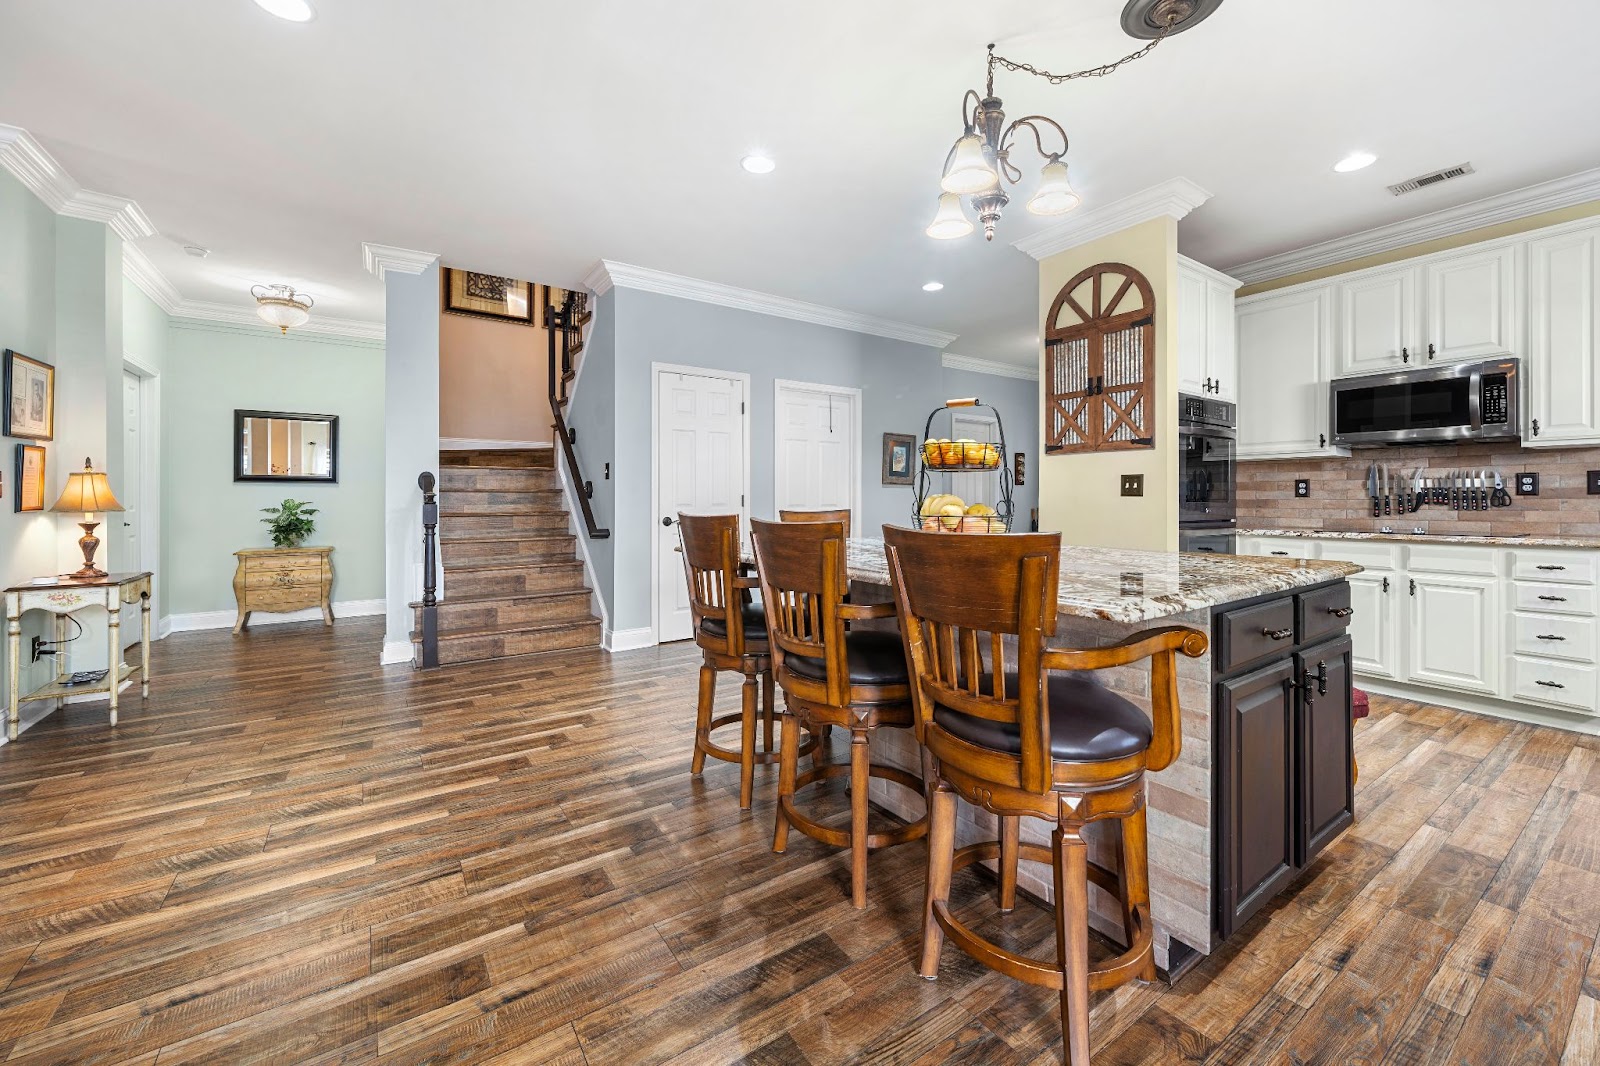
3. Mistake #3- Over-Processing Images
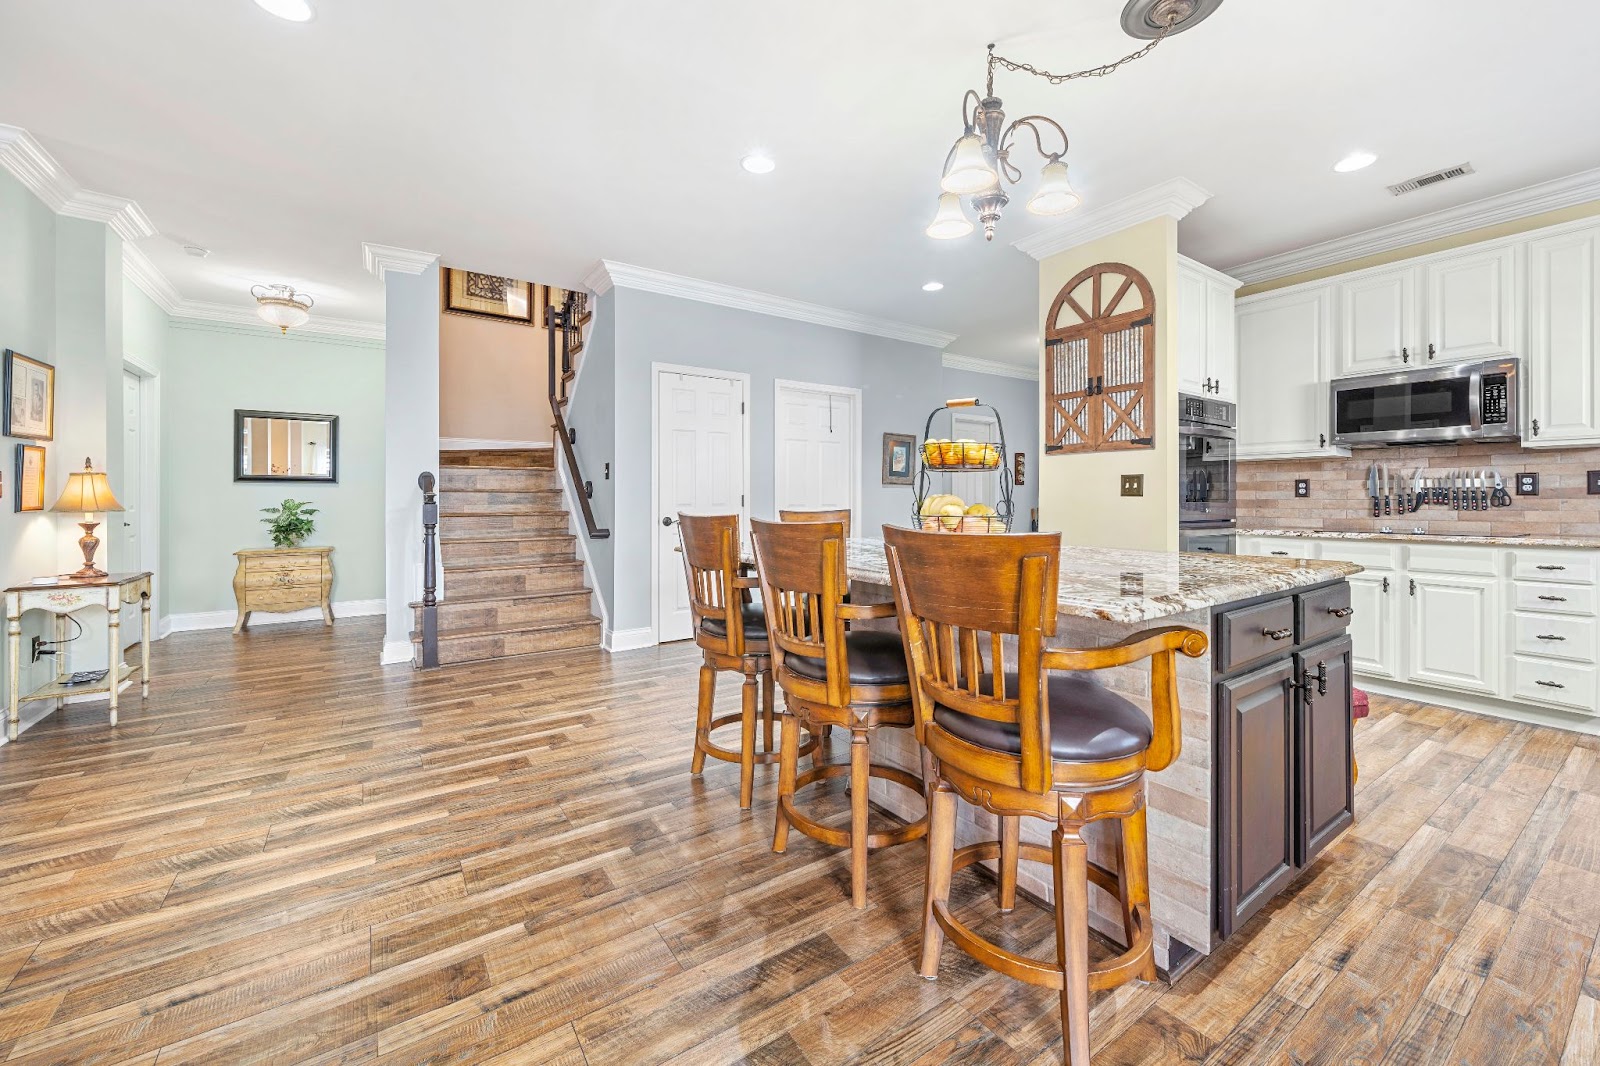
Another common mistake real estate photo editing photographers need to avoid is over-processing their works. Photography is visual art, which can document and tell a story, and raise emotion. But don’t forget: if separated from life, photography is just a game of colors. It means you should balance your artistic creativity with realistic representation so that potential buyers will not feel deceived.
Excessive editing, such as heavy-handed retouching or HDR effects, can result in unnatural-looking photos that lack authenticity. Take the pictures below as examples.
4. Mistake #4 – Incorrect White Balance
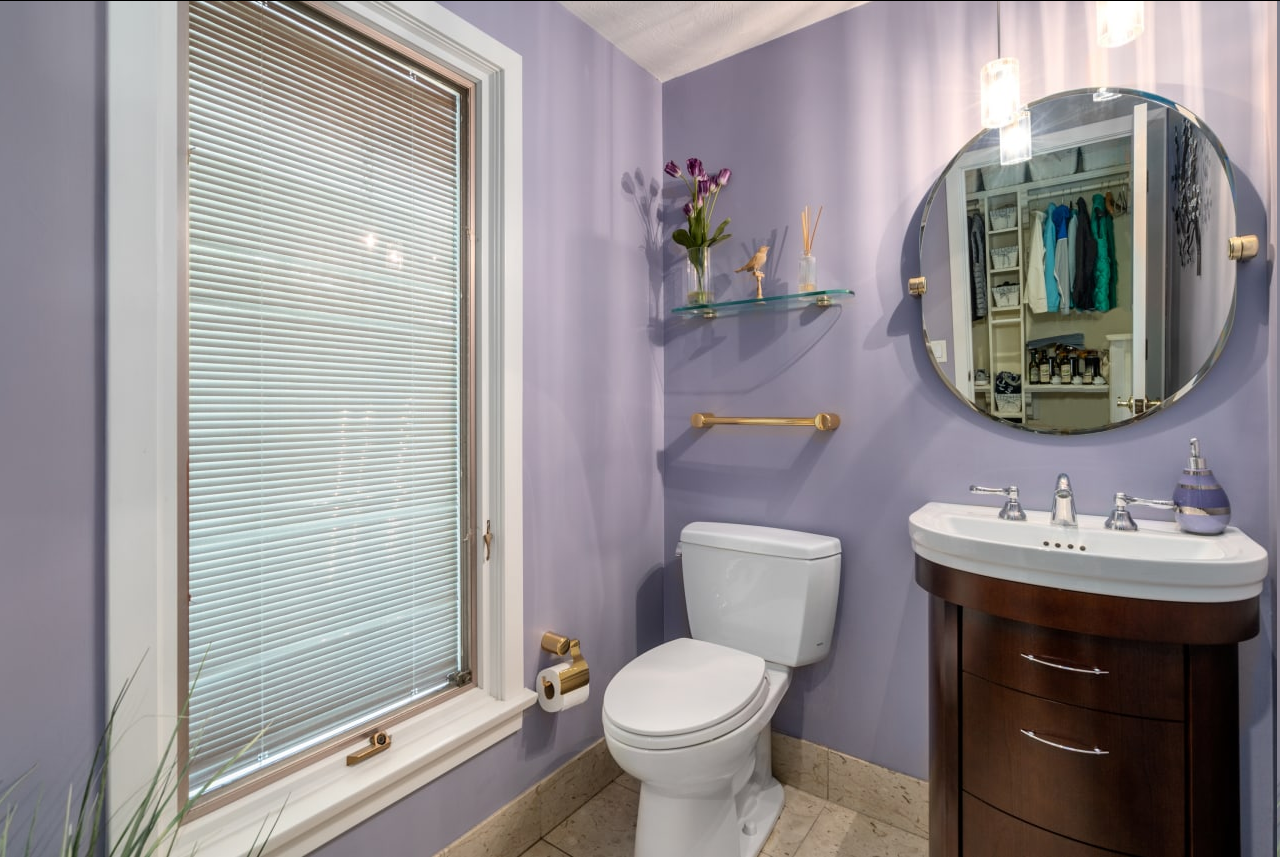
Many real estate photo editors admit that they sometimes fail to adjust the white balance in image enhancement processing. That leads to images with inaccurate colors, making rooms appear too warm or too cool.
When you have white balance problems, you’ll see a color cast appear when one of the RGB colors is darker than the others, and this usually happens when taking photos with artificial light. It’s usually green with fluorescent lights, and with incandescent lights, it’s usually yellow. If there is a flash, the color will turn blue.
Natural light is often unstable and changes depending on location and time of day. For example, photos taken early in the morning will appear bluer than photos taken at midday. At the end of the day, the color will be redder and warmer. Besides, there is the influence of location. Photos taken under the canopy will have more green.
BeatColor will provide you with a perfect solution to deal with color variations and return more neutral and natural colors.
5. Mistake #5 – Oversharpening
While sharpening can enhance details, overdoing it can introduce artifacts and make images appear harsh and unappealing.
Every photo from a digital camera needs to be sharpened. However, sharpening too much is not good. It creates ugly and harsh edges, adds a halo around the subject, creates a painting effect in detailed areas (such as leaves), and can also exacerbate noise in high ISO images.
There are two things you can do to improve sharpness correctly:
- View at 100% Zoom: Sharpening may appear stronger than it is, and the effect may not be immediately noticeable when zoomed out.
- Use Masking Option: Hold the Alt key while dragging the Masking slider to the right. White bits will be sharpened, black areas will not. This allows you to limit sharpening to edges and textures while leaving smooth areas like the sky untouched.
6. Mistake #6 – Not Removing Unwanted Reflections
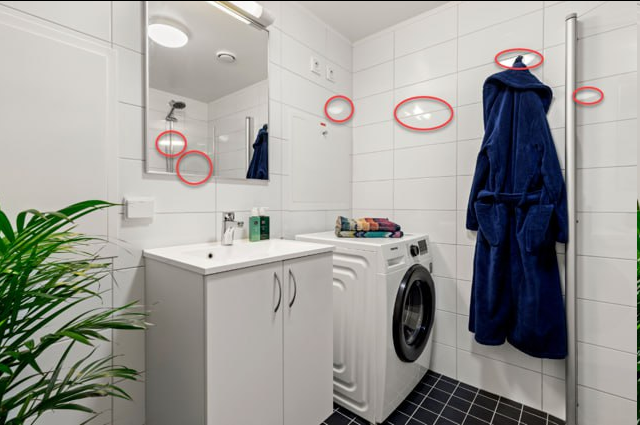
Last but not least photo editing mistake you should avoid at all costs is neglecting reflection removal. Reflection in a real estate photo, for example, can be some distracted spots on the bathroom wall, a towel, a photographer in the mirror, or the stuff you can see in the open closet as below.
Be mindful that all reflections from surfaces, pictures, TV screens, mirrors, and other reflective surfaces can spoil the overall quality of your images. So, never forget to double-check and remove any distractions in your beautiful property images before delivering them to real estate agents.
A Solution to Minimize Real Estate Photo Editing Mistakes
Outsource your Real Estate Photography
If you are a beginner or have no time to edit real estate photographs on your own, outsourcing to a trustworthy real estate photo editing partner is a wise investment. With editing experts’ talent, skills, and experience, BeatColor can ensure your property photos accurately represent the listing, attract more buyers, and ultimately lead to successful sales.
Real estate photo editing is crucial in marketing a property and influencing a buyer’s decision. It can attract potential buyers or turn them away if you unexpectedly make simple photo editing mistakes!
BeatColor’s real estate photo editors are experts in making property photos look natural while still highlighting the property’s best features.
Our professional editors can help you with the following issues:
- Image Enhancement
- HDR editing and manual blending
- Virtual Dusk editing
- Unwanted Items Removal
- Virtual Staging
- And much more!
>> Read more: 4 Reasons To Choose BeatColor for your Real Estate Photo Editing
Final Thoughts
Without professionals, common photo editing mistakes can cause the opposite effect, turning away interested parties and ultimately hurting property sales.
All you need to do is sign up for a free account, place your first order, and get it done in less than 24 hours with BeatColor’s professional process.


