Best Way to Edit Photos on iPhone: A Complete Guide

In today’s digital world, capturing stunning photos with your iPhone has never been easier. However, even the best shots can benefit from a little post-processing. If you want to enhance your images, learning the best way to edit photos on iPhone is essential. Whether you are a beginner or a seasoned photographer, the iPhone offers powerful editing tools to transform ordinary images into professional-looking masterpieces.
Why Edit Photos on iPhone?
Editing photos on an iPhone is convenient and efficient. The built-in Photos app and third-party applications provide robust editing capabilities that rival professional software. Some reasons to edit photos on your iPhone include:
- Enhancing colors and contrast for a more vibrant look.
- Removing unwanted elements to make images cleaner.
- Applying creative effects such as filters and adjustments.
- Cropping and straightening to improve composition.
- Quick and easy sharing on social media.
Now, let’s dive into the best way to edit photos on iPhone using different methods and tools.
1. Using the Built-in Photos App
a. Step 1: Open and Select Your Photo
b. Step 2: Use Auto-Enhance
- Tap the Auto button (magic wand icon) for a quick enhancement.
- This automatically adjusts brightness, contrast, and saturation.
c. Step 3: Adjust Light, Color, and Detail

- Tap the Adjust icon (dial-like symbol) to fine-tune settings.
- Key adjustments include:
- Exposure: Controls the brightness of your photo.
- Brilliance: Enhances details and contrast.
- Highlights & Shadows: Balances bright and dark areas.
- Saturation: Increases or decreases color intensity.
- Sharpness: Enhances details for a crisp look.
d. Step 4: Apply Filters
- Swipe left on the filter options and select one that suits your photo’s mood.
- Filters like Vivid, Dramatic, or Mono can add a unique touch.
e. Step 5: Crop and Straighten
- Use the Crop tool to remove unnecessary areas.
- Adjust the angle to straighten tilted photos.
f. Step 6: Save Your Edits
- Once satisfied, tap Done to save changes.
2. Best Third-Party Apps for Editing Photos on iPhone
While the built-in Photos app is excellent for quick adjustments, third-party apps provide more advanced tools and creative flexibility. If you want professional-grade edits, consider using these popular apps.
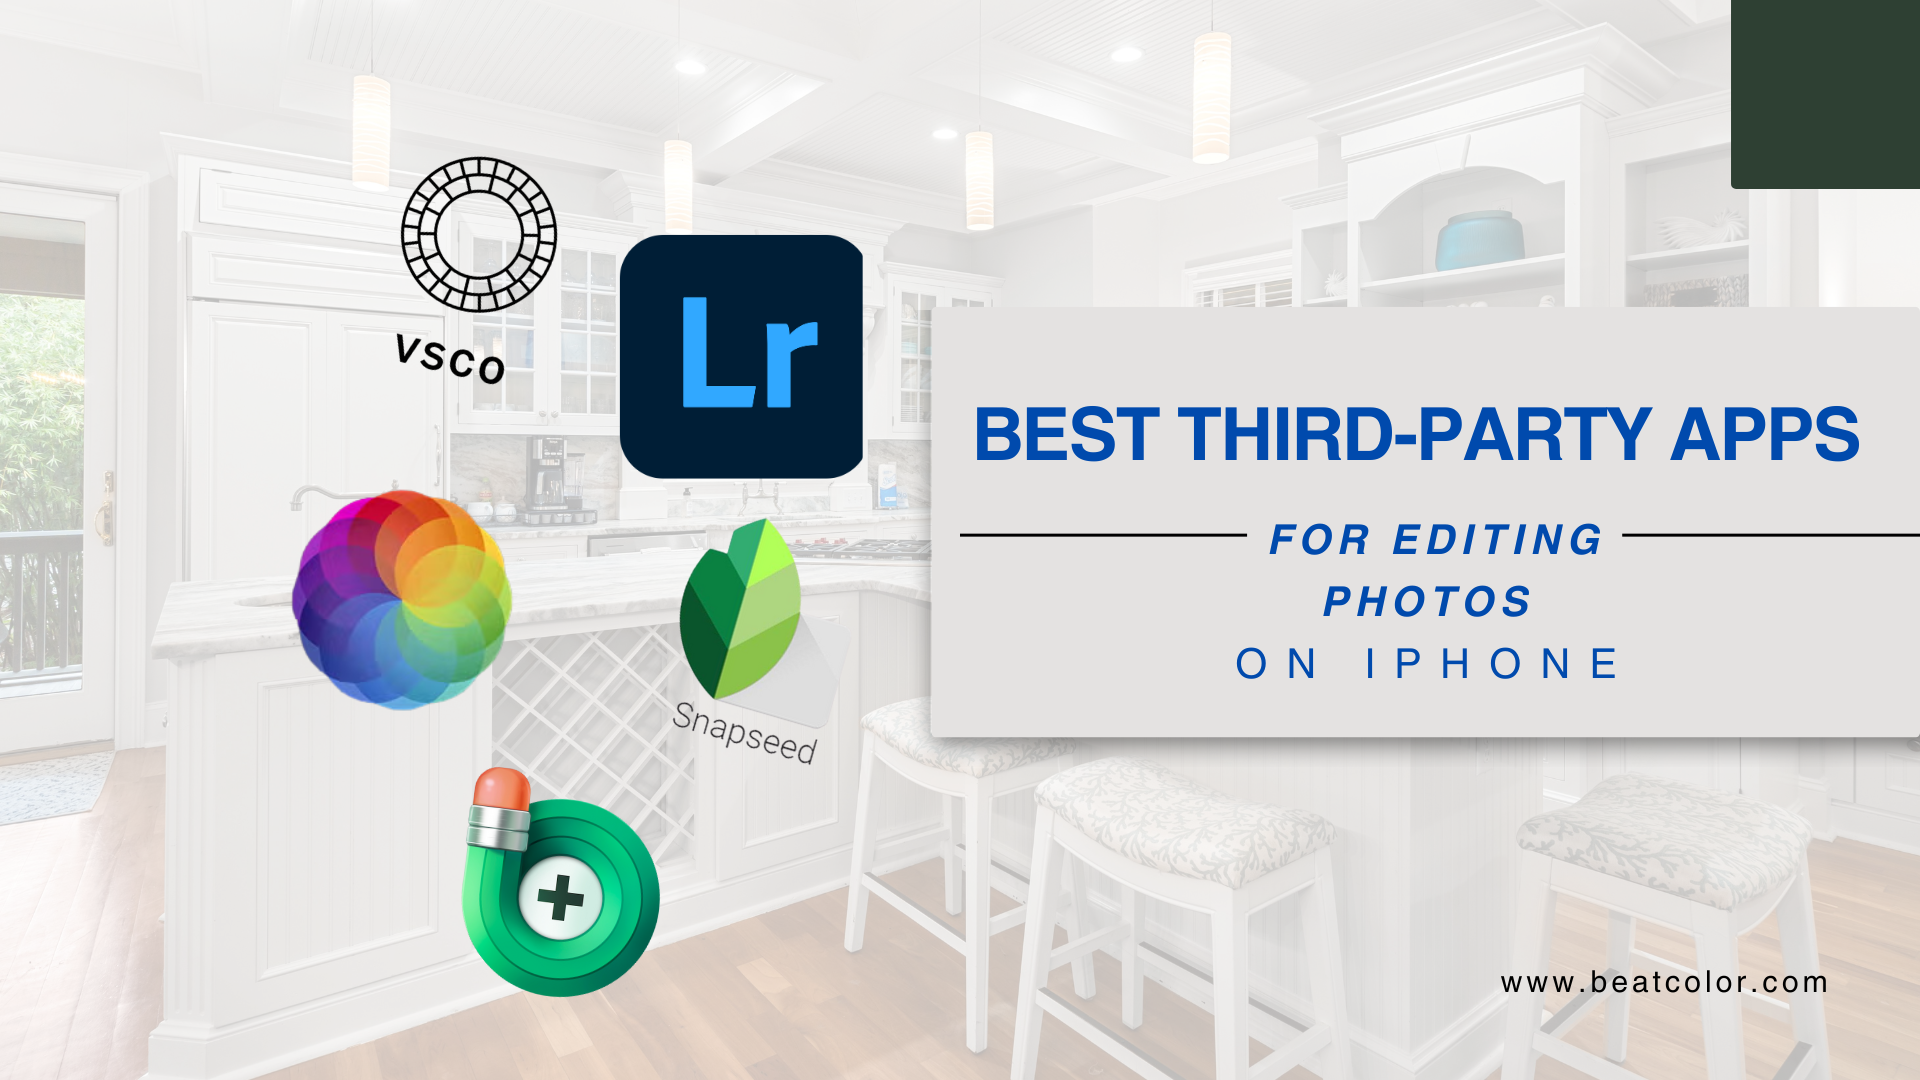
Snapseed
One of the most powerful options available is Snapseed, a free app developed by Google. With its intuitive interface and advanced features like Selective Adjustments, Healing Tool, and Curves, Snapseed gives you complete control over exposure, contrast, and color balance. Whether you’re brightening shadows or fine-tuning highlights, this app makes it easy to achieve stunning results.
Adobe Lightroom Mobile
Another great choice is Adobe Lightroom Mobile, which offers professional-quality editing with RAW photo support. Equipped with AI-powered enhancements, color grading, and custom presets, Lightroom is perfect for photographers who demand precision. If you frequently shoot in challenging lighting conditions, its noise reduction and dehaze tools can significantly improve image quality.
VSCO
For those who love aesthetic filters and film-like effects, VSCO is an excellent option. This app allows manual adjustments to exposure, contrast, and grain, making it a favorite among social media influencers and content creators. The wide range of presets lets you establish a consistent style while keeping your edits natural and visually appealing.
TouchRetouch
If removing unwanted objects is your priority, TouchRetouch specializes in cleaning up distractions with minimal effort. Whether you’re erasing power lines, blemishes, or random objects, this app provides a simple yet effective solution for refining your images.
Afterlight
Lastly, Afterlight is perfect for those who want to add artistic elements to their photos. With text overlays, double exposure effects, and textures, this app enhances images with a creative touch. If you’re looking to experiment with unique styles and compositions, Afterlight offers a versatile toolkit for high-quality edits.
3. Pro Tips for Editing Photos on iPhone
Use RAW Photos for More Editing Flexibility
- If your iPhone supports ProRAW, use it for high-quality edits.
- RAW files retain more details and allow better post-processing adjustments.
Maintain Natural Colors
- Avoid over-saturating or over-editing your photos.
- Keep skin tones and background colors as realistic as possible.
Experiment with Presets and Filters
- Presets save time and create a consistent look for your photos.
- Many apps like Lightroom and VSCO offer customizable presets.
Use the Healing Tool for Retouching
- Remove blemishes, dust spots, or unwanted objects seamlessly.
- Apps like Snapseed and TouchRetouch are great for this.
Sharpen Your Image for a Crisp Look
- Adding a bit of sharpness enhances details but avoid overdoing it.
- Excessive sharpening can introduce noise and artifacts.
Edit with Layers for Better Control
- Some advanced apps like Photoshop Express allow layer-based editing.
- This helps in making non-destructive adjustments and undoing changes easily.
4. Best Settings for Different Types of Photos
Portraits
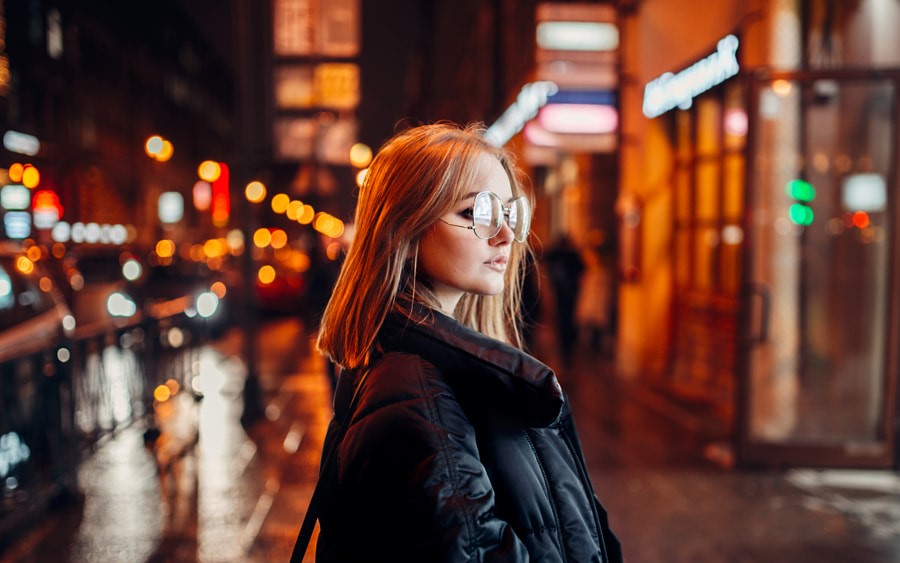
To make portraits stand out, increasing brightness and contrast is essential for a radiant look. At the same time, using skin smoothing tools can enhance the subject’s appearance, but it is important to keep it natural to avoid an artificial look. Additionally, applying a subtle vignette effect can help draw focus to the subject and create a more professional finish.
Landscapes
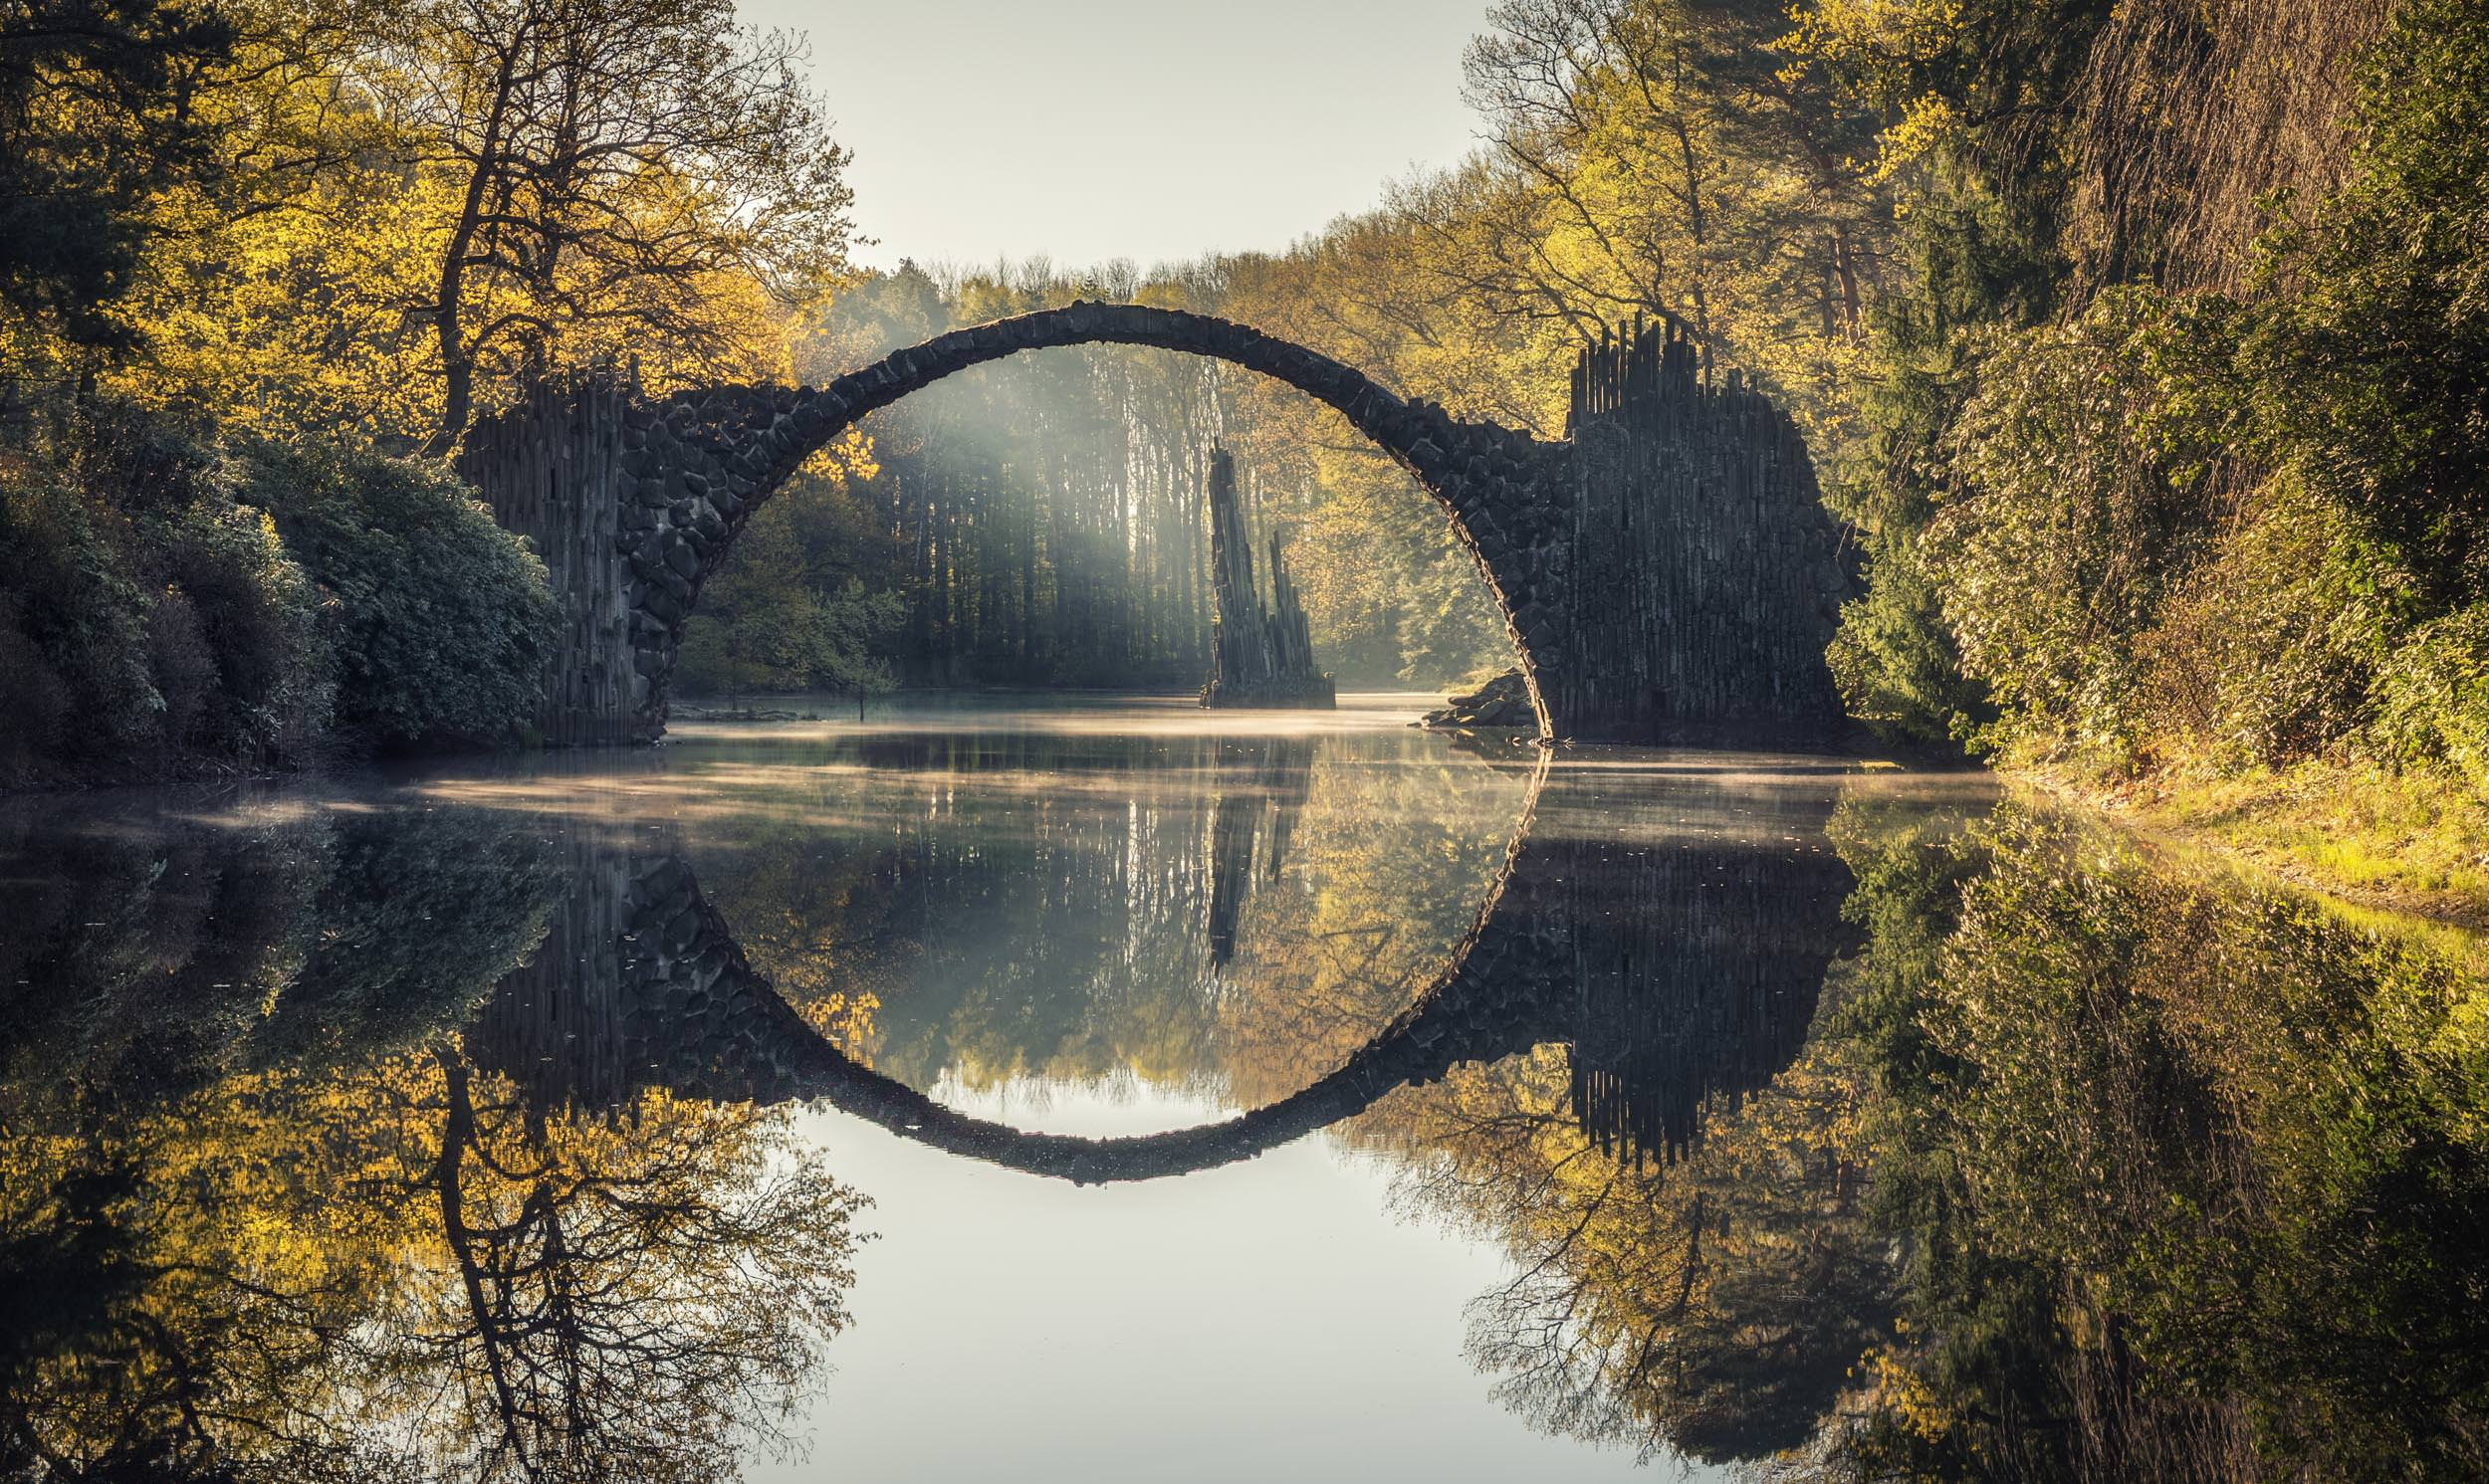
When editing landscape photos, boosting saturation and vibrance can bring out the richness of colors and make the scene more vivid. Furthermore, adjusting clarity and texture enhances fine details, making the image sharper and more immersive. If your shot has atmospheric haze or fog, using the dehaze tool (available in Lightroom) can significantly improve visibility and contrast.
Food Photography

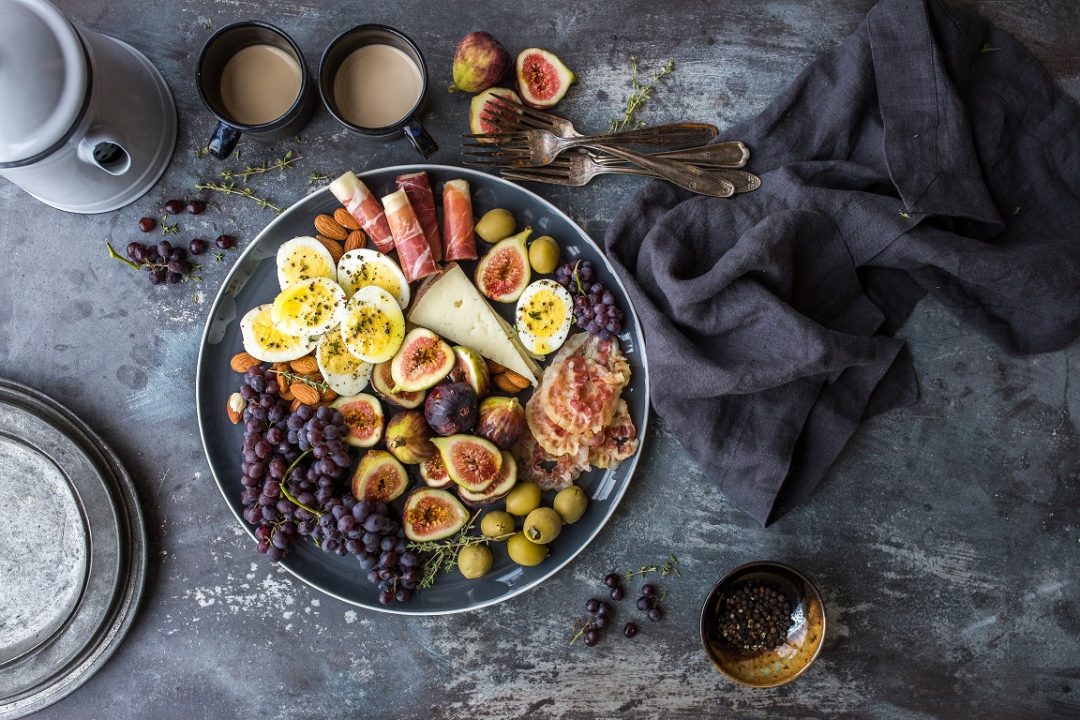
To make food look more appetizing, increasing exposure and contrast can create a bright and inviting presentation. Slightly enhancing saturation will make colors pop without looking unnatural. Finally, using sharpness adjustments can highlight textures and bring out details, making the dish appear more delicious and visually appealing.
Night Photography

Editing night photos requires reducing noise to achieve a cleaner and more refined look. Additionally, adjusting shadows and highlights ensures a balanced light exposure, preventing details from being lost in overly dark or bright areas. Lastly, keeping white balance accurate is crucial to maintaining natural lighting and avoiding unnatural color casts.
5. Additional Resources for Learning
If you want to take your editing skills further, check out online tutorials and courses. Websites like Photography Life offer in-depth guides and tips for mastering photo editing.
Conclusion
Mastering the best way to edit photos on iPhone can elevate your photography skills. Whether you use the built-in Photos app or advanced third-party apps, the key is to experiment and practice. Start with simple adjustments and gradually explore advanced tools for professional results.
With so many tools at your disposal, photo editing has never been more accessible. Try out different techniques, explore various apps, and develop a style that best represents your creativity. With consistent practice, your iPhone photography and editing skills will only improve, making your photos stand out effortlessly in a sea of digital images. Happy editing!
Read more:
How To Take Real Estate Photos With iPhone
What Cameras Do Real Estate Agents Use And 2024 Top Recommendations?
The Power of 360 Real Estate Photography: A Game-Changer for Property Marketing


