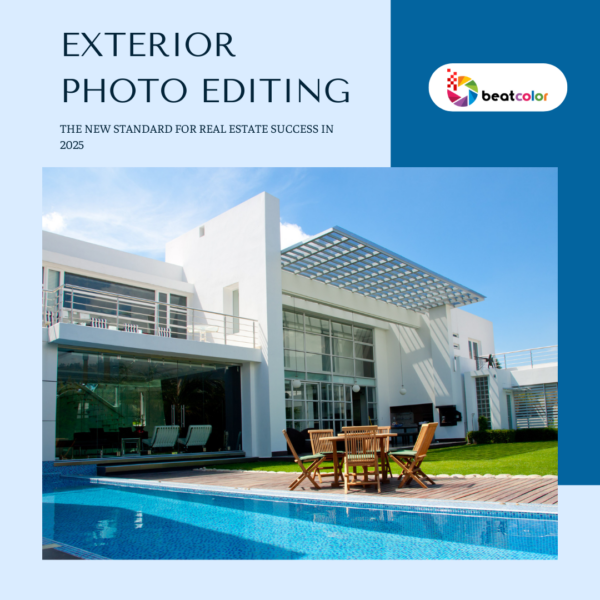
Top Common Real Estate Photo Editing Mistakes and Efficient Solutions to Avoid
Knowing Common Real Estate Photo Editing Mistakes is essential to both new and experienced real estate photographers and editors. Once they stay away from photo editing mistakes, they have the chance to produce appealing images that impress potential buyers.
With 7 years in business, and more than 3 million photos edited for clients from over 10 countries, BeatColor team is confident to master all photo editing techniques. In this concise article, let us walk you through various mistakes and efficient real estate photo editing tips on how to steer clear of them.
1. Real Estate Photo Editing Mistakes: Overdoing HDR
Overdoing HDR (High Dynamic Range) is the first one to mention because new photographers and editors often don’t know how to edit real estate photos appropriately. By combining several exposures, the HDR technique may capture a wide range of bright and dark features in a subject. When done well, it can provide visually appealing pictures with refined details and well-balanced tones.
Overuse of HDR, however, can result in many problems:
Unnatural Lighting:
An image that has undergone excessive HDR processing may appear extremely vibrant and flat, with an unnatural distribution of light and shadow. This may give the picture an unreal and uninviting appearance.
Halo Effect:
An object may appear to have a “halo” surrounding it when viewed against a bright background or the sky. A distracting white outline surrounds objects when there is a discernible transition between areas of varying exposure.
Loss of Realism:
Accurately displaying the property is the goal of real estate photography. A property that appears more photorealistic than it actually does due to excessive HDR could possibly deceive prospective buyers.
Colors Distorted:
Overprocessed HDR photos can have unusual or oversaturated color casts, which make the image look unnatural and less eye-catching. Further tips can be found here – Photoshop Color Correcting Techniques In Real Estate Photo Editing.

Overuse of HDR In Real Estate Photo Editing
How to prevent overusing HDR:
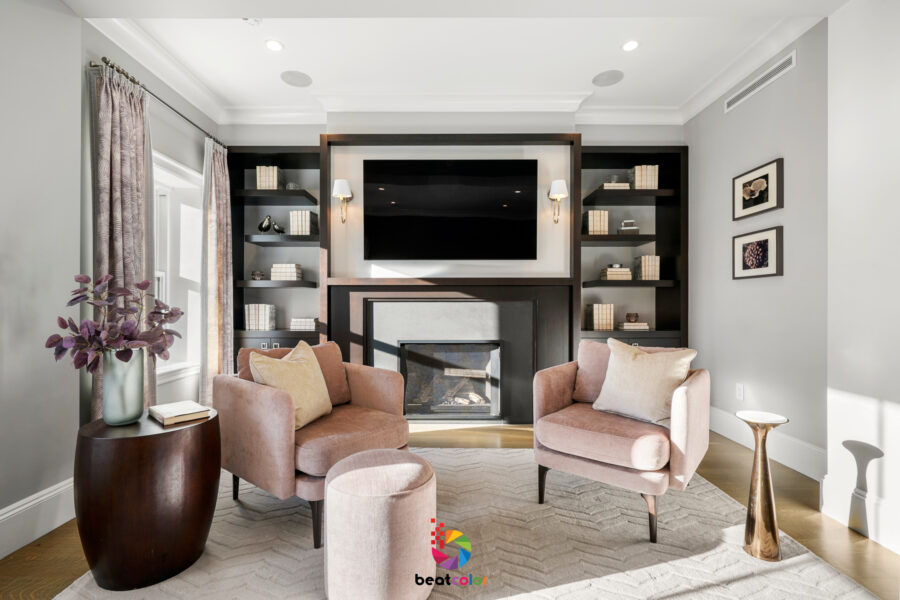
Well-Processed HDR Real Estate Photo Editing
Utilize Bracketed Exposures:
Bracketing allows you to take multiple pictures at various exposures when taking pictures for HDR. In real estate photography editing, this will give you a variety of light and dark details to work with.
Carefully Adjust Settings:
Exercise caution when making HDR adjustments, such as tone mapping and exposure blending, in Photoshop or other editing software. Aim for a well-balanced appearance while preserving a natural vibe in real estate photography editing.
Consider Tone Mapping:
An essential HDR processing step that keeps realistic lighting and details intact is tone mapping. To find the ideal balance, try out various tone-mapping settings and techniques.
Use Layer Masks:
Apply HDR adjustments selectively by utilizing layer masks. This helps you avoid an artificial look by giving you the ability to choose which parts of the picture get the HDR treatment.
>>Read more:
Bracketing Real Estate & Advanced Technique For Photographing Interior
Professional Real Estate Photography Editing Techniques – Steps Explained To Follow
2. Real Estate Photo Editing Mistakes Relating Perspective Correction
One of the next easy-to-make real estate photo editing mistakes is to either miss perspective correction or apply excessively. Many other professionals such as Real Estate Technology and Visual Wilderness also agree that this is one of the top common mistakes. In order to provide a natural and visually appealing view of the property, perspective correction is crucial for architectural and real estate photography editing. It makes sure that vertical lines appear straight and parallel.
Incorrect perspective adjustment can result in:
Distorted Appearance:
An excessive amount of perspective correction can skew the building’s or interior space’s proportions, giving it an unrealistic and unnatural appearance. For viewers who may not be able to relate to the altered perspective, this may cause anxiety or discomfort.
Loss of Depth:
The goal of perspective correction is to improve an image’s perception of space and depth. When applied excessively, it may flatten the image and make it appear less interesting and two-dimensional.
Cropped or Missing Content:
Excessive perspective correction can result in the cropping or removal of scene elements that are important for prospective buyers to see, like furniture, architectural details, or other pertinent features.
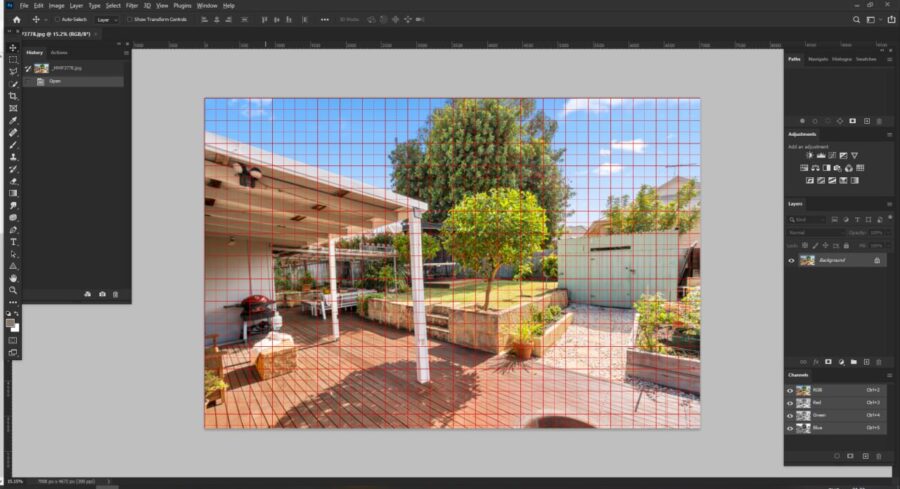
Incorrect Perspective Adjustment Causes Distorted Appearance
To steer clear of incorrect perspective:
Employ Corrective Lenses:
To reduce perspective distortion when editing real estate photos, make sure the right lens and camera settings are used when taking the original photos. Make careful choice of the focal length because certain lenses, like wide-angle lenses, can accentuate convergence.
Ensure Careful Vertical Straightening:
Use Photoshop’s Transform or Perspective Crop tools to adjust the image’s vertical lines. Strive for a balance between preserving the property’s natural appearance and correcting the perspective.
Partial Corrections:
Rather than making adjustments to the entire image, partial perspective corrections can be more appropriate in some situations. This involves concentrating only on the photo’s most important components when editing real estate photos.
Employ Guideline Overlays:
To ensure precise vertical line alignment during perspective corrections, utilize Photoshop’s guideline overlays. This will help to produce a realistic and avoid real estate photo editing mistakes.
3. Real Estate Photo Editing Mistakes Regarding Oversaturating Color
Lastly, when editing real estate photos, oversaturating colors is a common mistake that can make the photos appear unrealistic and unattractive to potential buyers. While enhancing colors can liven up a space and increase its appeal, oversaturating a space can cause a number of problems:
Issues caused by oversaturating color:

An Example Of Oversaturating Color In Editing
Unnatural Appearance:
Photos with oversaturated colors may appear unnatural and excessively vivid, which is not how the property actually looks in real life. Potential purchasers may be misled by this because the real property might not have the same degree of color intensity.
Loss of Detail:
An overly saturated image may lose minute details and textures, particularly in regions with complementary color schemes. The intense colors might make fine details difficult to see.
Unbalanced Color Tones:
An excess of saturation can lead to an uneven color spectrum, giving some colors a dominant and overwhelming presence over others. This may cause the image to appear erratic and disorganized.
To prevent color oversaturation when editing real estate photos:
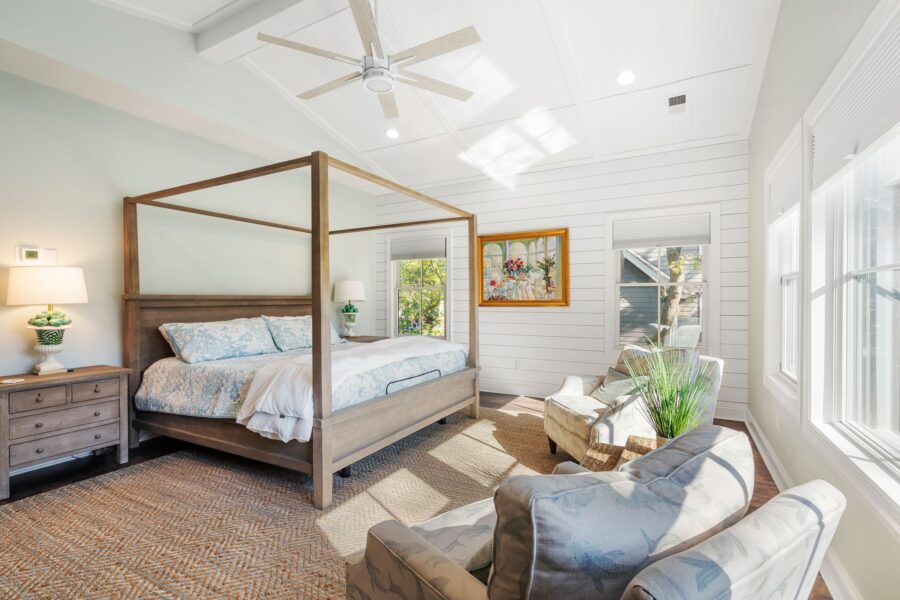
An Example Of Natural And Appropriate Color Editing
Use Adjustment Layers:
Utilize Photoshop’s adjustment layers to alter the image’s saturation instead of making direct adjustments to it. This lets you adjust the saturation later if necessary and make non-destructive edits.
Work with Selective Saturation:
Make selective saturation adjustments to bring out specific colors in the picture. This lets you target individual colors without changing the composition of the image as a whole.
Monitor Calibration:
To ensure that colors are displayed accurately, make sure your monitor is calibrated correctly. You can be tricked into oversaturating the image by an inaccurately calibrated monitor.
Consult Reference Images:
To make sure the colors in your edited photo are accurate, if at all possible, consult reference images or the property itself.
>>Read more:
Real Estate Photo Editing Techniques to Improve Property Images
Final Thoughts
We have explored the top three common real estate photo editing mistakes to avoid, from overprocessing HDR and missing perspective correction to unrealistic sky replacements. These sharings should provide insights for photographers and editors from various levels to upgrade their real estate photo editing skills.
Yet if you are a busy photographer with a tight schedule and have no time for editing, you can entrust BeatColor’s professional editing services by simply signing up – here. Our dedicated and experienced editors will deliver outstanding photos that successfully highlight your properties.


