
Real Estate Window Masking: The Art of Natural Views
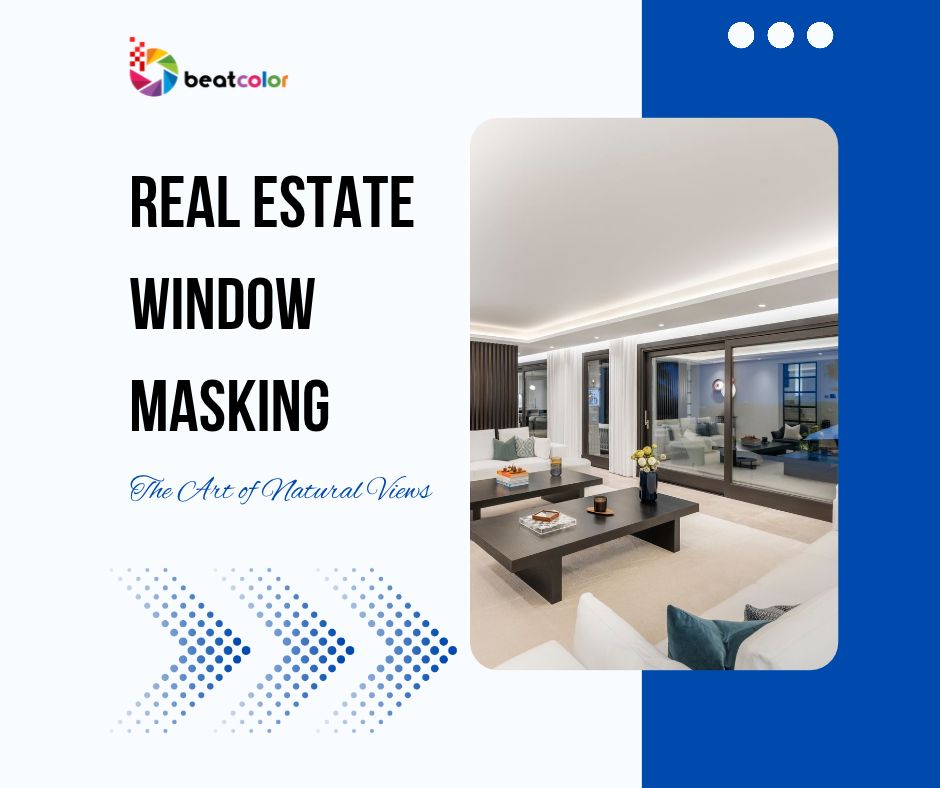
Imagine walking into a beautifully photographed living room. Soft daylight fills the space, furniture looks inviting, and the garden appears perfectly visible. Nothing feels distracting. However, the original photograph looked completely different.
The windows were almost white. Outdoor details disappeared, while the interior appeared dark and flat. This is where Real Estate Window Masking becomes essential.
Window masking helps editors balance bright outdoor scenes with darker interiors. It reveals window views without sacrificing the atmosphere inside. More importantly, it helps property photographs communicate what a space genuinely looks like.
Yet the real challenge is not simply making windows darker. It is creating an image that feels natural, believable, and visually consistent.
Diagnose the Problem Before Editing
Every window presents a different lighting challenge. Therefore, editors should identify the problem before choosing a correction method.
Consider three common situations.
Case A: The Invisible Garden
A bright exterior overwhelms the camera sensor. Consequently, trees, lawns, buildings, or distant scenery disappear into white highlights.
The solution involves recovering available exterior detail. However, masking cannot recreate information that the original capture never recorded.
Case B: The Dark Living Room
The outdoor scene looks acceptable, but the interior appears underexposed. Lifting the entire photograph may brighten the room while making the windows excessively bright.
Instead, editors should balance the interior and exterior separately.
Case C: The Artificial Window
The view looks detailed, but the window appears unnaturally dark. Hard edges, mismatched colors, and excessive contrast make the correction obvious.
In this situation, subtle blending matters more than additional detail.
Recognizing these differences helps editors select an appropriate workflow instead of applying one preset everywhere.
What Real Estate Window Masking Actually Does
Real Estate Window Masking isolates window areas for targeted adjustments. Editors can then modify exposure, highlights, color, and contrast without significantly changing surrounding surfaces.
The process generally involves identifying window boundaries and creating precise selections. These selections protect important architectural details during editing.
For example, a mask can separate exterior scenery from interior walls. This allows the editor to brighten the room while preserving the garden’s natural appearance.
However, a good mask must follow the actual window structure. Frames, handles, curtains, reflections, and narrow edges require careful attention.
Otherwise, bright halos may appear around frames. Exterior colors may also spill onto nearby walls.
The objective is not to make every window look identical. Instead, each correction should respect the original lighting and architectural character.

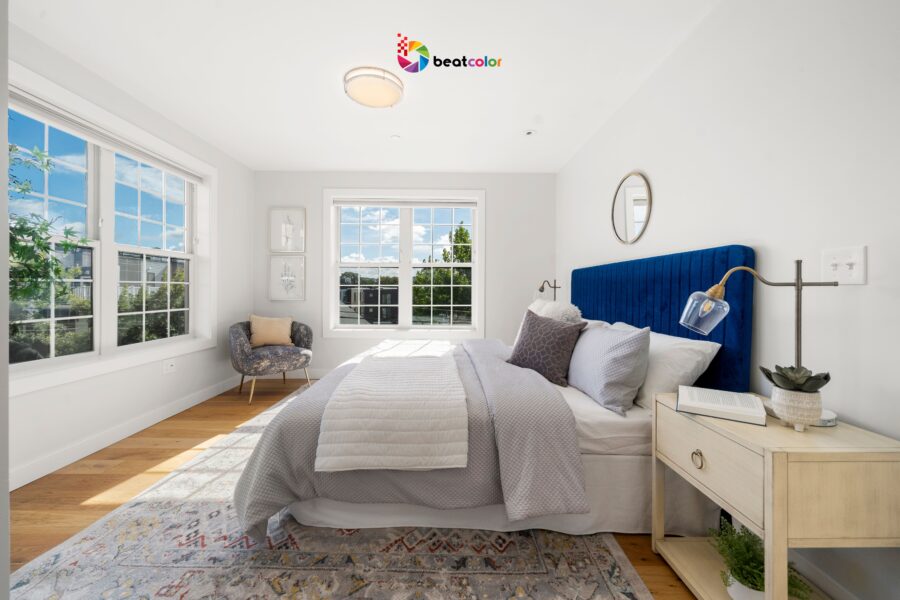
The Editing Workflow: From Capture to Finish
A reliable workflow begins with the source photographs, not the masking software.
Step 1: Inspect the Available Exposure
First, examine the original image at normal viewing size. Then zoom into bright windows and darker interior corners.
Check whether the exterior retains recoverable information. If available, use the brightest and darkest exposure brackets to support a balanced result.
When multiple exposures exist, editors can blend suitable details from each frame. Nevertheless, moving trees, curtains, or people can create alignment problems.
Therefore, inspect source consistency before blending.
Step 2: Create a Precise Window Mask
Next, identify the glass areas requiring correction. Keep frames, walls, and other architectural elements protected wherever possible.
Automatic selection tools can accelerate this stage. However, complex reflections, thin mullions, and irregular window shapes may require manual refinement.
For best results, inspect mask boundaries at several zoom levels. A selection that looks accurate when enlarged may appear harsh at normal viewing size.
Step 3: Recover Exterior Details
Adjust the selected exterior using the available image information. Reduce excessive highlights and restore visible colors without forcing the scene unnaturally dark.
Pay attention to the sky, vegetation, neighboring buildings, and distant landscapes. Each element should retain plausible contrast and color.
Furthermore, avoid making the outdoor scene dramatically sharper than the interior. Such differences can make the window resemble a separate image pasted into the photograph.
Step 4: Balance Interior and Exterior Lighting
Now evaluate the entire composition. The interior should remain inviting, while the exterior should provide context rather than dominate attention.
Adjust local brightness and color temperature when necessary. However, avoid creating perfectly uniform exposure across every surface.
Real rooms contain natural variations in illumination. Preserving those variations often produces a more convincing photograph.
Step 5: Refine the Edges
Finally, inspect window frames, curtains, blinds, and nearby walls. Look for halos, color contamination, jagged selections, and unnatural transitions.
Subtle feathering can soften appropriate boundaries. However, excessive feathering may blur frames or create unwanted bright outlines.
Always judge the finished image at both full size and normal viewing size.
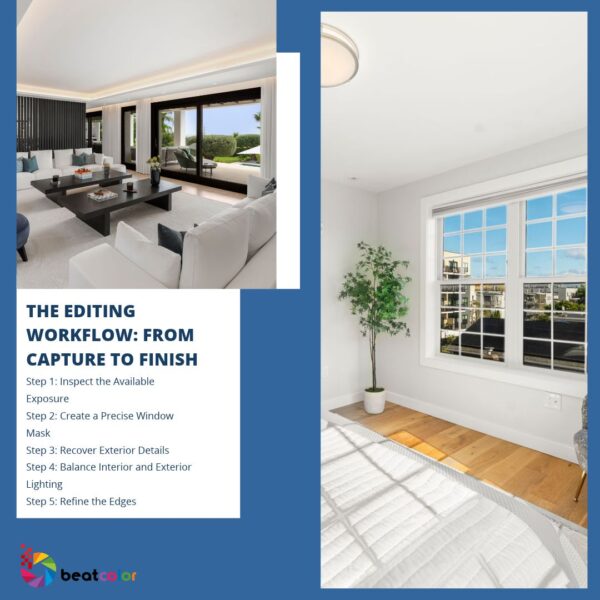
The Realism Checklist: Five Details Editors Often Miss
A technically accurate mask can still produce an unconvincing photograph. Therefore, evaluate these five details before delivery.
1. Perspective and alignment
Exterior features should align naturally with the original window perspective. Blended exposures should also match in scale and position.
2. White balance
A cool outdoor scene may look strange against a warm interior if the transition feels inconsistent. Preserve plausible color relationships rather than forcing identical temperatures.
3. Reflections
Glass can contain reflections from furniture, lights, and nearby surfaces. Removing every reflection may make the window look unrealistic.
4. Architectural boundaries
Window frames must remain crisp without appearing artificially outlined. Pay particular attention to thin frames against bright skies.
5. Lighting direction
The recovered exterior should make sense alongside the room’s existing illumination. Avoid corrections that suggest conflicting light sources without a plausible explanation.
Together, these checks help turn a technically corrected photograph into a convincing property image.
AI Masking Versus Manual Editing
AI-assisted editing has changed how photographers and editing teams approach repetitive tasks. Automated tools can identify windows, generate initial masks, and accelerate batch processing.
This can be especially useful for large property galleries. Repeated adjustments become more manageable when similar window structures appear across multiple photographs.
Nevertheless, automation does not eliminate quality control.
AI-generated masks may struggle with transparent glass, intricate frames, reflections, or partially concealed windows. Difficult lighting conditions can also produce inconsistent results.
Manual editing offers greater control over individual problem areas. However, it can require additional time and specialist attention.
For many workflows, a hybrid approach provides a practical balance. Automation handles routine selections, while experienced editors refine complex details and review the final image.
The right choice depends on image complexity, delivery requirements, and the level of consistency expected.
Measuring Quality Beyond Brightness
A successful window correction should do more than reveal the landscape. It should improve the photograph without making the editing process noticeable.
For editing teams, useful quality indicators include edge artifacts, color consistency, exposure balance, and correction-related revision rates.
Teams can also review customer feedback about naturalness and architectural accuracy. Tracking these issues helps identify recurring problems across different property types.
However, avoid treating one numerical score as a complete measure of quality. Different rooms and lighting conditions require different editing decisions.
A bright coastal apartment may need a different balance from a shaded townhouse. Consequently, quality standards should allow appropriate variation while maintaining consistent realism.

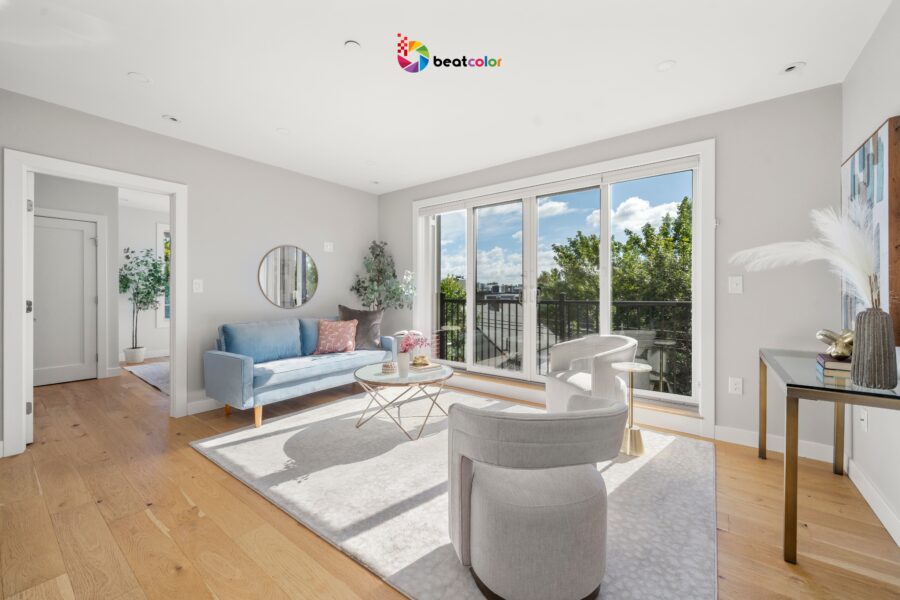
The Future of Real Estate Window Masking
The direction of property photo editing increasingly combines automation with human judgment. AI can reduce repetitive work, while experienced editors remain important for nuanced visual decisions.
As editing tools evolve, the strongest workflows will likely prioritize accuracy, efficiency, and dependable quality control. Speed alone cannot compensate for unrealistic colors or damaged architectural details.
Photographers can support better results by capturing exposure brackets when practical. Clear source images give editors more information to work with during recovery and blending.
Meanwhile, editing providers can strengthen their services through documented review procedures. Consistent checks help reduce avoidable revisions and protect the visual quality of complete property galleries.
Final Thoughts
Real Estate Window Masking is not simply a technique for darkening bright windows. It is a controlled process for balancing interior atmosphere with exterior visibility.
The best results preserve realistic colors, clean architectural edges, and believable lighting relationships. They reveal useful details without drawing attention to the correction itself.
Whether using AI-assisted tools or manual techniques, editors should prioritize visual credibility over dramatic effects.
Ultimately, a successful property photograph does not make viewers notice the editing. It helps them understand the space, appreciate its natural light, and imagine the view beyond the glass.
Read more:
Real Estate Photo Color Correction: The Field Guide
HDR Real Estate Photo Editing for Clear Windows
Real Estate Image Enhancement: Sell Homes Faster for More