
How Photo Editing Fixes Common Camera Limitations in Real Estate Shots
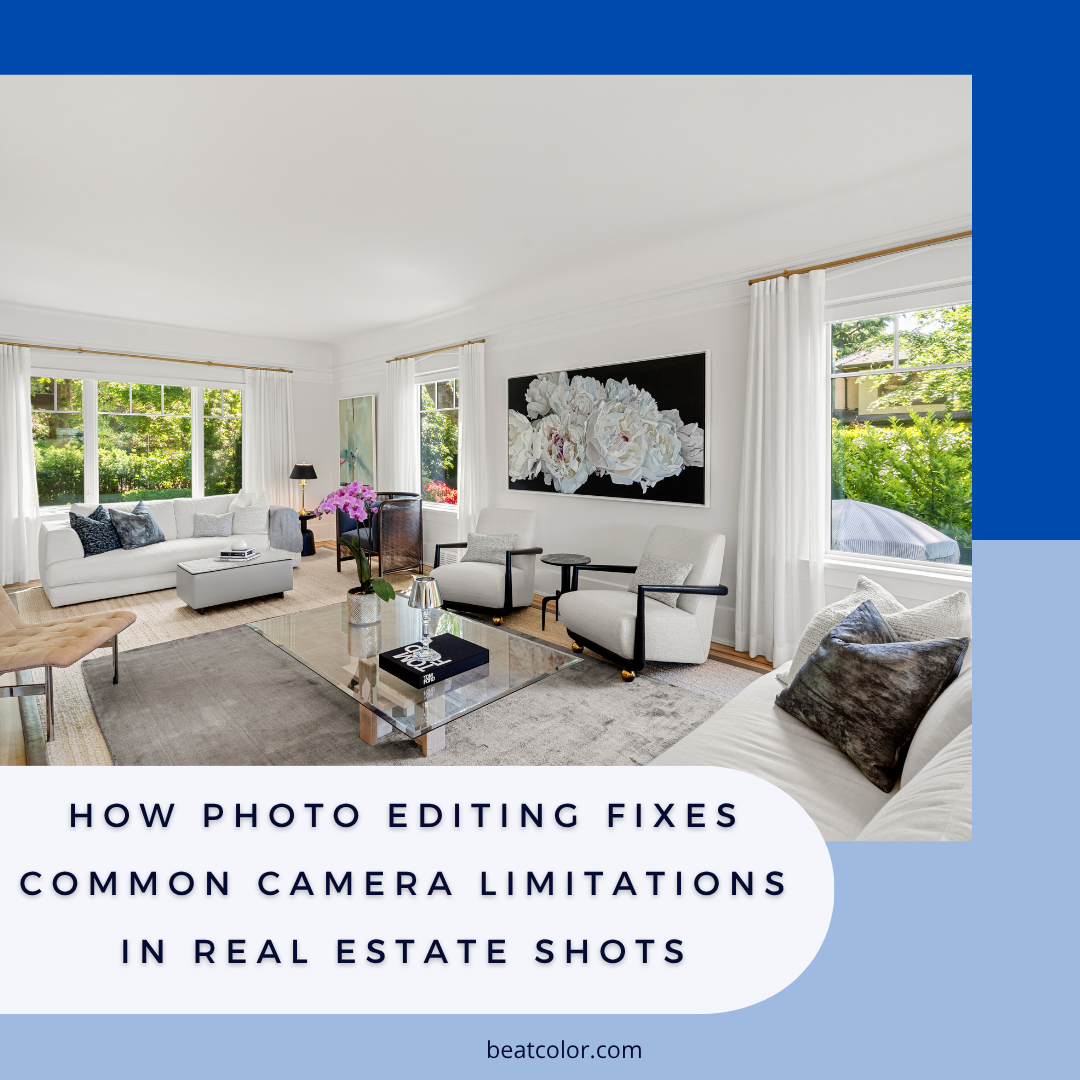
Every real estate photographer knows the frustration. You show up with a great camera, frame the shot perfectly, and still walk away with images that don’t quite match what you saw in person. Windows blow out to white. Straight walls bend slightly at the edges. One corner of the room glows while another fades into shadow. These aren’t mistakes on your part, they’re limitations built into how a camera captures light and geometry.
That’s where photo editing steps in. A skilled editor can rescue a technically flawed photo and turn it into a polished, listing-ready image. In this article, we’ll walk through the most common camera limitations in real estate photography, explain why they happen, and show exactly how professional editing corrects each one. By the end, you’ll understand why the camera is only half the story and why the right editing partner makes the other half count.
Why Even Great Cameras Have Limitations
No camera, regardless of price, can perfectly replicate what the human eye sees. Your eyes adjust instantly to bright windows and dim corners at the same time. A camera sensor can’t do that in a single exposure. It has to choose a narrower range of light to capture, which means something always gets sacrificed, usually either the bright areas or the dark ones.
Lenses add another layer of difficulty. Wide-angle lenses, which real estate photographers rely on to fit entire rooms into a single frame, naturally bend straight lines near the edges of the image. This isn’t a defect; it’s simply how optics work at wide focal lengths.
Because of these physical constraints, post-production has become a standard part of the real estate photography workflow. Editing isn’t a shortcut for photographers who lack skill. It’s a necessary final step that every professional listing photo goes through before it reaches a buyer’s screen.
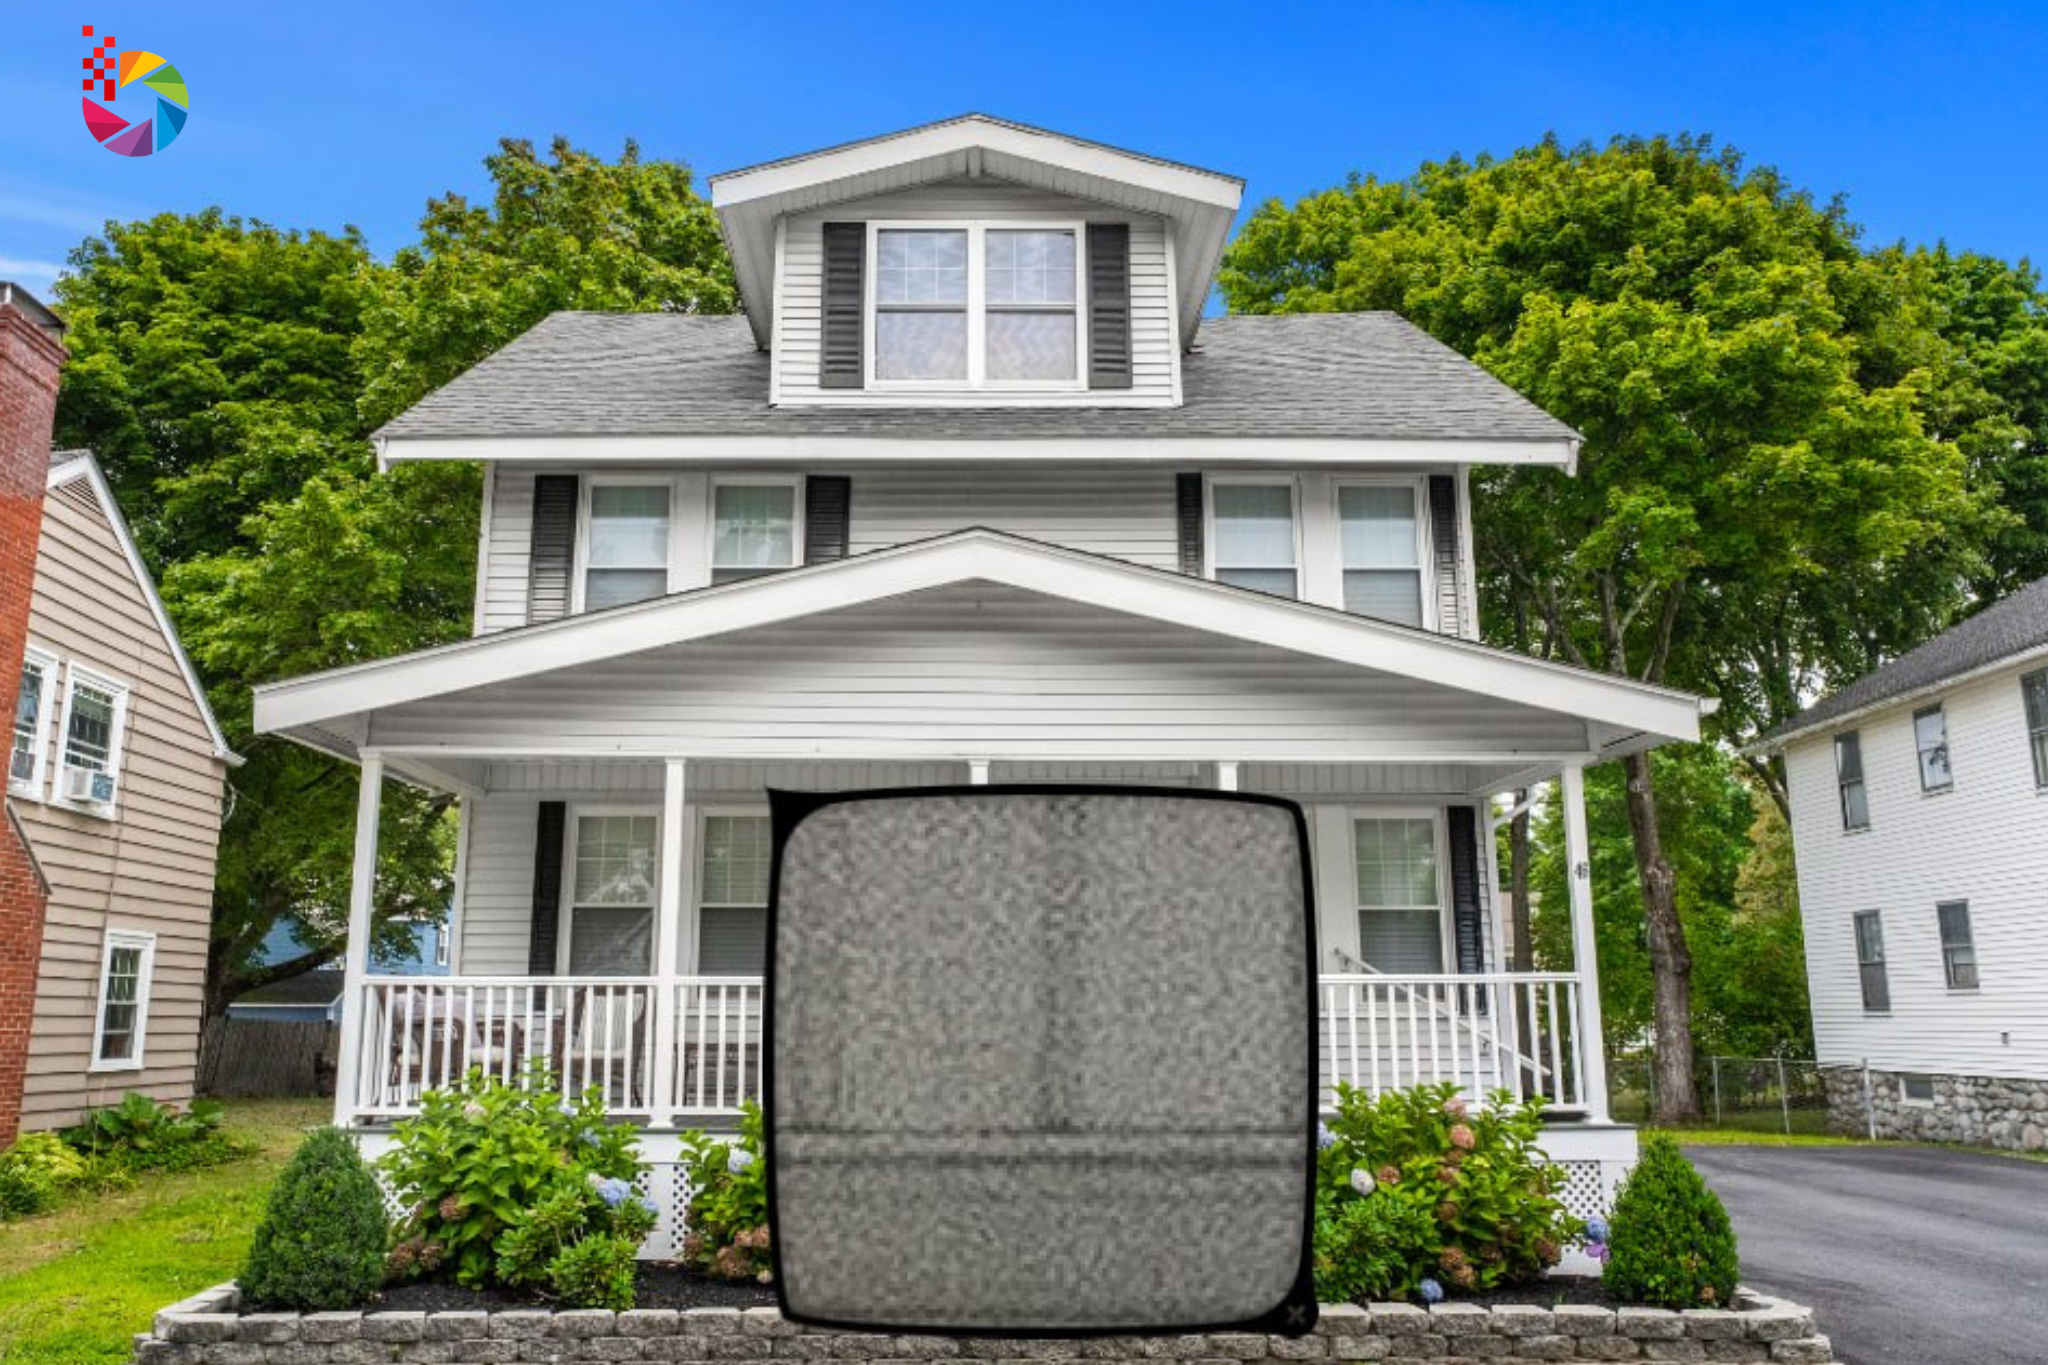
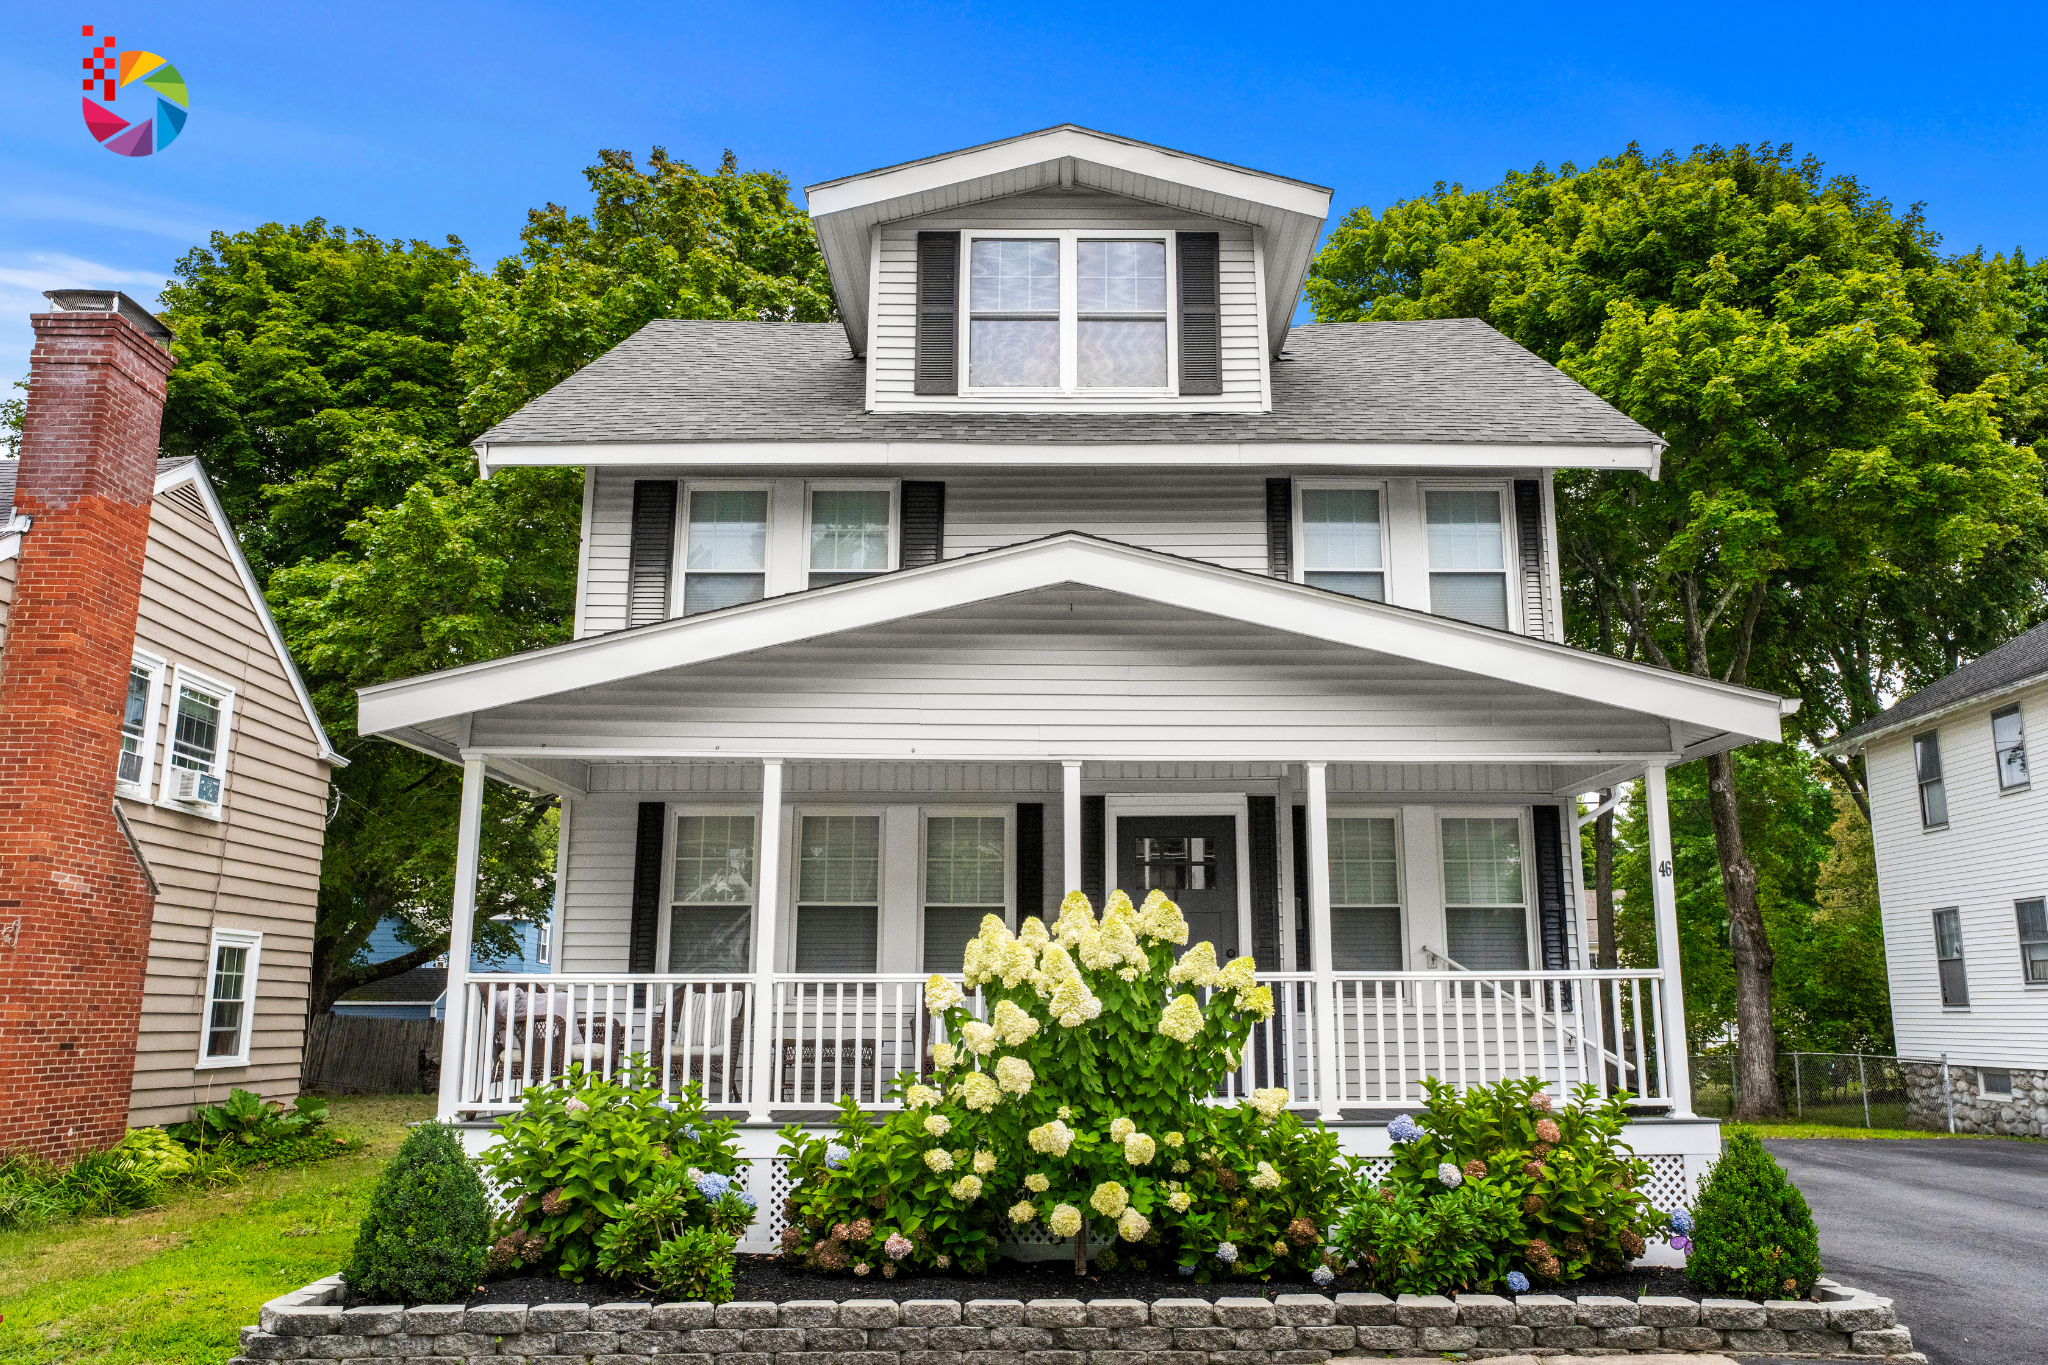
Common Camera Limitations in Real Estate Photography
Let’s break down the specific problems that show up again and again, no matter how experienced the photographer is.
Camera Poor HDR and Exposure Issues
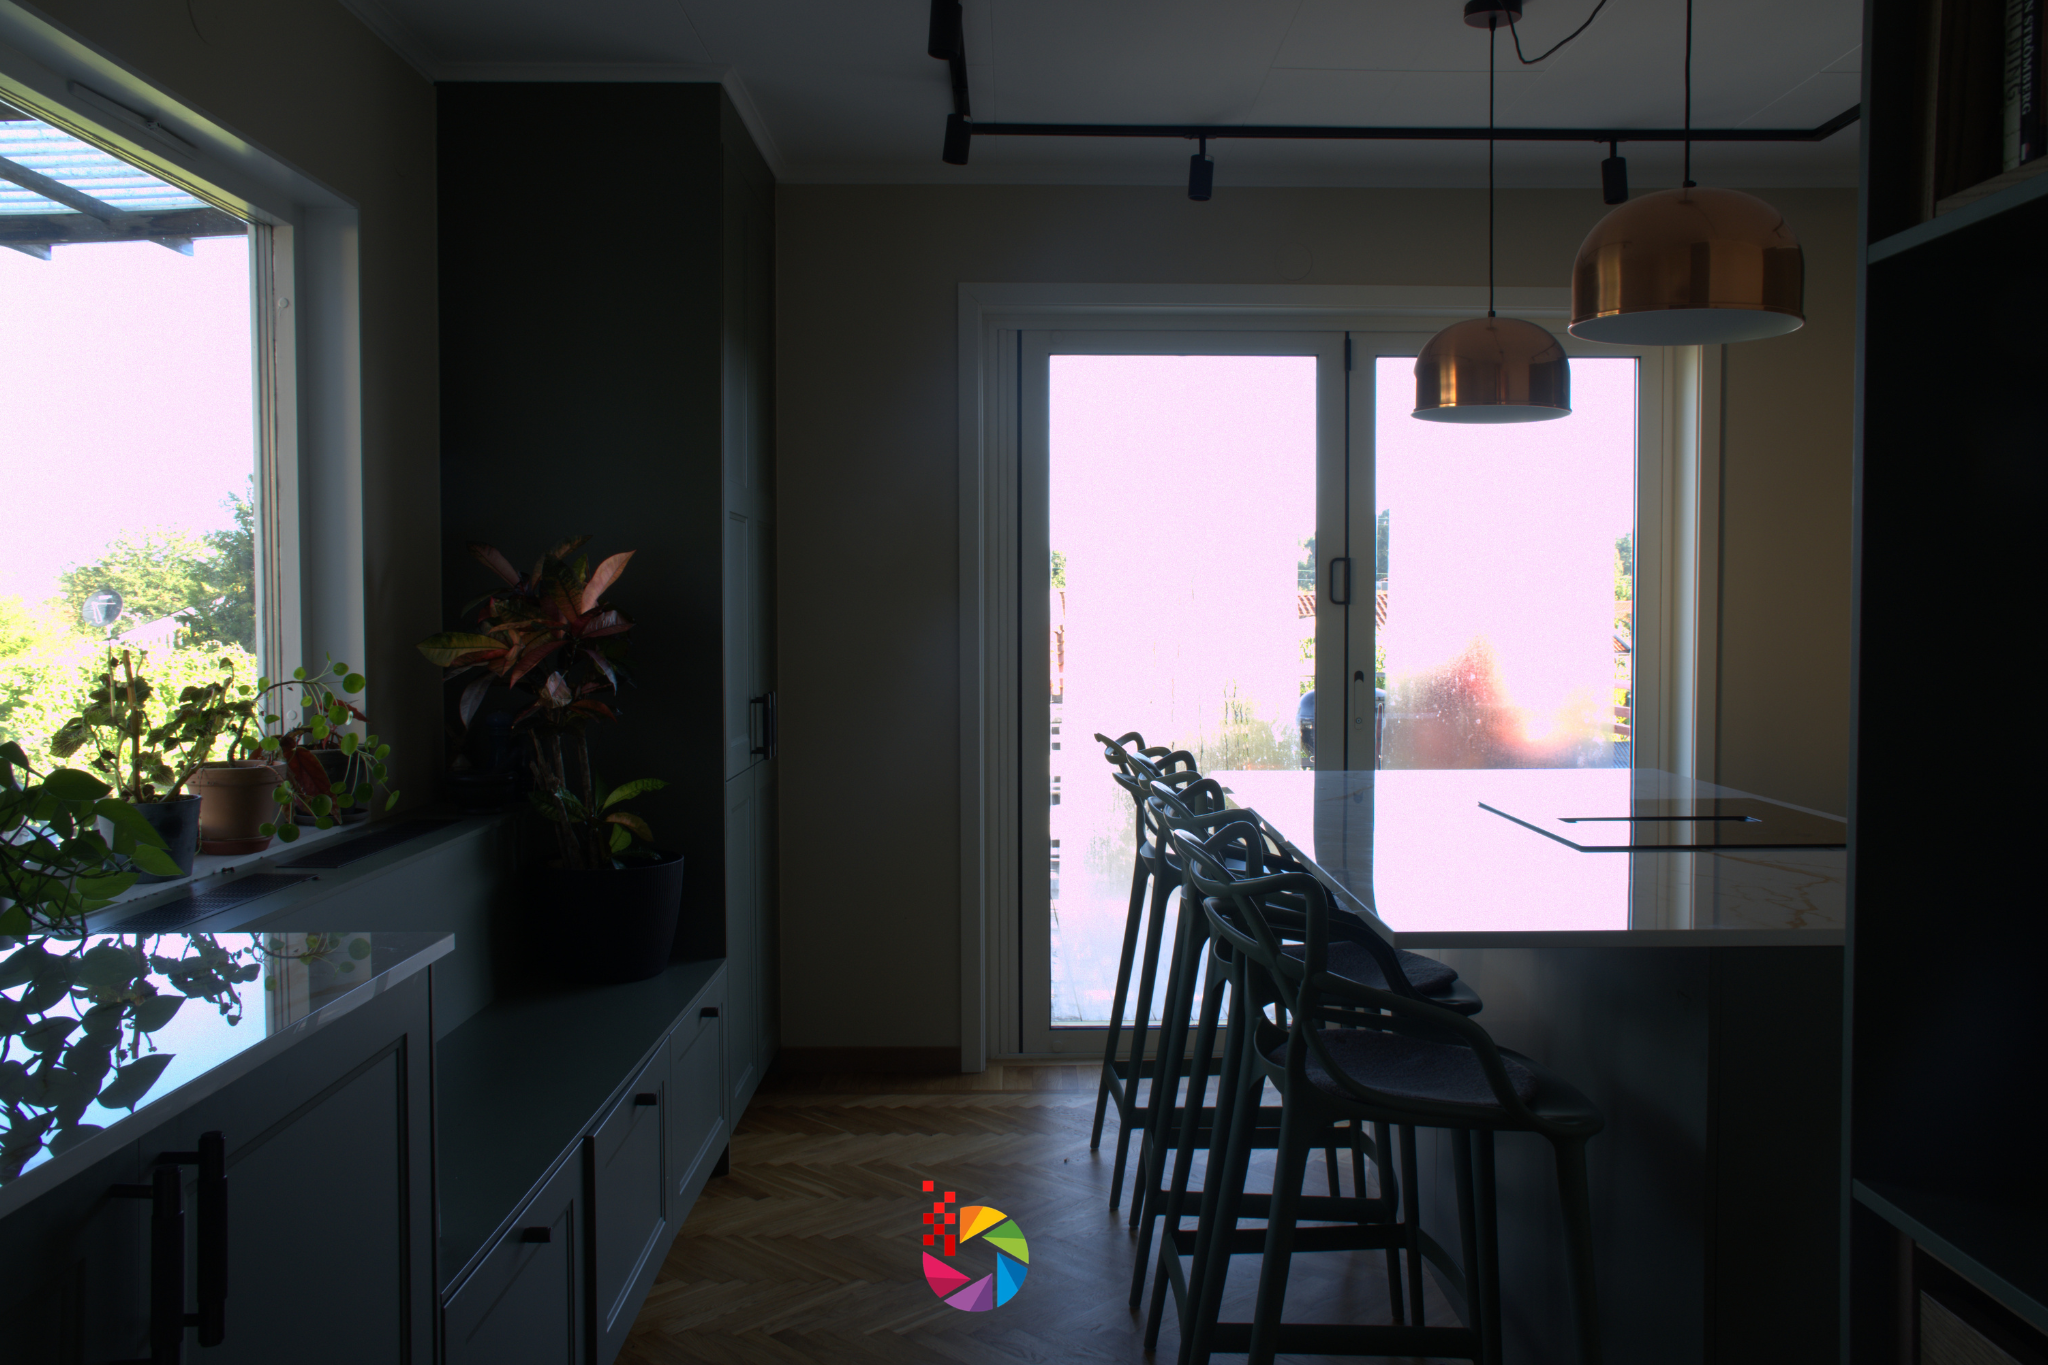
Interior shots often include a window in the frame, and that single detail creates one of the toughest exposure challenges in photography. If you expose the interior, the window turns into a blinding white rectangle. If you expose the view outside, the room falls into near-darkness. Standard camera settings simply can’t hold detail in both extremes at once.
Camera Lens Distortion
Wide-angle lenses compress a lot of visual information into one frame, but that convenience comes at a cost. Ceilings appear to curve, door frames lean inward, and vertical lines near the edges of the photo look slightly warped. Buyers may not consciously notice the distortion, but it subtly makes a space feel less trustworthy and less professional.
Uneven Lighting
Rooms rarely have consistent light sources. A window on one wall, an overhead fixture in the center, and a lamp in the corner all contribute different color temperatures and intensities. The result is a photo where one section of the room looks properly lit while another looks murky or washed out.
Color Cast and Incorrect White Balance
Different light sources carry different color temperatures. Incandescent bulbs push images toward yellow and orange, while fluorescent lighting shifts everything toward green or blue. Cameras attempt to correct this automatically, but mixed lighting throughout a home often confuses the auto white balance setting, leaving walls and floors looking noticeably off from their true color.
Noise and Grain in Low Light
Evening shoots, overcast days, and poorly lit interiors force a camera to raise its ISO sensitivity. Higher ISO settings introduce visible grain, which softens fine details and gives the image a gritty, unpolished look, exactly the opposite of what a listing photo needs.
How Photo Editing Solves Each Problem
Now let’s connect each limitation to the specific editing technique that fixes it.
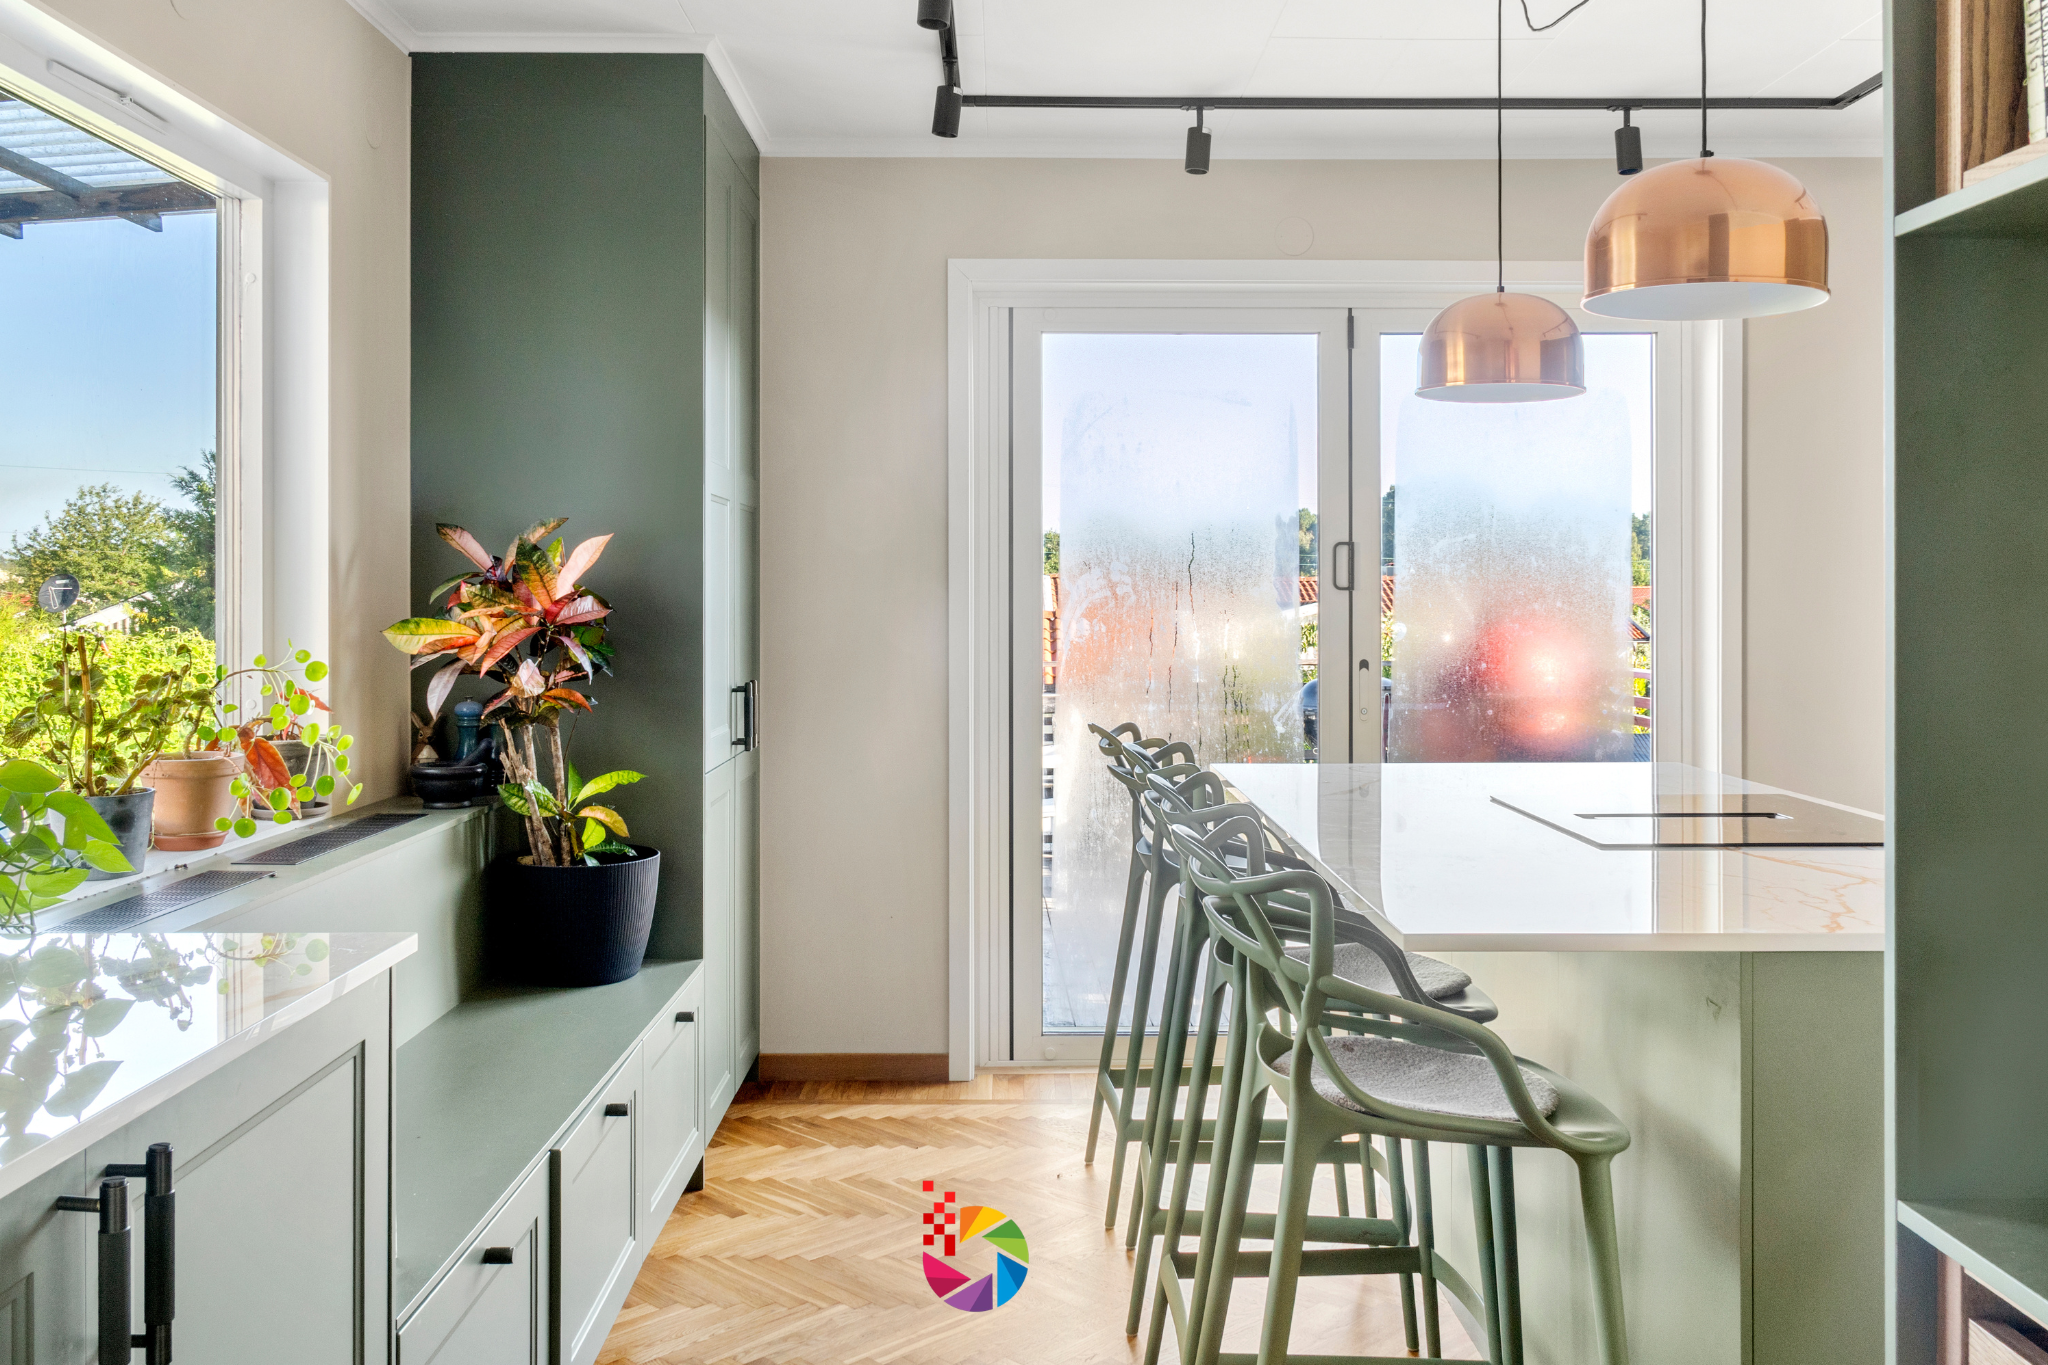
For exposure and HDR problems, editors blend multiple exposures of the same shot- one exposed for the window, another for the interior into a single balanced image. This technique recovers detail in both the bright and dark areas simultaneously, something no single camera exposure can achieve on its own.
Lens distortion gets corrected through geometric adjustment tools built specifically for architectural photography. Editors apply a lens correction profile, then manually straighten verticals and horizontals until the room’s true proportions come through clearly. Walls look straight again, and ceilings stop curving inward.
Uneven lighting responds well to selective dodging and burning, a technique where editors brighten shadowed areas and tone down overly bright spots without flattening the overall image. Done correctly, this restores balance to the room while keeping a natural sense of depth and dimension.
Color cast issues get resolved through careful white balance correction. Editors adjust the color temperature across the entire image, sometimes selectively targeting specific zones affected by mixed lighting, until walls, floors, and furniture display their true, accurate colors.
Finally, noise reduction software smooths out grain from high-ISO shots while preserving sharp edges and fine details. The goal isn’t to blur the image but to clean it up just enough that it reads as crisp and professional, even if it was captured in less-than-ideal lighting.
| Camera Limitation | Editing Solution |
|---|---|
| Poor HDR / blown-out windows | Exposure blending |
| Lens distortion | Geometric correction |
| Uneven lighting | Dodge and burn |
| Color cast | White balance correction |
| Noise in low light | Noise reduction |
Why Professional Editing Matters More Than Filters or Presets
It’s tempting to reach for a one-click preset or automatic filter, especially when time is tight. However, presets apply the same adjustment formula to every photo, regardless of how that specific room was lit or shot. A preset built for bright, sunny listings will overcorrect a photo taken on a cloudy afternoon, and vice versa.
Professional editors, on the other hand, evaluate each image individually. They recognize where the shadows need lifting, where the color temperature runs warm, and where the lens curved the ceiling just slightly too much. This room-by-room, photo-by-photo attention is exactly what separates a listing that looks amateur from one that looks like it belongs in a magazine. At Beatcolor, this individualized approach is the standard for every image we edit, not an upgrade option.
From Camera to Listing-Ready: The Editing Workflow
Understanding the workflow behind professional editing helps explain why the results look so different from automatic adjustments. Here’s how a typical project moves from a raw camera file to finished listing photo.
- Receive the RAW files. Editors start with unprocessed camera files, which retain far more detail and flexibility than compressed JPEGs.
- Diagnose the issues. Each photo gets evaluated for exposure problems, distortion, uneven lighting, and color accuracy.
- Apply corrections in layers. Exposure blending happens first, followed by lens correction, then color balancing, and finally sharpening or noise reduction.
- Run a final quality check. Before delivery, every image gets reviewed against the original scene to confirm the edit looks natural rather than overprocessed.
At Beatcolor, most listing photo sets move through this entire workflow within 24 to 48 hours, so agents never have to choose between speed and quality.
Best Practices When Shooting for Easier Editing
While editing can fix a wide range of camera limitations, a few habits during the shoot make the entire process faster and the final result even stronger.
- Shoot in bracketed exposures. Capturing three or five shots at different exposure levels gives editors the raw material needed for clean HDR blending.
- Use a tripod and level the camera carefully. A properly leveled shot reduces the amount of distortion correction needed later.
- Set white balance manually in mixed lighting. Rather than relying on auto white balance, choosing a manual setting gives editors a more consistent starting point.
- Shoot in RAW format whenever possible. RAW files preserve far more detail than JPEGs, which gives editors more room to correct exposure and color without degrading image quality.
Even with these best practices in place, professional editing remains the step that ties everything together into a final, polished image.
Conclusion
Cameras will always face physical limitations: narrow dynamic range, lens distortion, and sensitivity to mixed lighting are simply part of how photography works. Photo editing exists precisely to close that gap between what a camera captures and what a buyer needs to see. From HDR blending to lens correction and noise reduction, each editing technique addresses a specific limitation that no camera setting alone can fully solve.
If your listing photos aren’t performing the way you’d expect, the issue might not be your camera at all, it might be the missing editing step in between. Reach out to Beatcolor today to see how professional photo editing can transform your raw real estate shots into images that are ready to sell.