Elevate Real Estate Video Production with These 5 Tips
1. Camera Settings For Real Estate Video Production
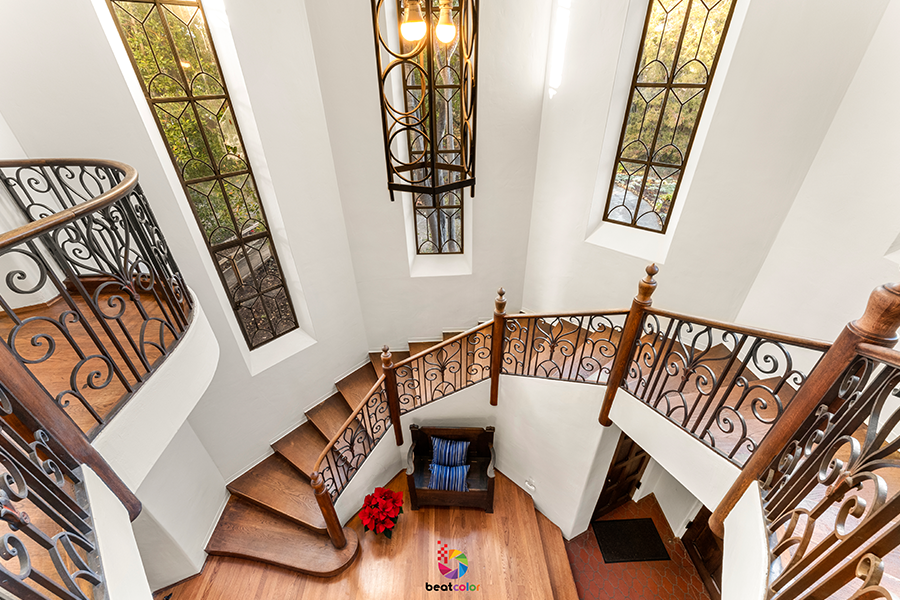
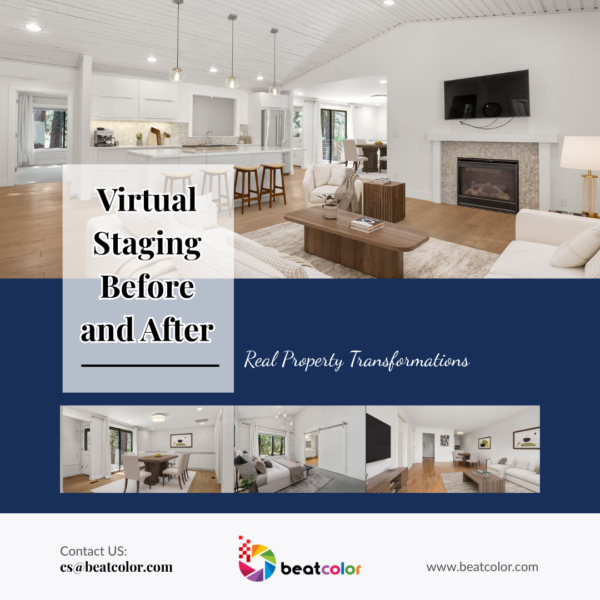
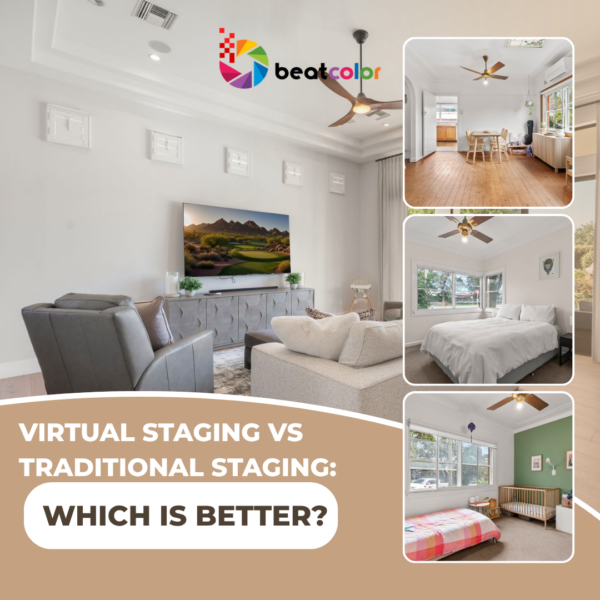
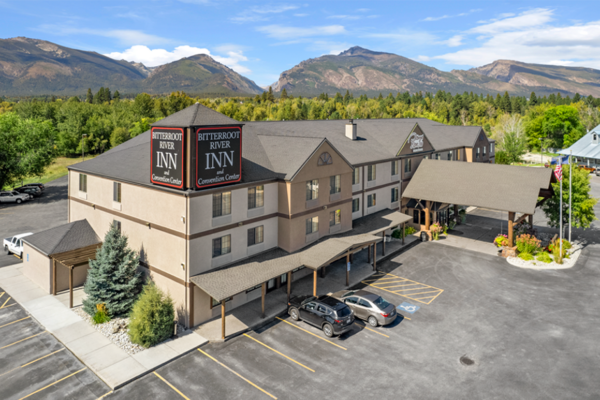 Property vividly shown off with Real Estate Video Production
In our last blog post How To Become A Real Estate Videographer In 2023, we have recommended the most suitable gears for video production. However, having the best tools could still end up with no good result if you are unable to utilize the camera settings. Below are some essential numbers to apply on shooting:
- Shoot at 60 frames per second because it helps further smooth out the camera movement
- Keep shutter speed at double the frame rate, around 1/125
- Keep ISO as low as possible
- Adjust the aperture according to how much light is available, usually 2.8-5.6
- Set a custom picture profile with standard sharpness – contrast 0 – negative 2 – saturation 0 – color tone 0 – white balance 3000 kelvin for rooms with less natural light; 5600 kelvin for rooms that are lit completely by natural light or in outdoor settings. You will get great and natural-looking colors with any Canon camera by these adjustments.
2. Real Estate Video Production – Optimal Composition to Achieve
Overall, there are 3 important compositions that will guarantee to nail the buyers’ attention. Agents always want to emphasize the property’s vast space, so first and foremost, make sure to utilize a wide-angle lens to show the whole room. Secondly, the tilt or span shot would have a good effect too, but only in certain situations. That is when you aim to show the expansiveness of a ceiling height in a tall room or views from upper rooms. Next, you should really pay attention to film between the eye and waist level because if you are filming too high, you are going to make the ceiling look low. If you are filming from too low, you won’t be able to see over the furniture.
More than the compositions above, you should also take the small details into consideration. For instance, it’s important to maintain straight lines because it will make the room less distorted. Another great tip is to hug the walls while filming, it should create a feeling of a bigger room. Regarding the drone shot, try not to include neighbor houses as it will make the property feel smaller. You should not film far away from the house unless you’re showing off a great view, a mountain or lake by the house.
3. Shot List Included in A Video Production
Shooting Order
There is no compulsory order applying for every project, however, we will suggest how an ideal shooting day begins and wraps up. Around 4-5 p.m. is an appropriate time to show up and shoot the exterior for an hour or two. Then you can go inside and carefully find the best angles for each room in another 1-2 hours. It’s a golden hour after that, you should go back outside to shoot the exterior again for 0.5 hours. To continue, just check inside again to grab any rooms that may have looked better with golden hour light. Towards the end of dusk, it’s getting pretty dark, so a few drone shots are perfect to show the house lit up. For further guidance on the shooting time, feel free to check out our recent related article The Best Time to Take Exterior Photography- A Complete Guideline
Camera Movement For Each Shot
- For the drone shot, the push-in shot looks straight at the front of the house should work best as the intro. Whereas, a pull-out from the front or back of the house will perfectly serve as the outro. Also, some parallax shots around the outside of the house can add a cinematic look to the final video. You can find more tips for drone shots in one of our previous blog post-Top 6 Fundamental Rules For Real Estate Drone Video
- You should do at least one bird’s eye view shot of the property to show the property lines. For ground movements, straight push-in shots should be utilized because that feels the most natural for a storytelling video. Because we are in the buyer’s view touring through the house and walking toward each room. You can also add a little tilt or pans if the room opens up left or right
4. Best Lighting Techniques In Producing Real Estate Video
Using Histogram
Artificial lights are not recommended because it’s time-consuming to drag equipment into each individual room. Instead, in well-lit areas, the cameras only will do their jobs well and support videographers with the histogram feature. You can just read the histogram and make sure there aren’t any blown-out highlights. Yet, in some cases, for instance, in small rooms that are mostly lit by indoor lights, you may have to choose which to blow out. In that case, the advice is just to let the windows be blown out a little bit so that the inside area is exposed correctly. The blown-out windows can be adjusted in the post-production/video editing process.
Adjusted to Times and Location
However, the best way to avoid a blown-out detail is to film at certain times. The best time to shoot interiors is when there’s cloud coverage so there isn’t any harsh direct sunlight coming into the house. Another time is at dusk right after the sun sets because there is still ambient light but not so bright that your windows are blown out.
On the other hand, sunsets and sunrises are good times when the houses and rooms have large windows that you want to show off the sun flaring through.

Lighting treatment might be a little different if the house is up against the mountain. There is no golden hour in that case. Also, if there’re lots of trees that shade the house, it might be better to shoot midday when there’s less shadow.
5. High-quality Audio
Using background music
The appropriate background music will definitely create a cohesive and immersive experience for viewers. Whichever type of music is being used, you should remember to use a crescendo. Crescendo is a powerful technique to attract the attention of the viewers. At the same time, the music should be overused and cause distraction from the visuals. It should not cause the video to be caught for copyright issues either.
Using voice-over
In cases you want to add in the voice of the agents, the advice is to use a good microphone for recording audio. Working with a Lavalier mic that attaches to your agent/realtors should be considered. The on-camera mic should be another nice choice, however, it can only be used when close to the object.
Final Thoughts
To conclude, a professional video that can successfully convince potential buyers should combine all elements from camera settings, composition, camera movement, lighting, and audio. Hopefully, with the 5 tips above and constant practice, you can soon enhance your skills to master real estate video production.
Related Posts
How To Become A Real Estate Videographer In 2023
Top 9 Inspirational Real Estate Video Ideas in 2023
Top 6 Fundamental Rules For Real Estate Drone Video
BeatColor Real Estate Video Editing Services
The Best Time to Take Exterior Photography- A Complete Guideline


