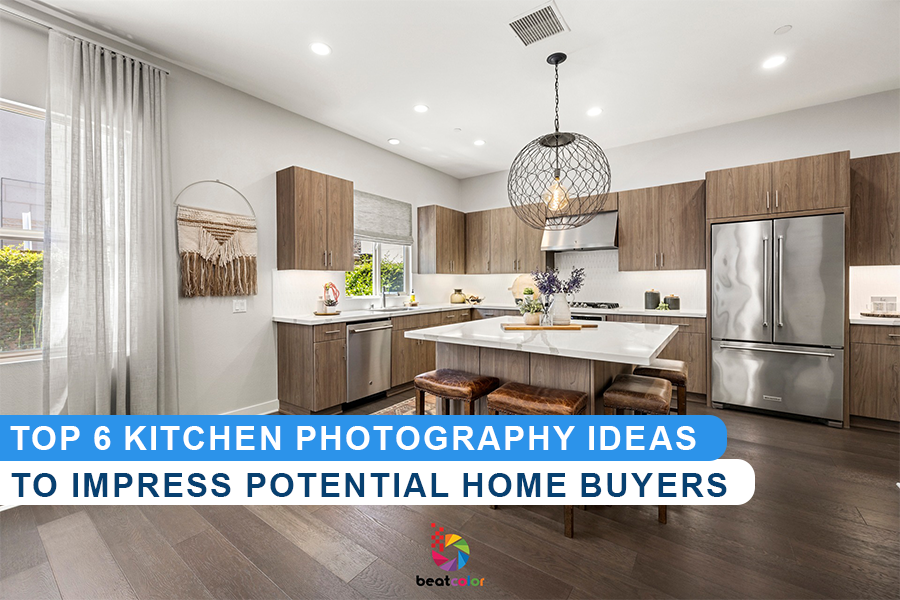
Impressive Kitchen Photography Ideas For Real Estate Photographers
2022 is the perfect time real estate brokers invested significantly in kitchen photography shoots because of its great impact on selling homes. Today, we are going to share with you handy tips for clickable kitchen photography that make prospective clients want to look more closely at your rooms.
Impress your potential home buyers with 6 bright Kitchen Photography shoot ideas
If you want to take a professional kitchen photography shoot, though it is important to set up proper cameras, tripods, it’s not just simply to click a release button then. The following post will reveal useful tips to highlight the best pieces of a kitchen and hide drawbacks.
1. Prepare right Camera/ Tripod for kitchen photography
To get started with not only kitchen shoots but also real estate photography, you will need a few basic items including:
- A camera
- A wide-angle lens
- A tripod

One of the most important components of real estate photography equipment is a good camera. A recommended camera is something which lets you add a flash, a cable release, various lenses, and wireless triggers. Regarding cropped-sensor cameras, nothing is better than a lens around 10-22mm or 12-24mm. For full frame-sensor ones, a 16-35mm lens will work.
Next, it is advised to always use a tripod with your camera to avoid blurry photos. With the support from a tripod, you can easily get truly sharp real estate photography images as expected. Even if you have super-stable hands like a surgeon, there are no reasons to risk and end up with blurry pics.
Last but not least, do not forget to prepare wide-angle lenses – the best lens for kitchen photography. Wide-angle lenses provide distortion in frame. Plus, objects located close to the camera seem bigger than they really are, while far-away objects appear tiny. Thus, a standard lens is more suitable for such purposes. Just simply take a step back and freely get all you need.
Once all basic equipment including camera, tripod, wire-angle lens is enough, you are ready to move forward to the next stage of kitchen photography.
2. Find Your Best Angles
Photography for the kitchen requires shooting from various angles to produce plenty of photos for the agent to choose from. Buyers always want to see a room from different sides so keep this in mind to take at least two or three kitchen shots. Additionally, before photographing anything, take time to walk around the room and view the space from several different vantage points to determine the best angle to show off the space.
The most important picture to capture is a straight horizontal shot looking at the kitchen. This establishes the kitchen layout and main features and lets people see the space overall. Furthermore, horizontal shots are typically more useful online due to most websites’ landscape layout, while for print, vertical shots usually work best.
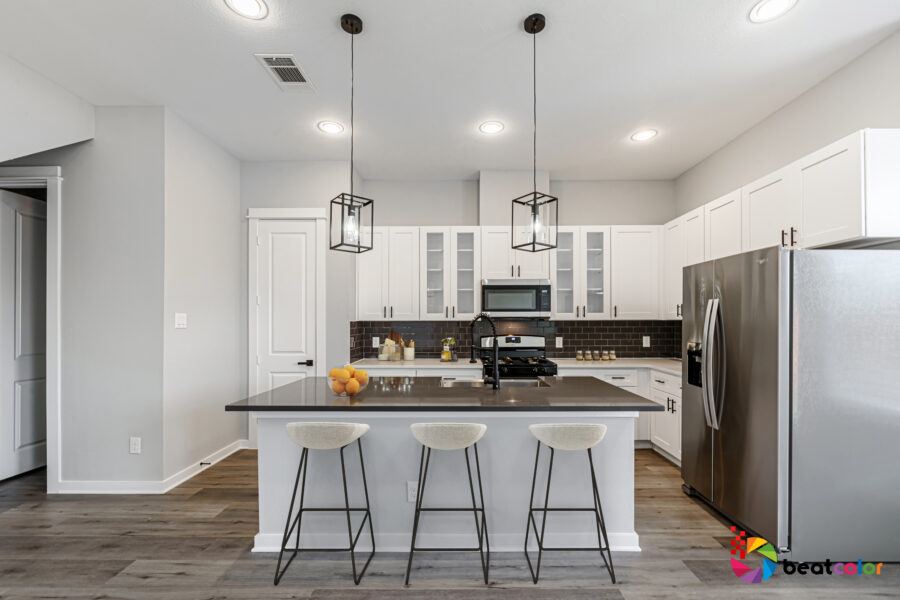
It doesn’t matter how many brackets or angles, straightening horizontal photographs covering a room is a must. Hens, buyers can have the most comprehensive view on your pictures and better evaluate the property.
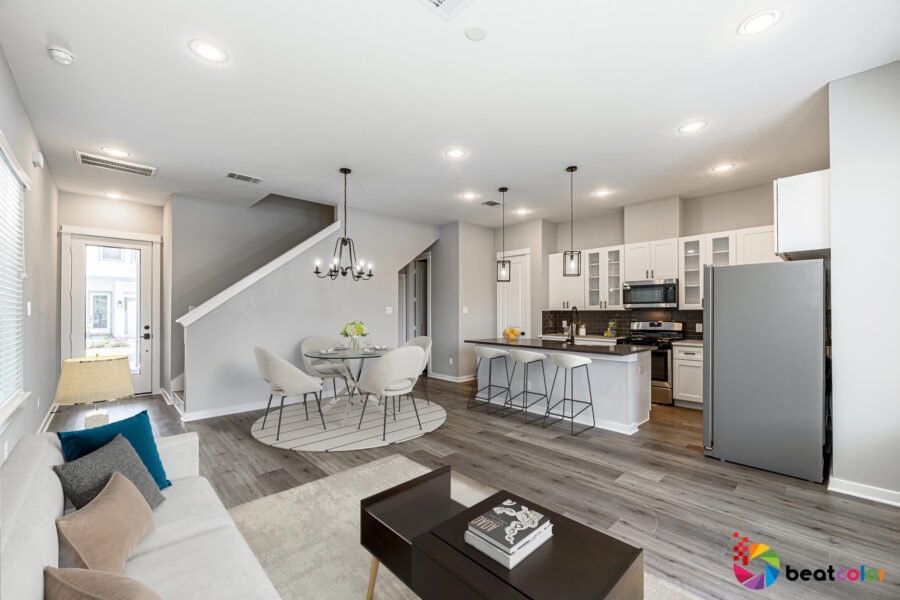
Your next kitchen shot also should show the overall space, but from a different angle. You could include glimpses of a hallway or eating area which helps create a feeling of taking a tour through the space. It’s highly recommended to take a shot from inside the kitchen looking out onto the area. This could serve as the bridge connecting the two sections of the house. It also seamlessly establishes the entrance and kitchen’s relation to the other rooms, which gives a wider perspective of the house’s areas.
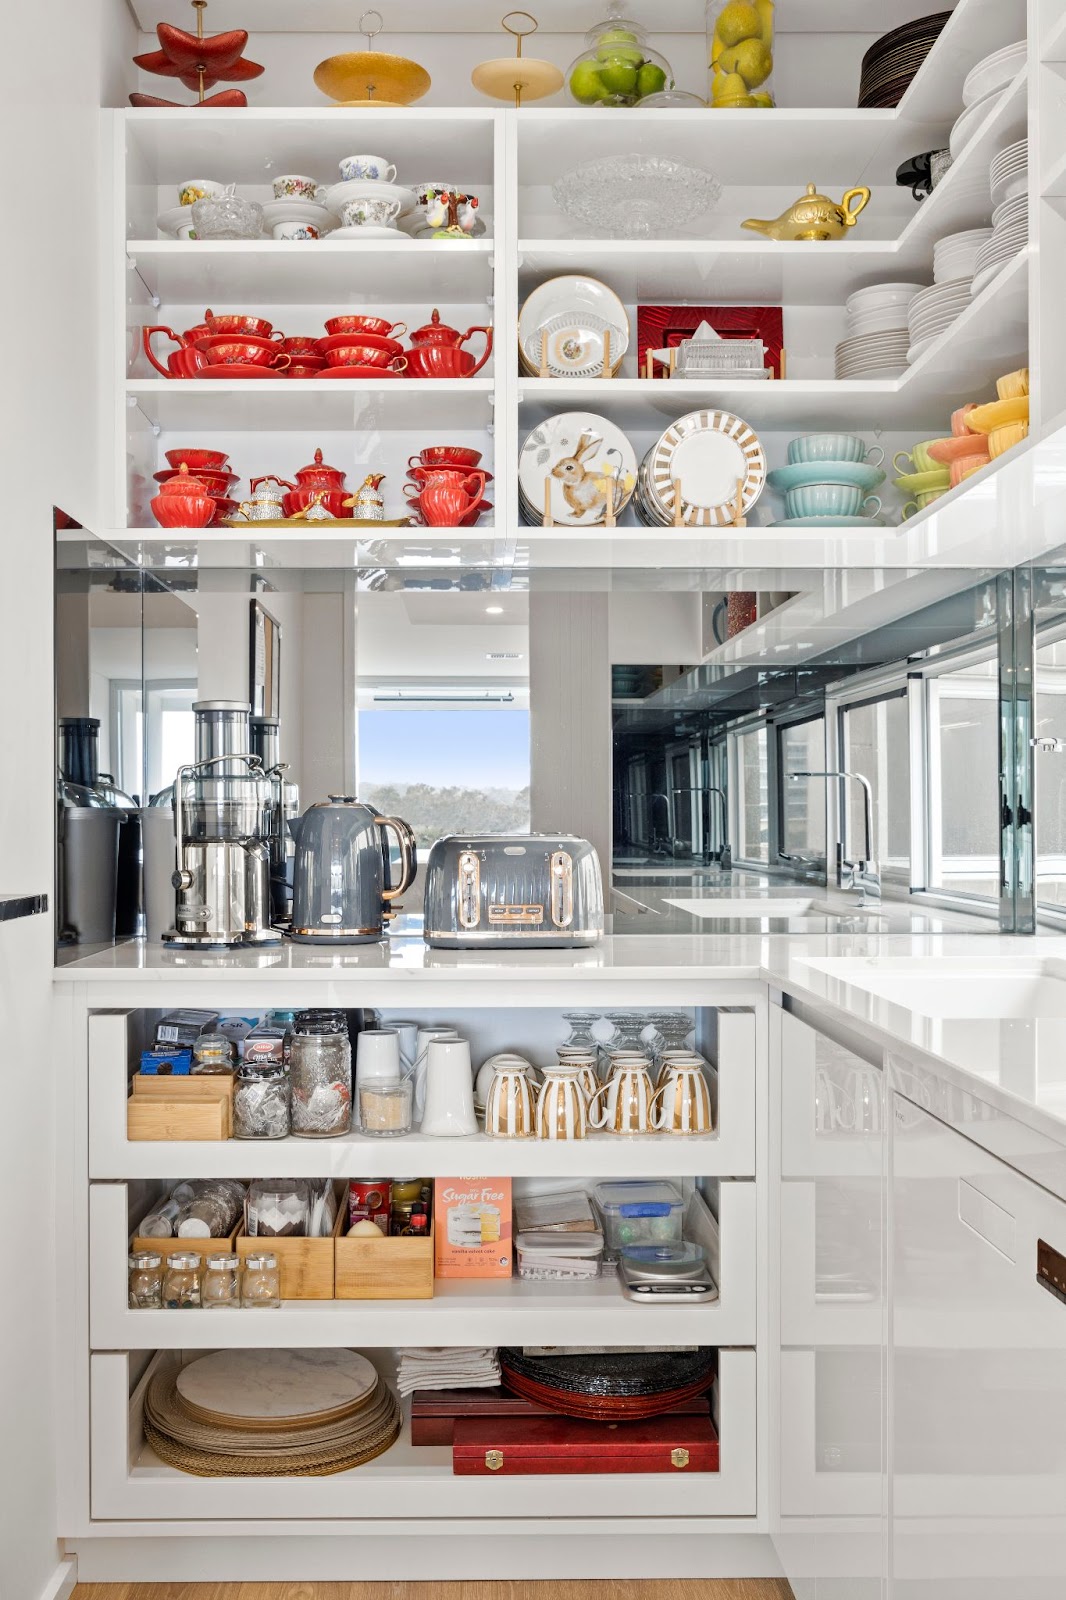
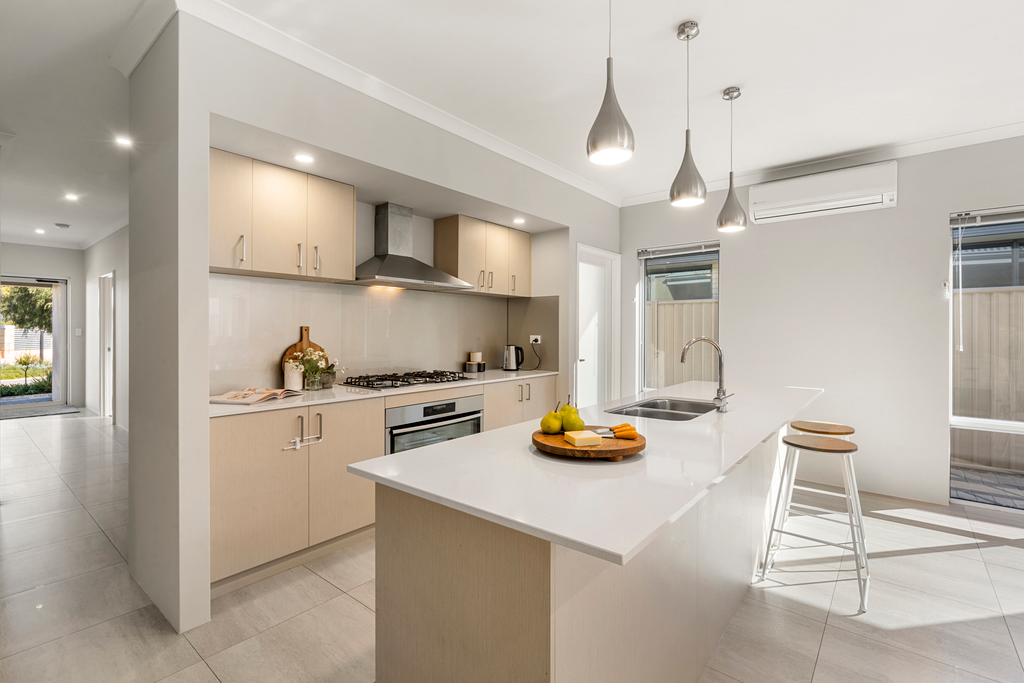
3. Focus on design detail and appliance shots
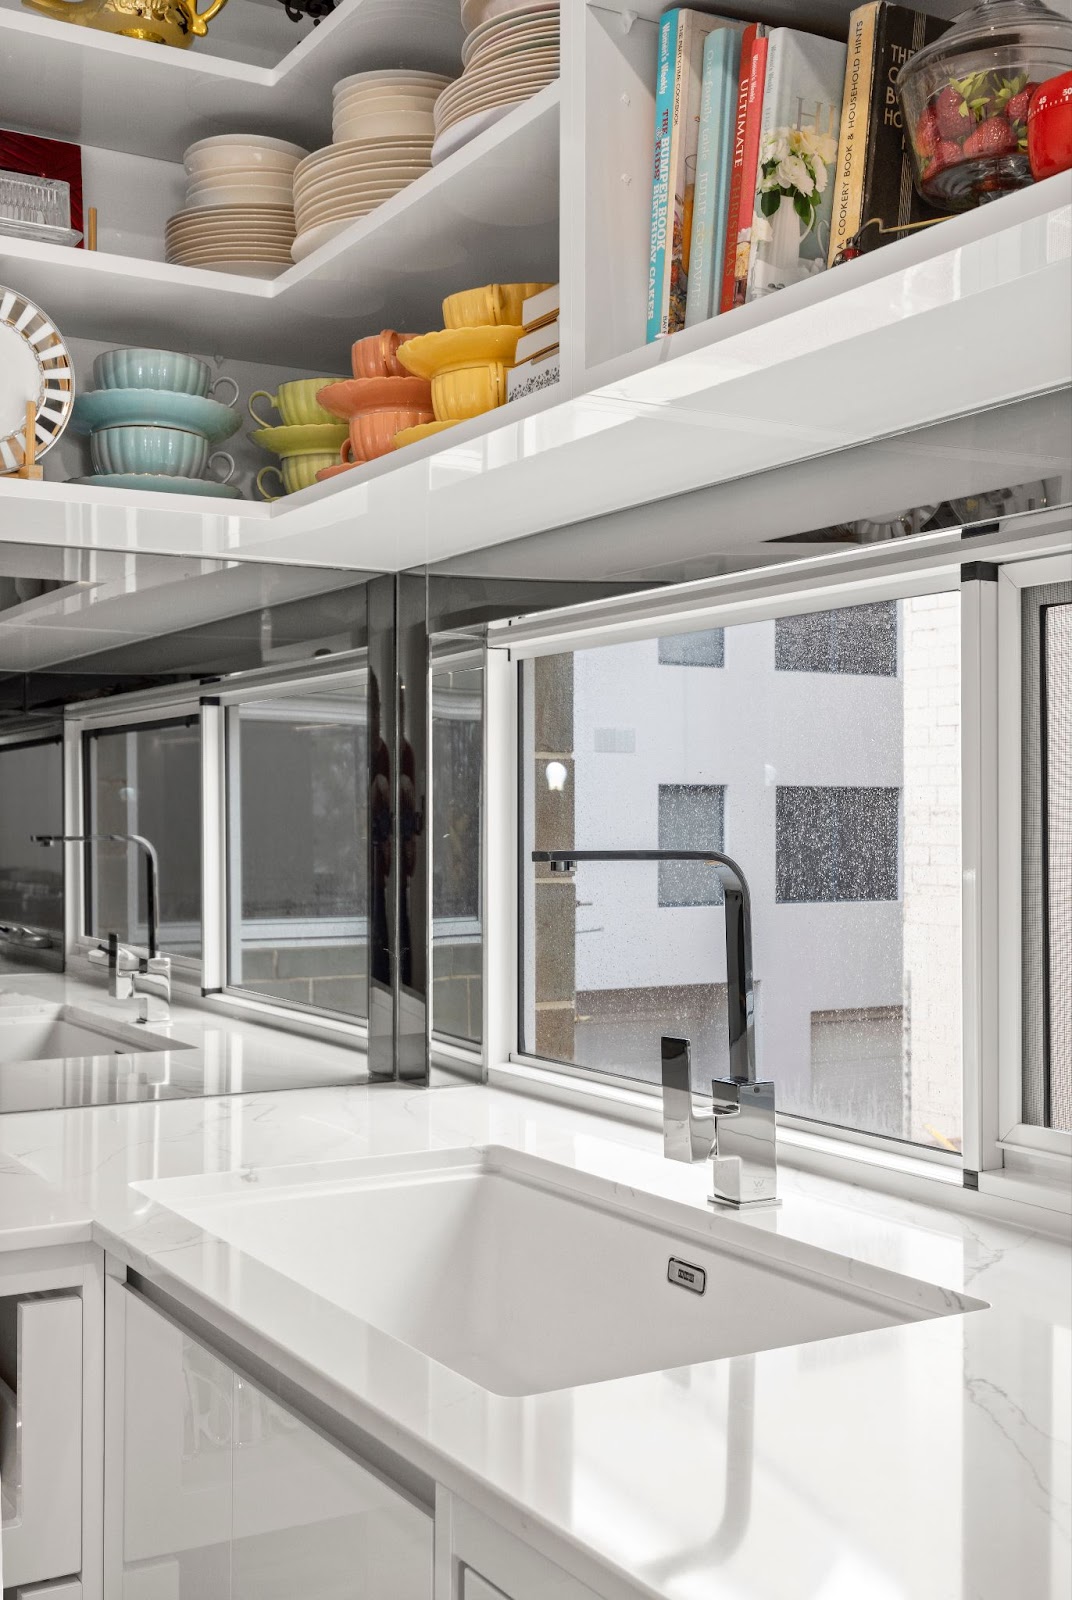
Shooting overall space is not enough if you want to tell a kitchen’s story. You should consider taking close-up shots of interesting elements like an impressively nice cupboard, a unique sink, beautiful kettle, an outstanding kitchen island, any organization accessories or custom details, etc. that are not ever seen in other designers’ work. Let see these following photos successfully showing off the special touches in the kitchen.
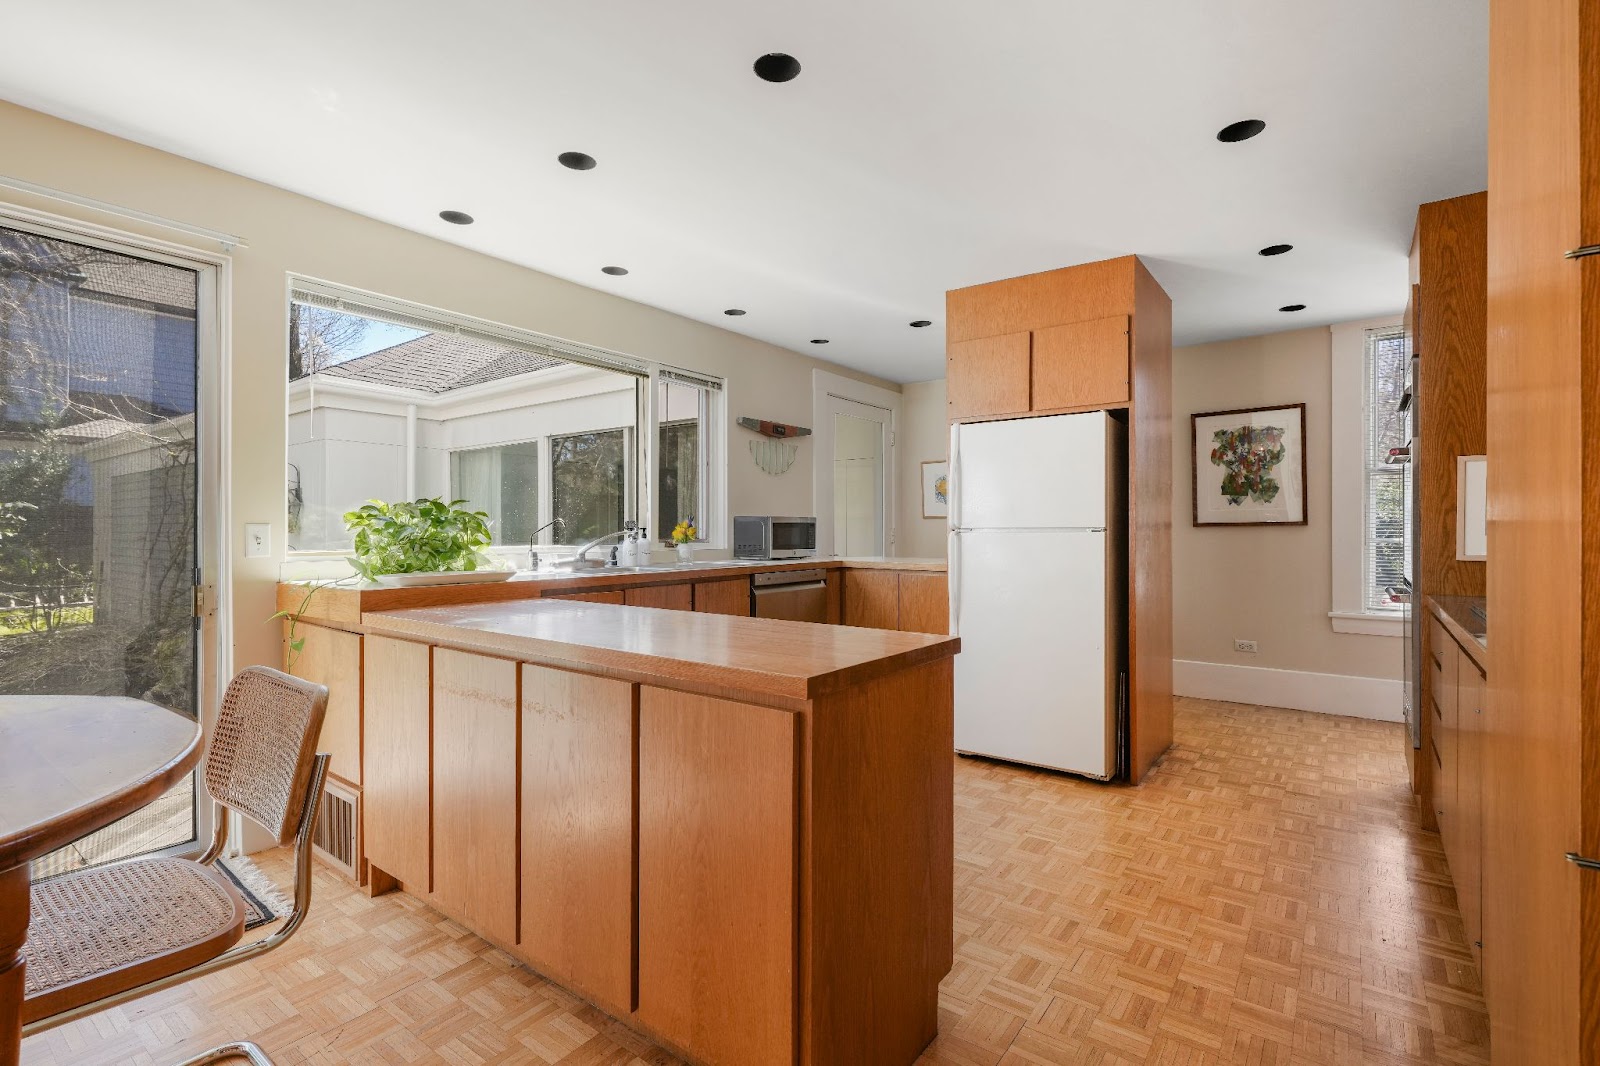
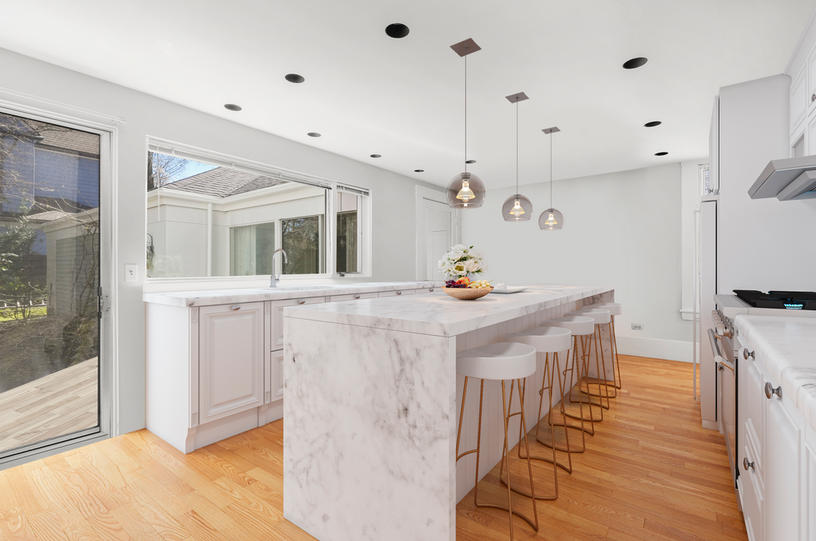
However, what if your kitchen is just an out-dated and empty space? Virtual Staging will do the job well. For example, you can have 3d stagers to create a modern atmosphere by replacing new furniture which will make your kitchen brighter and more colorful.
4. Tidy up for an attractive kitchen photography shoot
Real estate photography requires all items to be clean. The same applies to photography for the kitchen. Notify the owners or people in charge of the property that a kitchen should be prepared for a photoshoot beforehand. Plus, while you are looking for the best angles, mind checking for any debris on counters or floors, rugs that need to be cleaned, get rid of the small things, like wastebaskets, brooms, brushes, etc. or even unsuitable items like counter top appliances or dishes to create a more clean, open space.
If you are in an urgent case and have no time to clean up your room, you can have your photos at the last stage by using Photoshop or having real estate photo editors to get perfect shots.
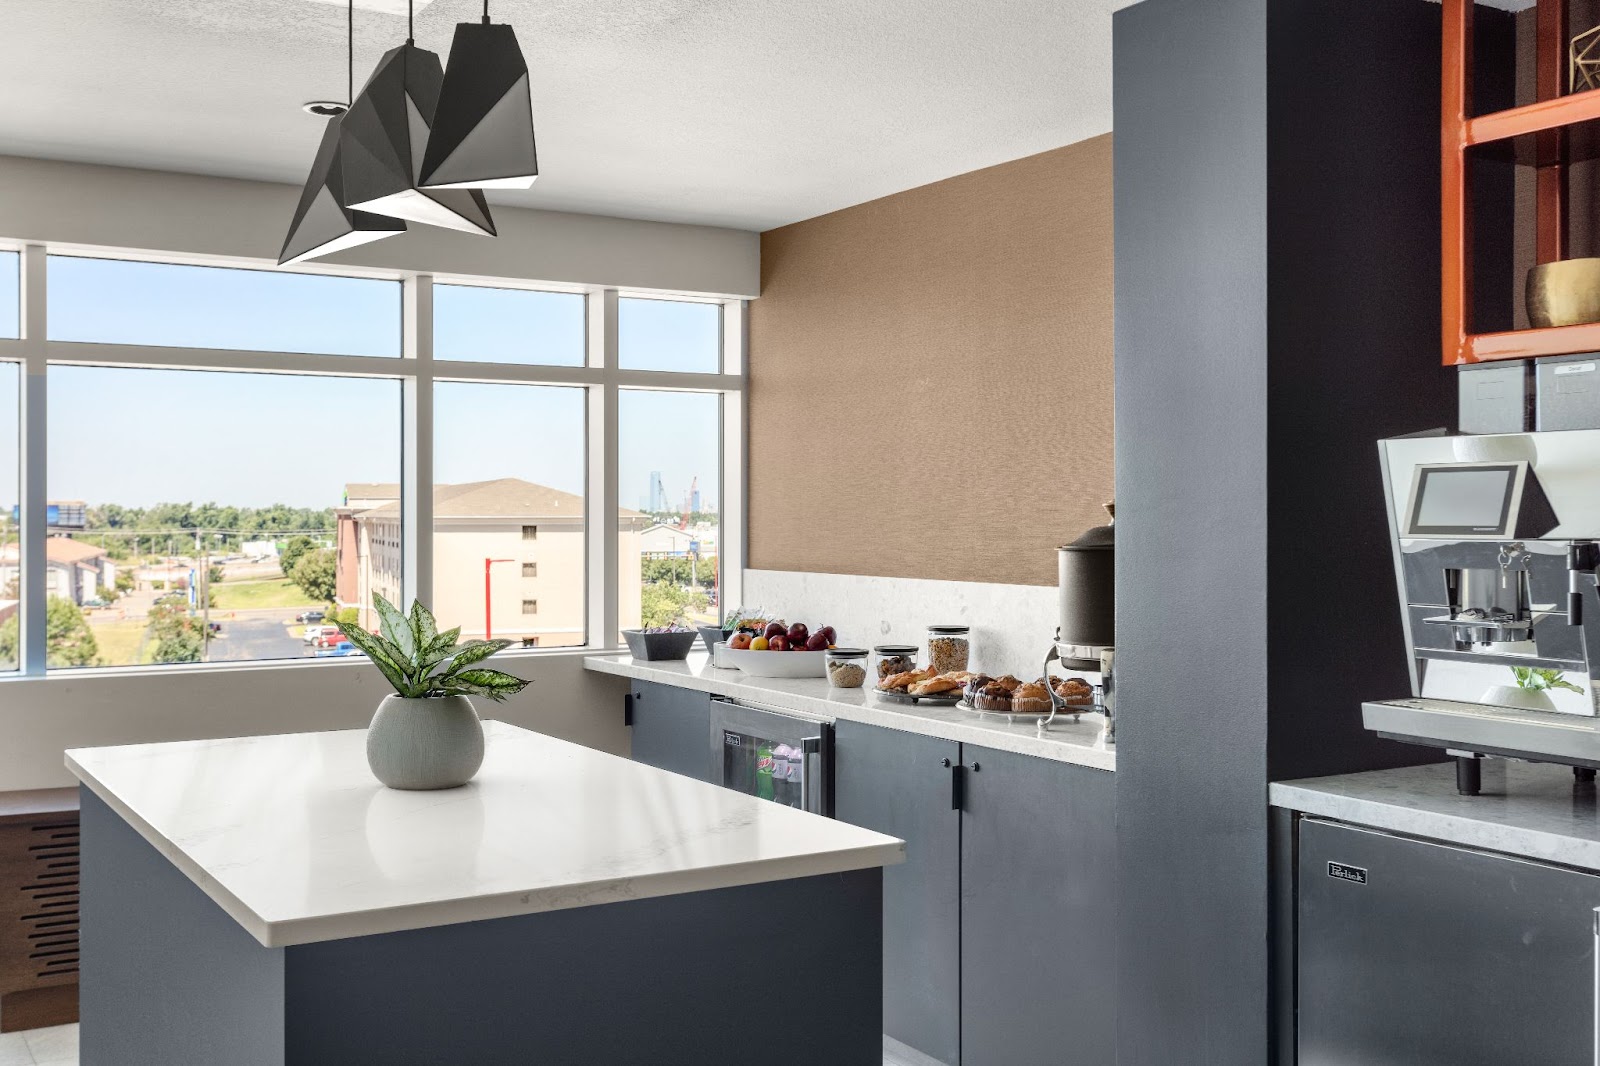
You could even add some finishing touches by adding books, some plants and flowers, or a bowl of fruit to make your kitchen look more stylish and attractive.
5. Light is an important part of a kitchen photography shot
Kitchen photography lighting is another very important part. As with taking any kind of photo, capturing pictures in the kitchen requires some following elements to be plentiful light.
Generally, it’s advised to take kitchen shots during daylight time and try to avoid photography at night. Be noted to do it between 10 a.m. and 3 p.m. Avoid using inbuilt flash or direct sunlight in the middle of the day, as these can produce harsh shadows. In case the weather doesn’t support you, wait for the next day to ultimate natural lighting for the high-quality pictures if possible.
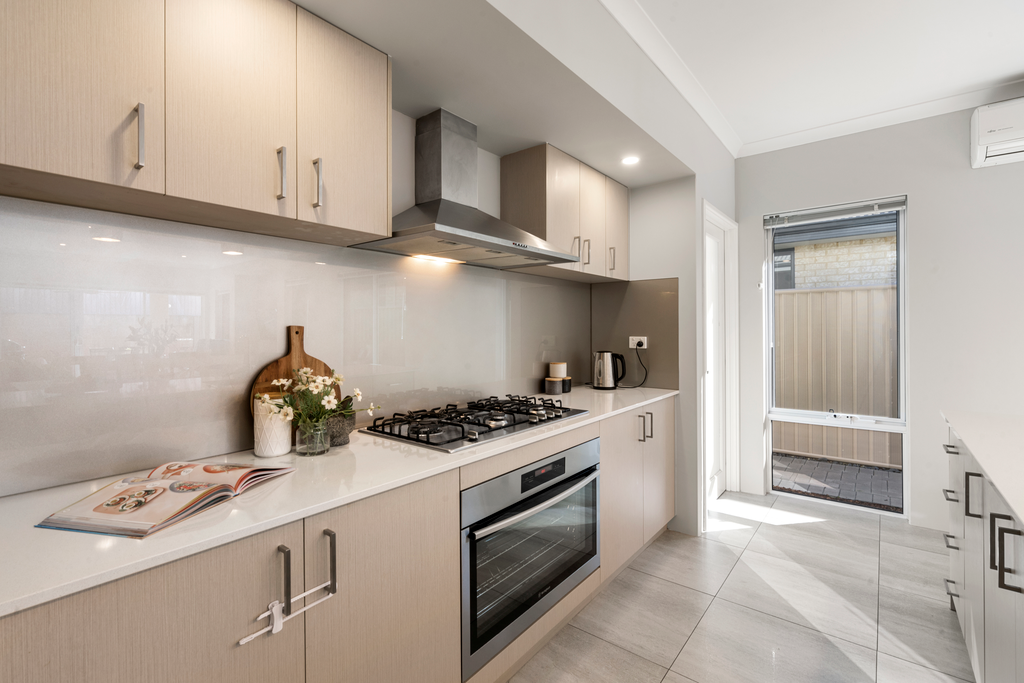
Don’t forget about overhead light fixtures and combine them with natural lighting to get the desired result. Firstly, you can consider taking a couple of shots with a combination of both natural and artificial lighting. When the cabinet lighting is combined with the lights over the range or cook top looks truly impressive, doesn’t it? Second option is using a balloon, an optimal light sharper for rooms which helps you get a softer look in images.
6. Shoot multiple brackets to overcome difficulties with lights
Mind that even kitchens with super big windows may be really dark due to the bad weather. Thus, shooting multiple exposures will be significantly helpful to overcome struggling with light issues. Take several shots at different exposure levels and blend them together and you will get one professionally exposed picture as a result. BeatColor’s professionals also suggest that you can perform this operation by using the Auto Exposure Bracketing (AEB) feature of your camera, or practicing bracketing photography technique which is a budget-friendly method to get qualitative shots without buying additional artificial lighting equipment.

Conclusion
What is the idea which amazes you the most? We hope the concise article above gives you Impressive Kitchen Photography Ideas to refer to. In case you feel that your kitchen shots are not perfect enough, do not hesitate to ask for the help from an outsource real estate photo editing partner who can help speed up the process and make your photos truly interesting and valuable.
Related posts:
2. Best Cannon lens for real estate photography
3. How to photograph real estate
4. Bracketing Real Estate & Advanced Technique For Photographing Interior


